Dive into all 31 videos covering every stage of log home finishing and maintenance, from sanding and staining to long-term protection and care.
WATCH TO SEE!
Ready to dive deep into log home care? This complete 31-part video guide walks you through every step of the process, from sanding and preparation to staining, chinking, and long-term maintenance. It’s the ultimate resource for homeowners and contractors who want the full picture.
Ready to stain? Don’t guess! Sample. Testing stain colors on your actual logs before committing ensures that you get the exact look you want and helps prevent “oops” moments later. Snag your free samples here.
Sashco’s Capture and Cascade Log Stain System vs. The Competition.
WATCH TO SEE!
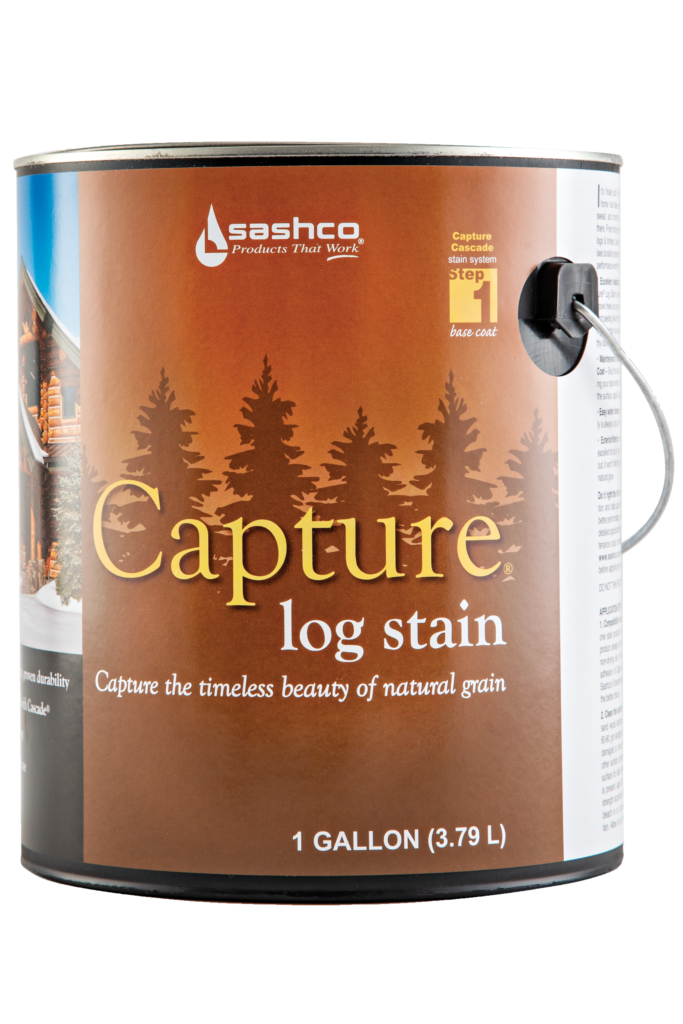
The journey to your dream log home has been marked by years of planning, sweat, and months of anticipation. You’re almost there. Finish strong with a stain made specifically for logs & timbers. Sashco’s Capture® Log Stain promises durable protection and lasting beauty. It delivers a performance worthy of the journey that got you here.
Ready to stain? Don’t guess! Sample. Testing stain colors on your actual logs before committing ensures that you get the exact look you want and helps prevent “oops” moments later. Snag your free samples here.
Caught Part One? Check out Part Two of the Caulking Series.
WATCH TO SEE!
Watch as we walk through how to properly repair, seal, and caulk checks and cracks in a log home to help keep out water, air, insects, and the elements. Learn the techniques that protect your logs and extend the life of your home.
Ready to stain? Don’t guess! Sample. Testing stain colors on your actual logs before committing ensures that you get the exact look you want and helps prevent “oops” moments later. Snag your free samples here.
Ready to get your log home looking great and protected the right way? We’ve got everything you need to know to get started.
WATCH TO SEE!
Ready to stain? Don’t guess! Sample. Testing stain colors on your actual logs before committing ensures that you get the exact look you want and helps prevent “oops” moments later. Snag your free samples here.
Choosing a stain for your log home or weekend cabin can be difficult. Opinions are as many and varied as there are people! In this webinar, Sashco partnered with Log Home Living Magazine to help folks sort through the pros and cons of different stains types (oil-based, water-based, and everything in between).
What kind of prep is necessary? What will maintenance look like? What’s better for the deck vs. the log walls? You’ll get a good foundation upon which to base decisions.
Ready to stain? Don’t guess! Sample. Testing stain colors on your actual logs before committing ensures that you get the exact look you want and helps prevent “oops” moments later. Snag your free samples here.
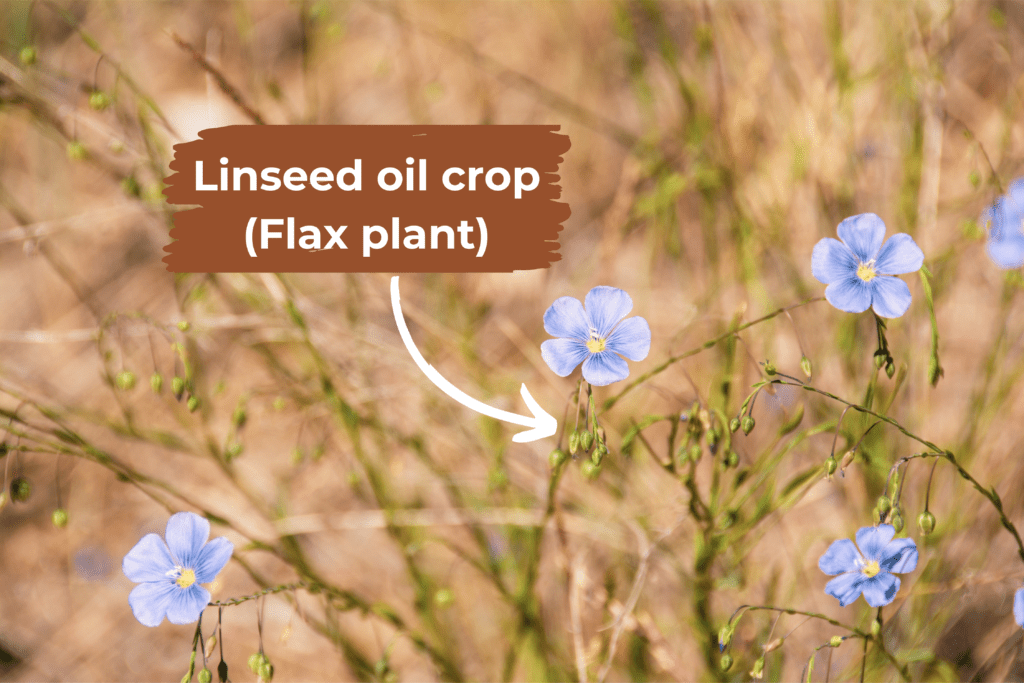
Fact or Fiction: Linseed oil is food for mold; therefore, you should never use a stain with linseed oil in it.
Answer: It may surprise you! Our resident stain expert Jim Barnes plays some Fact or Fiction to give you the lowdown on the pros and cons of linseed oil to help you decide.
Fact or Fiction: Linseed oil contributes to mildew growth.
Answer: Sort of fact…and sort of fiction.
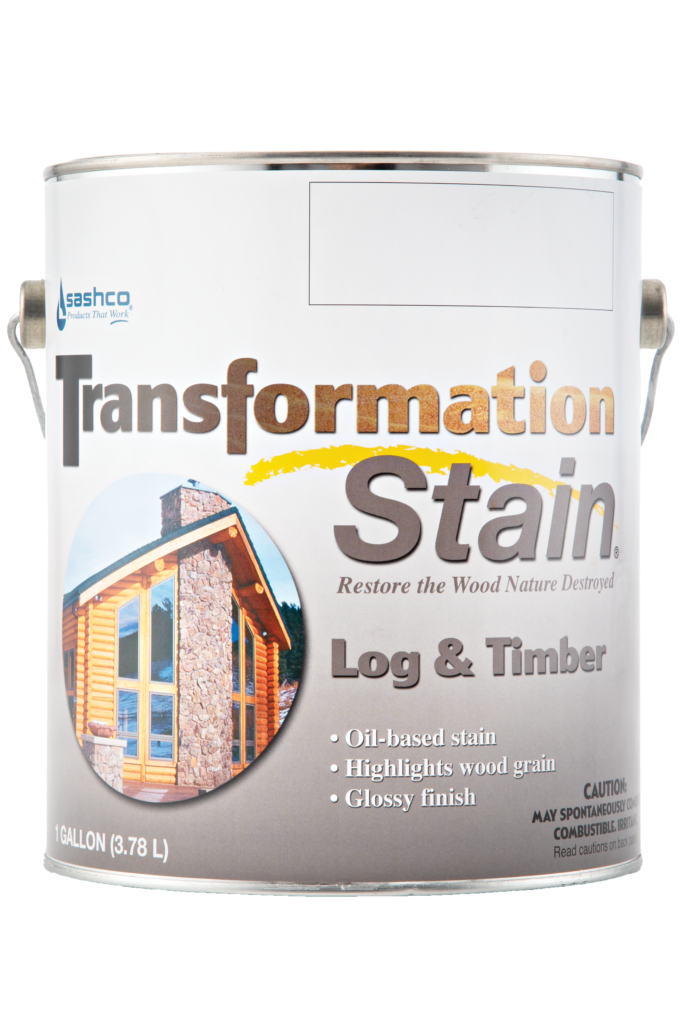
In properly formulated oil-based stains, like Sashco’s Transformation Log & Timber Stain, mildew and algae growth is no worse than on any other modern stain. These formulas contain mildewcides and algaecides to prevent or significantly reduce these problems. That said, it’s true that linseed oil by itself can be a food source for these molds. When homeowners buy straight linseed oil from hardware stores, dilute it with some mineral spirits and Japan drier, and make their own “stain,” mildew growth is not uncommon. This practice is still common enough that most contractors have or will come across this scenario. Unfortunately, homeowners who DIY stain this way don’t have access to the modern mildewcides and algaecides that most manufacturers who use linseed oil include in their formulas.
Fact or Fiction: Linseed oil is just another oil and isn’t anything special.
Answer: Fiction.
Linseed oil is rare among drying oils because it remains soft and flexible for a long time after drying. Most drying oils get hard and brittle. In moderate quantities, it is used to soften alkyds and other oils commonly used in semi-transparent stains. The final formulation remains flexible enough to move with the wood as it expands and contracts with moisture and temperature variations. The stain doesn’t crack under normal wood movement and can keep water out for years when properly formulated. There are many oil-based stains on the market precisely because oil stains provide unparalleled beauty, penetration, ease of use, and the ability to reliably re-stain woods. Often, water-based stains can’t match all of these benefits. Linseed oil plays a critical role in this.
When we come across opinion pieces that declare anything as the root of all evil, it is good to follow the money: what are the writers trying to sell? It is easy to point to the worst-case DIY linseed stain and cry out, “The sky is falling!” or “All linseed oil is evil” The reality is it’s somewhere closer to Earth.
SO…
Is linseed oil a problem in some stains? Yes, absolutely.
When we see extensive black mold on a home, does that mean its stain contained linseed? Nope. It might, but plenty of cheaply formulated stains and coatings, both oil and water-based, don’t protect well against mildew and algae. Algae, another organic growth completely different from mold can appear black, especially when dirty, and many stains don’t protect against algae at all. (Sashco is unique here. We’re the only company in the log home market that includes algaecide in all of its stains.) Any sun-exposed area with mold-looking spots should be suspected of being algae.
Do we have to take extra care when re-staining a home with severe mildew? Yes. We want to kill the mildew spores, preferably with oxygen bleach (or regular bleach and LOTS of rinsing). Using a high-quality stain with mildewcides and algaecides is essential for keeping mildew at bay in the future.
Is media blasting good enough to remove severe mildew? When the blasting is sufficient to remove all the visible discoloration, it can be. That level of blasting isn’t always desirable, so it is sometimes preferable to pre-treat the mildewed surfaces with an oxygen bleach before blasting. Will leftover linseed oil in the wood cause future mildew? If the stain is properly formulated with mildewcides and algaecides, there shouldn’t be any problems if the wood has been prepared (blasted) down to the “freshly sanded” color.
Color is a beautiful thing. It can also be the source of sleepless nights, eye-twitching, and the reason you’re popping Tums. Let’s face it, choosing the right color for your log home is a big deal, and it can feel pretty darn stressful. We get it, and we’re here to help! These top-tips go a long way to giving you color confidence!
Get Inspired
First, spend a lot of time just looking around at homes you love. What tones speak to you? Looking at stain colors on other homes gives you a big picture idea of what to expect on your own. We have tons of inspiration for you here.
Take Your Color & Maintenance Temperature
Next, consider maintenance and protection. While every Sashco stain will protect your home from the beating Mother Nature dishes out, darker stains do provide slightly more longevity. Lighter colors require slightly more frequent maintenance. When choosing a stain color, “take your temperature.” What’s most important to you? Want to go darker and go a bit longer between maintenance coats? Great, you’ll be thrilled with colors like Transformation Stain in Brown Tone Dark or Redwood, or Capture Log Stain in Chestnut or Mahogany. Maybe you’re more of a purist and prefer lighter, more natural-looking logs and don’t mind doing maintenance a few months earlier. Perfect, we’ve got just what you’re looking for. You’ll be swooning over colors like Capture Log Stain in Natural or Wheat, or Transformation Stain in Gold Tone Light or Natural.
Try Before You Buy!
Once you’ve decided which color family you prefer, try it on for size! If you’ve ever painted a room, you know that seeing color on a tiny chip versus an entire room is a very different experience. Multiply it by, well, a lot, when you see a stain color online or stain board versus your entire home! If you want total color confidence, you need to know the color you choose for your home is right before you cover the whole dang thing and it’s too late. Many factors influence what a stain looks like on your home—lighting, wood prep, even individual logs impact how stain looks. We take the stress out of selecting a color with the sample packages of your dreams. One quick order gets you product info, samples, and more — all in a fun box. It’s like receiving peace of mind in the mailbox. Get your free stain samples here.
Congratulations! You’re on your way to a gorgeous log home and way better sleep. You can go ahead and toss the Tums.
Tip #1: Proper Prep, Please!
Spend any time around Sashco peeps, and you’ll hear ad nauseam about the importance of proper prep. Why? Because it will guarantee the best long-term performance in a stain. Without proper surface prep, even the best log home stain in the world will fail.
Do you know the five most common signs that you need to do log home stain maintenance?
Identifying signs that it’s time to maintain your log home with a fresh coat of stain, or Cascade® Clear Coat is easy. Start by downloading this handy inspection guide to carry along with you as you perform your inspection as the very first step in your maintenance plan.
Loss of sheen
Most clear coats have a satin sheen when first applied, and while still in good shape. Over time, that clear coat or stain erodes due to weathering. Look at your home in the sun or take a flash light to it. If it looks a bit flat, it’s time for maintenance.
Color shifts in log Stain
Does your stain look darker than it did originally? Perhaps there’s some fading going on where it’s exposed to sun? Both are signs that your stain (and the UV filters in it) have worn off and need to be replenished.
Water not shedding
Break out the hose or a spray bottle. Is water still running down the logs? It should sheet off the wood, not bead up. Any areas where water isn’t “sheeting” well needs a fresh coat of stain or clear coat.
Dirt, pollen, bird poo, etc.
Over time, surface contaminants will eat away at the integrity of your stain. If you can see these contaminants, it’s time for a good wash down at least, and possibly time for more another coat of stain.
New micro checks and cracks in the wood
Have any new micro checks (the tiny cracks in the face of the logs themselves) appeared? If so, those are unprotected by stain and need to be treated! Left unprotected, they’ll allow moisture to come in that can compromise the integrity of the stain, not to mention invite rot. Make sure new micro checks are filled with stain or a your clear coat. (Important note: Make sure any crack that’s 1/4″ wide or larger on the upper curve of the log is caulked with Conceal® or Log Builder®, not just stained.)
We have GREAT news! It’s only necessary to apply more stain and/or a clear coat where it’s needed, when it’s needed.
In some cases, the north and east sides of the home can be skipped the first time you maintain the south and west sides. They don’t get the same UV exposure and don’t tend to need care as soon. Any areas protected by an eave, overhang, or porch will likely require less maintenance over time, too. Proper planning and education will help you stay on top of your maintenance, so many times there’s no need to re-coat the whole darn house every time. (We’re all about saving the weekends for fun and relaxation, too.)
That’s it! Great job! You’ve determined what needs to be done to protect your log home come spring.
Need a little more guidance and help planning? No problem, our customer service team is always happy to help! Give us a call at 800-767-5656.
From roof to foundation, learn what to look for, how to spot early warning signs and how to stay ahead of costly repairs.
A beautiful log home doesn’t stay that way by accident. A little regular attention can go a long way toward protecting your investment, preventing costly repairs and keeping your home looking the way you love it.
Owning a log home comes with its own set of maintenance responsibilities. Wood naturally responds to its environment. Sun, rain, snow, temperature changes, moisture and insects all take their toll over time. Stain wears down. Logs develop checks and cracks. Chinking and caulking can deteriorate. Gutters clog, water finds its way into places it shouldn’t, and little problems can quietly become much bigger ones.
The good news? You don’t have to tackle everything at once.
The secret to successful log home maintenance is staying ahead of the problems. Instead of waiting until your stain is failing or moisture damage appears, make regular inspections part of your homeownership routine.
At Sashco, we call it keeping your log home in the Easy Zone. A little preventative maintenance now can help you avoid the much bigger work of restoring neglected wood later.
So grab a notepad, your phone and maybe a cup of coffee. It’s time to take a walk around your log home.
We recommend performing a thorough maintenance inspection twice a year: once in the spring and once in the fall.
Each season gives you a different opportunity to catch potential problems before the weather changes.
Spring: Assess winter’s damage.
Winter can be tough on a log home. Snow accumulation, freezing and thawing, ice dams and moisture can expose weaknesses that weren’t obvious before.
Your spring inspection should focus on identifying winter damage and preparing your home for summer heat, driving rain and UV exposure.
Pay particular attention to:
Water damage around roofs, gutters and downspouts.
Cracked or deteriorating caulking and chinking.
Areas where stain has worn down over the winter.
New checks or cracks in the logs.
Soft wood, discoloration or other signs of moisture.
Fall: Get your home ready for winter.
Summer brings its own challenges. Driving rain, intense sunlight, humidity, insects and landscaping growth can all affect your home’s exterior.
Your fall inspection is your opportunity to address problems before freezing temperatures arrive.
Pay particular attention to:
Stain erosion and fading from summer sun.
Damaged or deteriorating chinking and caulking.
Clogged gutters and drainage issues.
Insect activity and wood damage.
Areas where water may be collecting against the home.
Twice a year might sound like a lot, but once you get into the habit, you’ll become much more familiar with your home’s condition. You’ll also get better at spotting changes before they become expensive surprises.
Get Your Log Home Inspection Tools Ready
Before heading outside, gather a few simple supplies. A little organization will make your inspection easier and help you remember what needs attention.
Here’s what we recommend:
A rough sketch of your home: Draw the exterior walls and label each side North, South, East and West. Include the garage and other structures. Leave room to make notes about maintenance needs on each side.
Blue painter’s tape: Use it to mark areas that need attention so you can find them again later.
A camera or smartphone: Take pictures of anything that looks questionable, especially areas you want to compare over time or discuss with a contractor.
A maintenance checklist: Use the inspection guide below to work your way around the property.
Something to write with: Record what you find, where you found it and what needs to happen next.
Here’s a helpful tip: Don’t try to fix everything during your inspection. Your first job is to identify and document potential problems. Once you know what needs attention, you can prioritize repairs, gather the right materials and create a realistic maintenance plan.
Your Complete Log Home Maintenance Inspection Checklist
The best way to inspect your home is to start at the top and work your way down. Look at the roof, chimney and eaves first, then move to the walls, windows, foundation and everything surrounding the home.
Take your time. You’re looking for changes, damage, moisture and anything that could allow water, air or insects into places they don’t belong.
Start at the Top: Roof Inspection
Your roof is your home’s first line of defense against the weather. Problems up there can lead to water damage in places you might not see right away.
Check for:
Loose, shifting or cracked shingles, shakes or tiles.
Loose or raised nails.
Loose or warped flashing between the chimney and roof.
Cracks or leaks around roof penetrations, including vents and skylights.
Signs of ice dams, especially around cathedral ceilings, tongue-and-groove ceilings and poorly insulated attics.
Leaky gutters or downspouts.
Full or clogged gutters and downspouts.
Exposed rafters or signs of water damage.
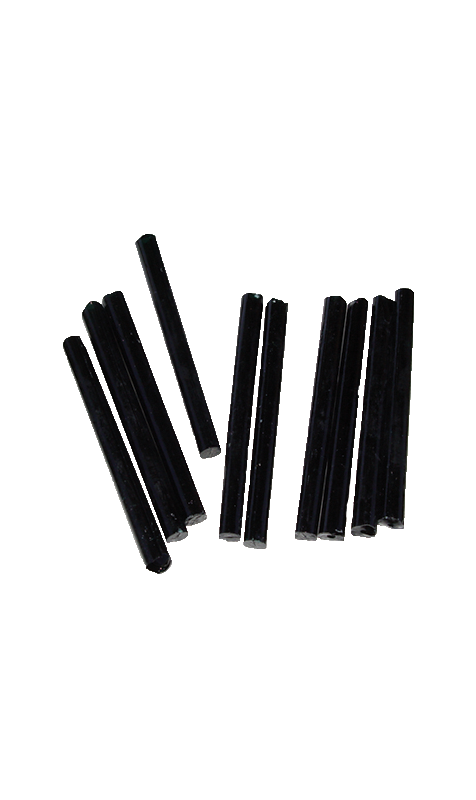
Missing or depleted borate rods. If rods are depleted, investigate where moisture is coming from.
Stain erosion.
If you’re unsure about the extent of roof damage, bring in a qualified professional. Roof issues are worth addressing before they become interior moisture problems.
Check the Chimney
Chimneys are another place where water can find its way into your home. Look for:
Cracked mortar or flue pipe.
Cracks between the chimney and roof.
Cracks between the chimney and walls.
Bird nests or other obstructions. If you discover wildlife, contact local animal control before attempting to move it.
Efflorescence (white, powdery deposits on masonry), which can indicate moisture infiltration.
Plants growing inside or outside the chimney, another potential sign of moisture infiltration.
Don’t ignore small cracks or signs of water intrusion. Have questionable chimney conditions evaluated by the appropriate professional.
Inspect the Eaves, Fascia and Soffits
The areas under your roofline can reveal problems with moisture, insects and deteriorating wood.
Look for:
Insects or other critter infiltration. (Bats love to hide in attics!)
Water staining on tongue-and-groove porch ceilings.
Cracks between the roof and walls.
Damaged fascia or soffits.
Damaged or eroding stain.
Soft wood.
Water stains or soft wood deserve particular attention. They may indicate a leak or moisture problem that needs to be identified and corrected.
Inspect Your Log Walls
Now we’re getting to the heart of your log home.
Your exterior log walls take a beating from sun, rain, wind and temperature changes. This is where you’ll want to pay close attention to the condition of your stain, the logs themselves and the caulking or chinking between log courses.
Check caulking and chinking:
Cracked or deteriorating caulk or chinking around windows.
Cracked or deteriorating caulk or chinking around doors.
Cracks around wall penetrations, including fans and exhaust pipes.
Cracks in checks or openings in the logs.
Gaps or separation between log courses.
Look for changes in the logs:
New or widening cracks in logs or other wood surfaces.
Popped knots.
Insect infiltration.
Early signs of rot, including water staining, soft wood, mold or mildew.
Wood piles, leaves, furniture or other items stacked against the walls that should be moved.
Pay special attention to cracks in the logs. As a general Sashco inspection guideline, cracks less than ¼ inch wide may need stain protection, while cracks ¼ inch wide or larger on the upper curve of a log need appropriate caulking rather than simply another coat of stain. Have questionable or unusual cracks evaluated before choosing a repair.
Check the condition of your stain:
Your stain does more than make your home look beautiful. It helps protect the wood from the elements, including moisture and damaging UV exposure.
Look for:
Erosion or areas where the finish appears worn.
Discoloration. Some darkening is normal, but noticeable fading should be marked.
Differences in sheen or areas that appear dull.
Water that beads instead of shedding or sheeting down the surface.
Peeling or flaking.
Look for sources of excess water:
Sprinklers hitting the log walls.
Loose hose connections or spigots spraying water onto the walls.
Splashback from the ground near the home.
Leaky gutters and downspouts that allow water to run down the walls.
Don’t forget to move anything that holds moisture against your logs. Keeping leaves, firewood, furniture and other items away from the walls helps prevent moisture from lingering against the wood.
Check Windows and Sills
Windows and doors are common places for water to find an entry point.
Inspect:
Window sills to make sure proper drainage is still in place.
Missing or damaged weather stripping.
Flashing above windows, doors, wall projections and intersections.
Borate rods. Check whether existing rods need replacing or whether new ones need to be installed.
Pay attention to any staining or deterioration around the openings. Water intrusion can affect the surrounding wood and interior of your home.
Inspect the Foundation
Your foundation plays an important role in keeping moisture away from your home.
Look for:
Cracks between the foundation and walls.
Efflorescence.
Cracks in the foundation, including stone or brick facing.
If you aren’t sure about the extent of a crack or other foundation damage, contact a qualified foundation specialist.
Don’t Forget Railings
Deck and porch railings are exposed to the elements, too. They also have an important safety job to do.
Check for:
Stain erosion, peeling or discoloration.
Mold or mildew.
New checks or cracks.
Spindle weep holes that are blocked or no longer draining water.
Loose or unstable spindles.
Make sure water can drain properly and that all railing components remain secure.
Inspect Your Deck
Decks take plenty of abuse from sun, rain, foot traffic and changing temperatures.
Look for:
Loose deck planks.
Exposed or popped nail heads.
Proper drainage from the deck to the ground.
Peeling or eroding stain.
Cracked or flaking wood.
Discoloration.
Mold or mildew.
Pay attention to areas where water tends to collect. Proper drainage and a maintained finish help protect the wood over time.
Finish with the Patio, Ground and Landscaping
The area immediately surrounding your home can have a big impact on its long-term condition.
Check for:
Proper drainage that directs water away from the home.
Cracked concrete in patios, driveways, sidewalks and garage floors.
Potholes and spalling concrete.
Bushes and plants growing too close to wood walls. Keep landscaping at least 18 inches away from the walls.
Tree canopies that need trimming or monitoring to help control pollen, insects and moisture dripping onto the home.
Good drainage and thoughtful landscaping help reduce the amount of moisture your home is exposed to.
Five Signs Your Log Home Stain Needs Attention
Watch for peeling stain.
One of the most important parts of your inspection is evaluating your stain. You don’t necessarily need to restain your entire home every time you perform maintenance. The key is knowing what to look for and addressing areas that need attention before the finish deteriorates too far.
Here are five signs it’s time to take a closer look.
Many finishes have a satin sheen when they’re in good condition. As they weather and erode, the surface can begin to look dull or flat.
Look at your logs in direct sunlight or shine a flashlight across the surface. If some areas look noticeably flatter than others, they may need maintenance.
2. Your stain color has changed.
Has the stain faded in areas exposed to direct sunlight? Does it look darker or different than it did originally?
Color changes can be a sign that the finish has weathered and its protective components have worn down. Mark these areas so you can evaluate whether they need additional maintenance.
3. Water isn’t shedding properly.
This is a simple test you can perform during your inspection.
Use a hose or spray bottle to lightly wet a small area of the log wall. Water should sheet down the surface rather than simply bead up.
If water isn’t shedding properly in certain areas, your finish may need attention.
4. Dirt, pollen, mold or other contaminants have accumulated.
Dirt, pollen, bird droppings and other surface contaminants can affect the integrity of your stain over time.
If you see buildup, your home may need cleaning before you consider applying another maintenance coat.
Micro-checks are the small cracks that develop in the face of logs. When new checks appear, they expose areas of wood that may not have the same protection as the surrounding surface.
These openings can allow moisture to enter the wood. Smaller checks may need additional stain or clear coat, while larger openings may require an appropriate sealant.
Don’t simply paint over every crack. Evaluate its size, location and condition to determine the correct repair.
Here’s the Good News: You Don’t Have to Restain the Entire House!
One of the biggest misconceptions about log home maintenance is that when one side needs attention, the entire home needs to be restained.
That isn’t necessarily true.
Different sides of your home experience different levels of exposure. South- and west-facing walls typically receive more direct sunlight and UV exposure than north- and east-facing walls. Areas protected by roof overhangs, eaves and porches may also require less frequent maintenance.
That’s why regular inspections are so important.
You may find that one wall needs a maintenance coat while another is still in great shape. Addressing the areas that need attention, when they need it, can save time, money and a whole lot of unnecessary work.
The goal isn’t to put another coat on everything just because it’s been a few years. It’s to understand what your home needs and respond accordingly.
What to Do Once You’ve Completed Your Inspection
Now that you’ve walked around your home and documented the areas that need attention, it’s time to make a plan.
Start by organizing your findings into three categories:
Needs attention now: Active leaks, significant water intrusion, soft or deteriorating wood, failing chinking or other conditions that could allow additional damage.
Plan for maintenance: Areas with fading stain, loss of sheen, dirt buildup, small checks or other signs that routine maintenance is needed.
Keep an eye on it: Areas that look good now but should be checked again during your next inspection.
Once you’ve prioritized the work, gather the appropriate materials and decide which projects you can handle yourself and where you’ll need a professional.
Not sure what a particular problem means or how to address it? That’s a good time to reach out to a knowledgeable log home contractor or contact Sashco’s customer service team for guidance.
Every log home is different, and the right maintenance approach depends on the condition of your wood, the products already on your home and the type of repair needed.
Keep Learning: Helpful Log Home Maintenance Resources
If your inspection turns up something you’re not sure how to handle, these resources are a great place to start.
How to Stain a Log Home: Learn about surface preparation, stain application and the steps involved in protecting your logs.
Find a Log Home Contractor: Connect with an experienced professional when a project is beyond your comfort level.
A Little Maintenance Goes a Long Way
Your log home is more than a house. It’s an investment, a gathering place and a whole lot of memories waiting to happen.
Taking the time to inspect and maintain it twice a year can help you catch small problems, protect the wood and avoid unnecessary restoration work down the road.
You don’t have to do everything in one weekend. You don’t have to tackle every project yourself. And you certainly don’t have to wait until something goes wrong to give your home a little attention.
Make your spring and fall inspections a habit. Keep notes, take pictures and address issues as they arise.
Stay ahead of the weather, stay on top of maintenance and keep your log home in the Easy Zone.
Happy inspecting!
Need help figuring out what your log home needs? Sashco’s team is happy to help. Call 800-767-5656 or explore our log home education resources at Sashco.com.
Ready to stain? Don’t guess! Sample. Testing stain colors on your actual logs before committing ensures that you get exactly the look you want and helps prevent “oops” moments later. Snag your free samples here.
Don’t compromise at the end of a long and arduous journey by using an inferior stain not designed for logs. Capture and Cascade deliver performance worthy of the journey that got you here.
Moves with your logs and timbers
Won't hide the wood grain
Easy clear coat maintenance with Cascade(R) exterior clear coat
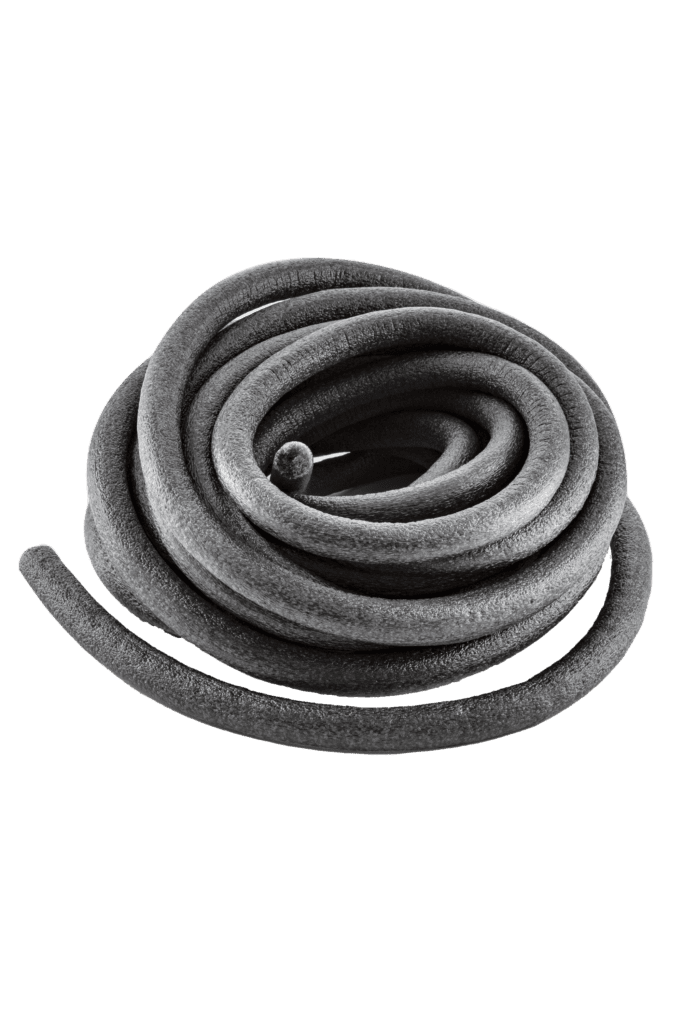
Backer Materials that Seal Things Right the First Time Backer Rod, Grip Strip, and Log Gap Cap all help you create the ideal joint desing for a long-lasting, durable seal
Logs are in constant dynamic motion. That's why there's Log Builder®, the sealant made for log structures. Stretches up to 500% of original size, while still maintaining tenacious adhesion to the wood.
When other chinking pulls away, Log Jam holds its seal With Log Jam chinking, you can keep the cozy feel and rustic look of a log home without compromising comfort and performance.
Easy to Use - Hard to See Keep out weather, bugs, and moisture without seeing it. Conceal disappears into the woodwork so you don't know the wood starts and the caulk begins.
It's Music to the Eyes Symphony works in harmony with the unique character of your logs and wood to reflect an atmosphere or cozy warmth and elegance while creating and scuff-resistant and durable surface that's easy to dust.
Right Color. Right Quantity. Right Now. Never run out of stain at the jobsite again. Stock exactly what you need in your truck or trailer at the jobsite.
Easy to mix
The same color, durability, and application you've come to expect from Capture Log Stain and Transformation Log & Timber
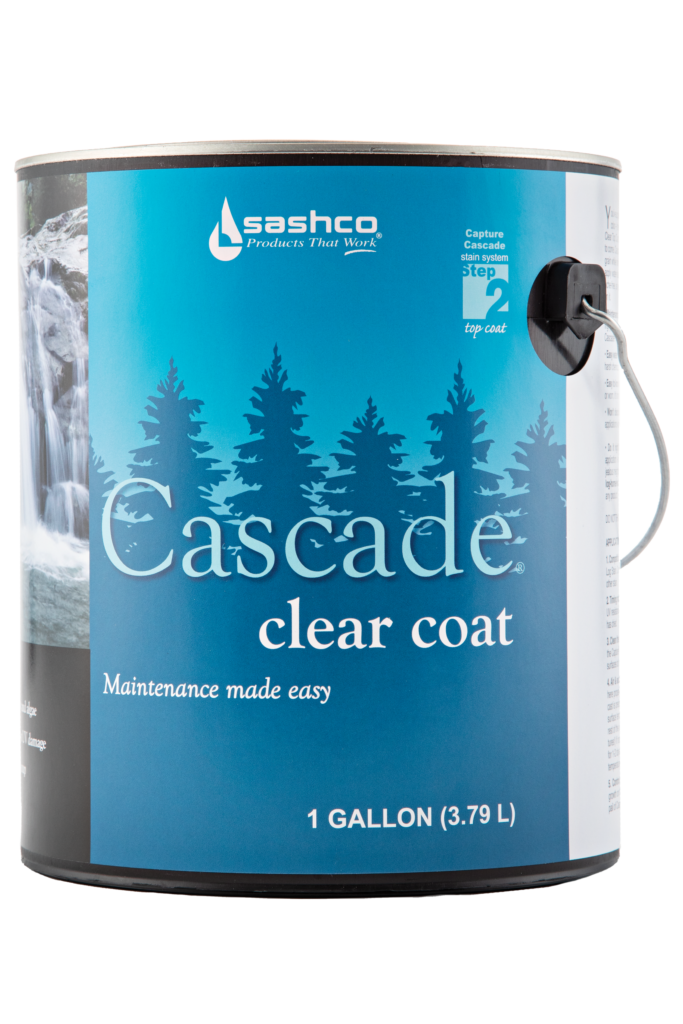
Maintenance Made Easy Now that Capture® Log Stain is applied, it’s time for Cascade® Clear Topcoat to bring out the depth and character of your unique woodgrain while protecting it against moisture, mildew, and algae. Predictable and affordable routine maintenance with Cascade throughout the years means your home stays protected and beautiful. Easy!
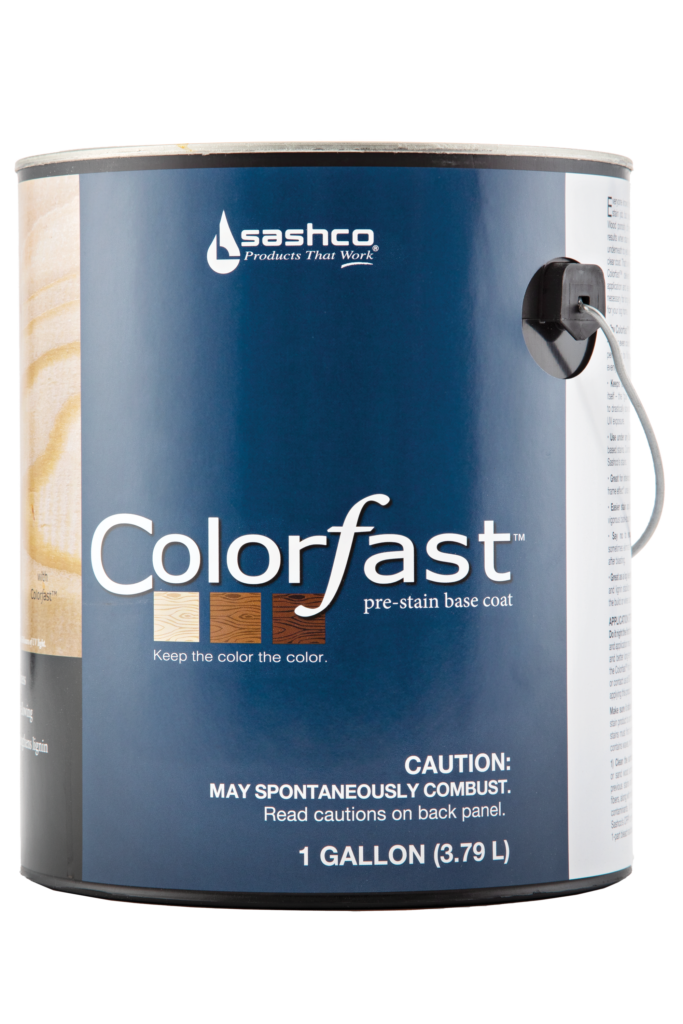
Keep the Color the Color Colorfast delivers the ideal canvas for stain application and leaves behind the strong foundation necessary for long-lasting color. It’s color confidence for your log home.
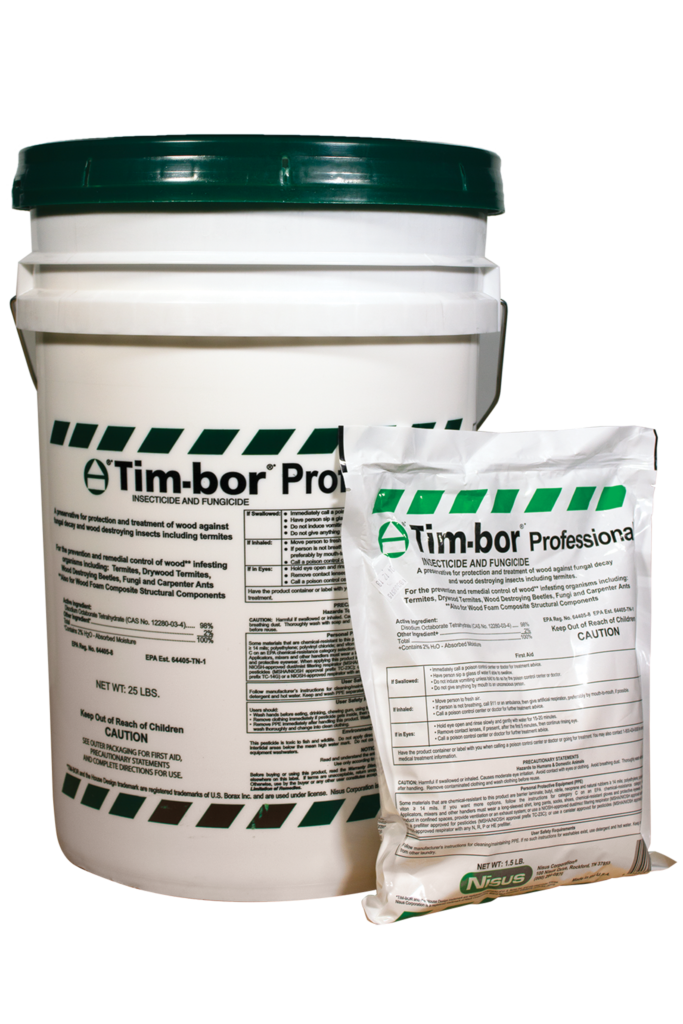
Rot, weather, insects, fungi all pose a serious threat to your logs. Protect your investment—treat your logs first to make them last. Tim-bor® helps protect your home from the costly damage caused by rot and insect infestation.
Bugs don't stand a chance
Easy to mix and apply
Prevents decay fungi
Costs 5 times less than glycol-based borate products
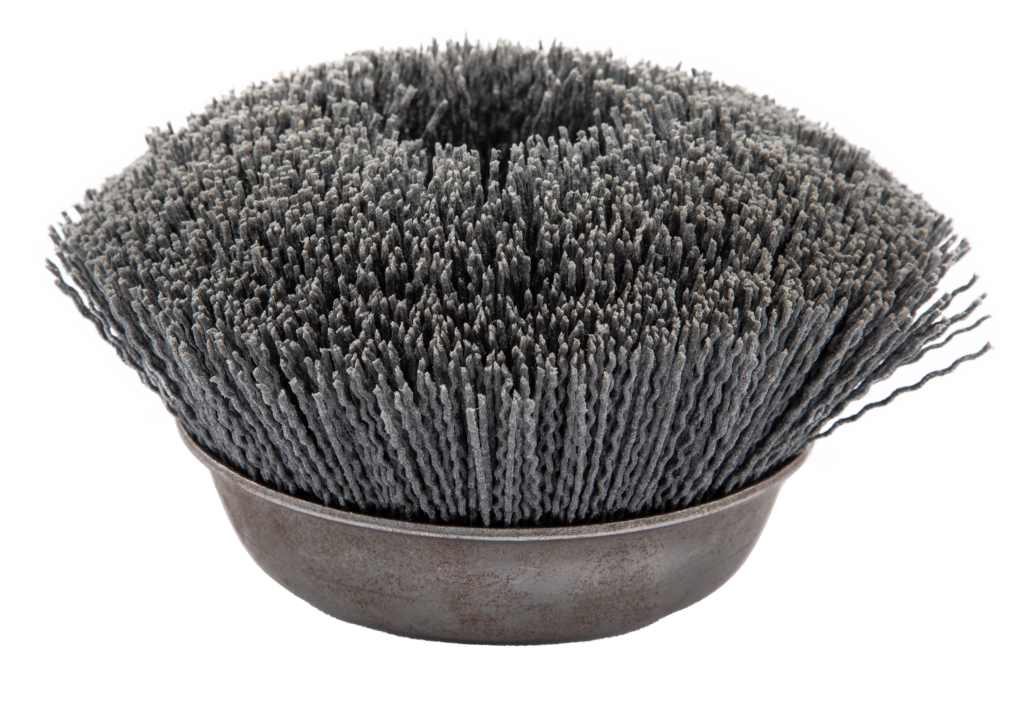
Remove Wood Felting and Raised Grain Remove wood fuzz (called felting) after power washing or media blasting, and knock down excessive raised grain with Sashco's finish sanding tools
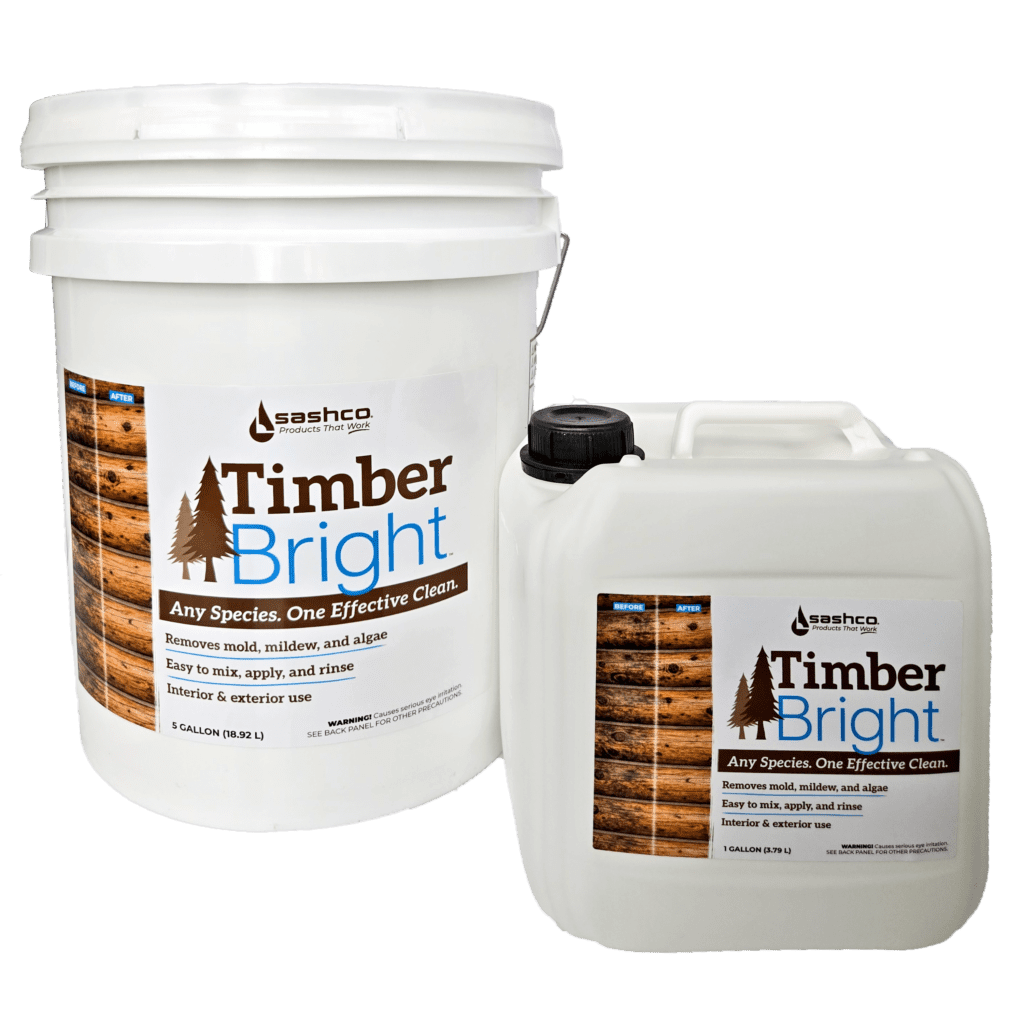
Clean and brighten bare logs and wood, remove surface dirt, pollen, and kill mold for maintenance, and keep your logs looking fresh with CPR Log Cleaner and Brightener