Step 3 – How to Stain a Log Home
Yeah, log homes are beautiful and you love yours. But we doubt you’re just hankerin’ to stain a log cabin every weekend. Here’s how to get a beautiful log or wood home without spending your life staining it.
What You’ll Need
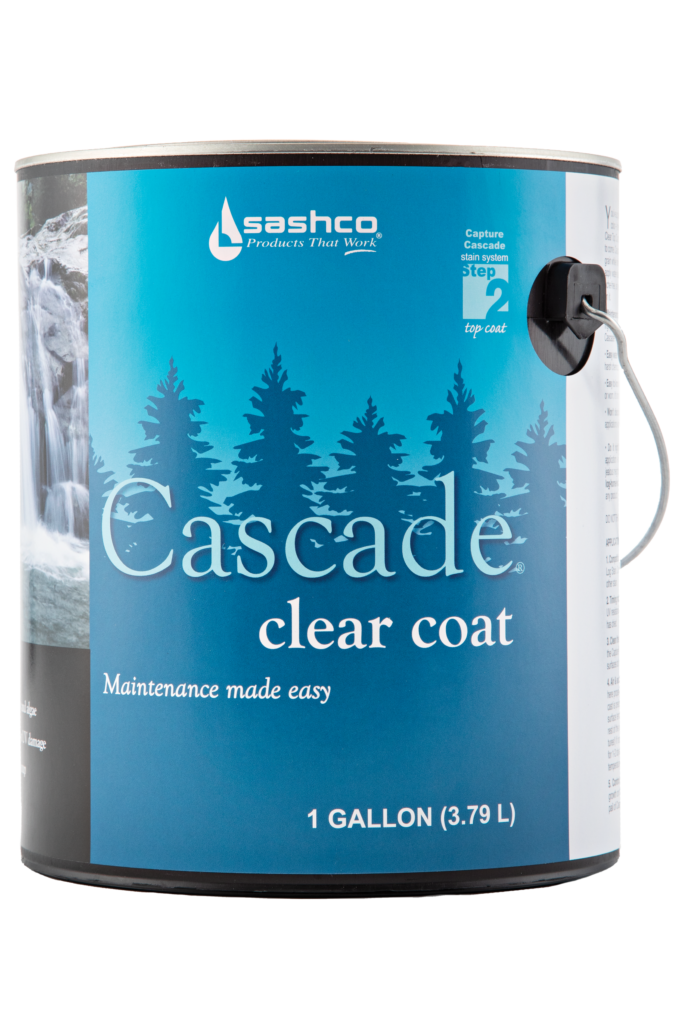
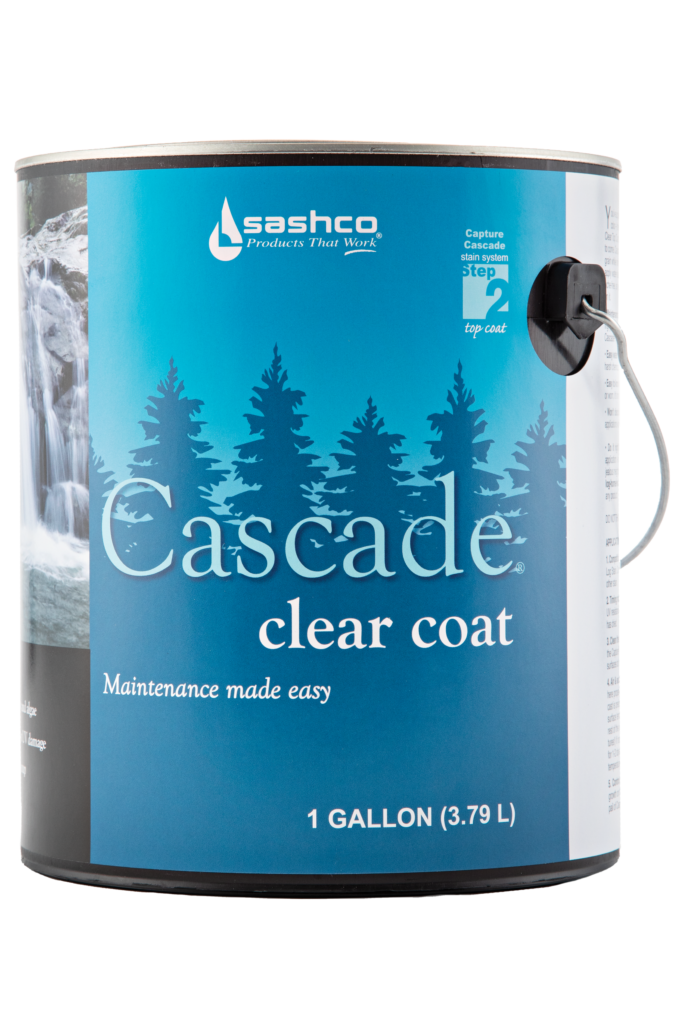
Cascade® Clear Top Coat
Clear finishing top coat for use over top of Sashco’s Capture® log home stain

Symphony® Interior Wood Clear Coat
Water-based clear interior wood finish enhances natural wood grain and provides hassle-free cleaning
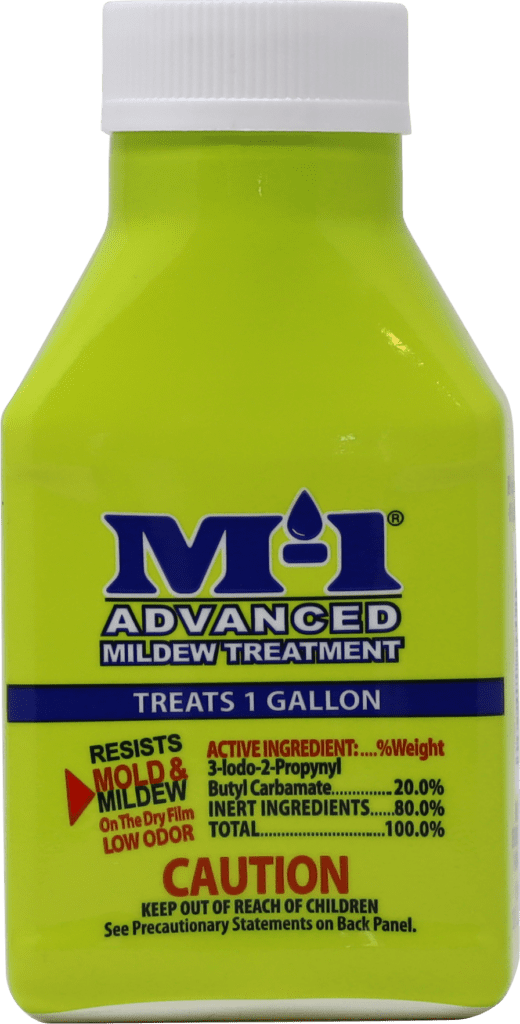
Stay Clean Mildewcide Additive
Mixes with Sashco stains to prevent surface mold and mildew growth on wood surfaces in between maintenance coats
Step 1 – Gather tools
You’ll need:
- One of the products listed above
- Plastic sheeting to protect surfaces not getting stained
- Sashco’s CPR, if necessary, to remove surface contaminants
- A power washer or media blaster for surface prep
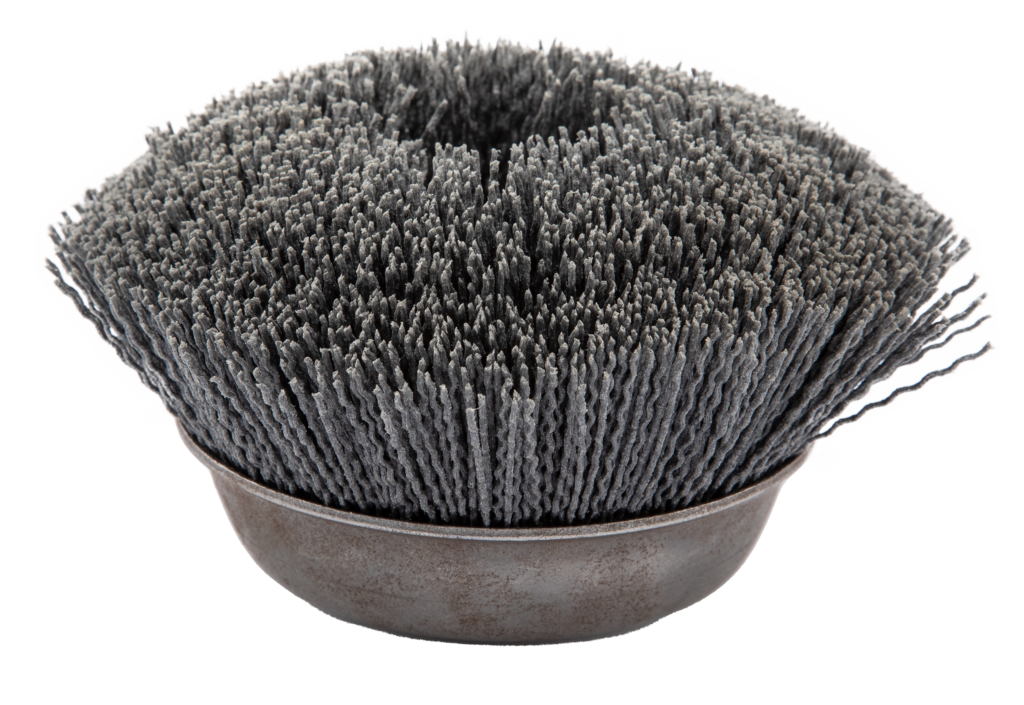
- Sand paper, Sashco’s Buffy Pad System or Osborn brushes (or a combination of all) to remove wood fuzz (called felting)
- Squirrel cage mixer to mix the stain
- Stain sprayer
- Large (5-6” wide) long-handled stain brushes
- Some buddies to help
- Food to feed said buddies
Step 2 – Prep the surface
Great stain jobs and longevity start with great surface prep. After you’ve covered up plants, windows, fixtures, etc., use a media blaster or power washer to get rid of all peeling stain, gray wood, dust, pollen, mold, bird poo, etc. You want the surface to be as close to original wood as possible. Allow the surface to thoroughly dry before staining.
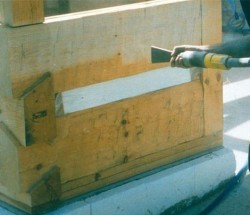
Step 3 – Apply the stain
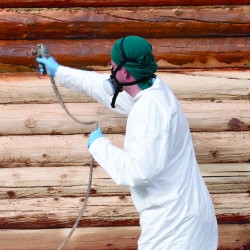
Drench it. Don’t skimp. Apply it really heavily. We can’t say it enough: the more stain you can get on the surface, the better.
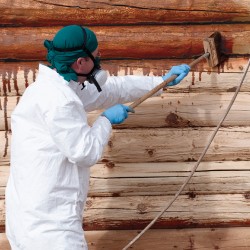
Step 4 – Immediately back-brush the stain
Use those long-handled paint brushes to really push the stain into the wood. This is where those buddies come in handy.
Step 5 – Repeat
After the first coat is completely dry, apply a 2nd coat of stain. Two coats are best for longevity, protection, even color, and an overall awesome looking log or wood home.
Step 6 – Apply the clear coat (if necessary)
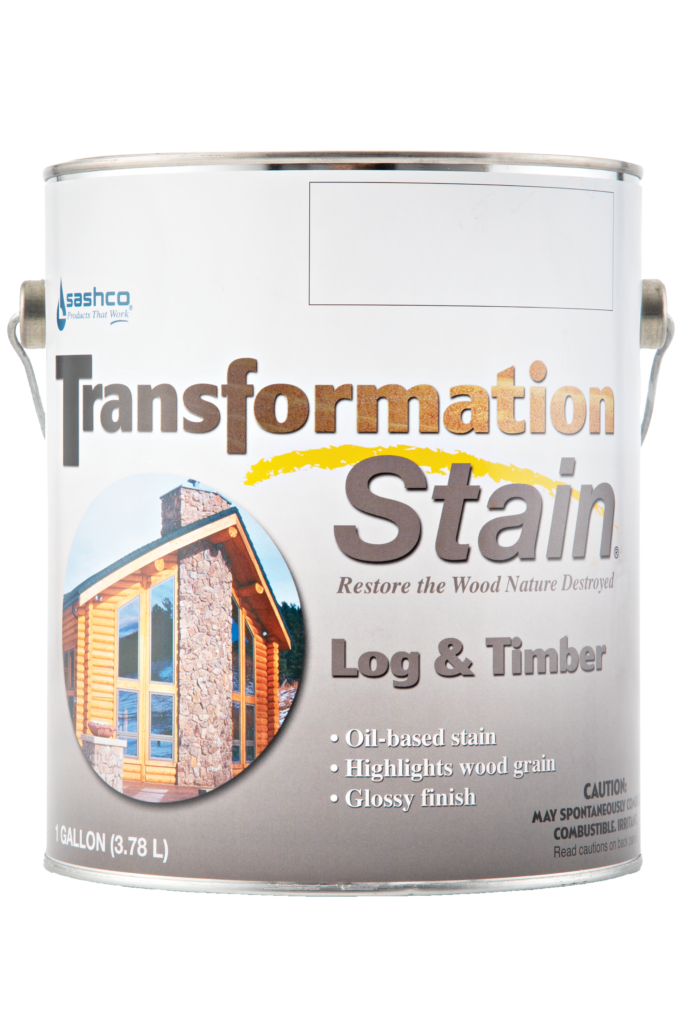
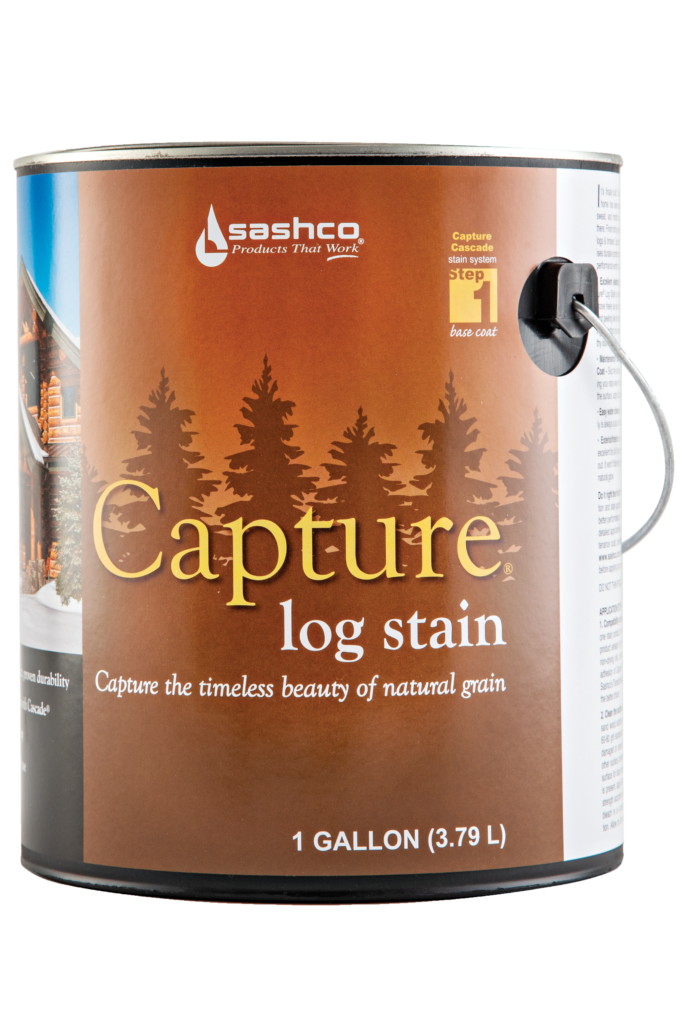
If you chose Capture Log Stain, now is the time to apply the Cascade clear coat. Apply it once the stain itself is dry. Just brush out runs.
Step 7 – Clean up as you go
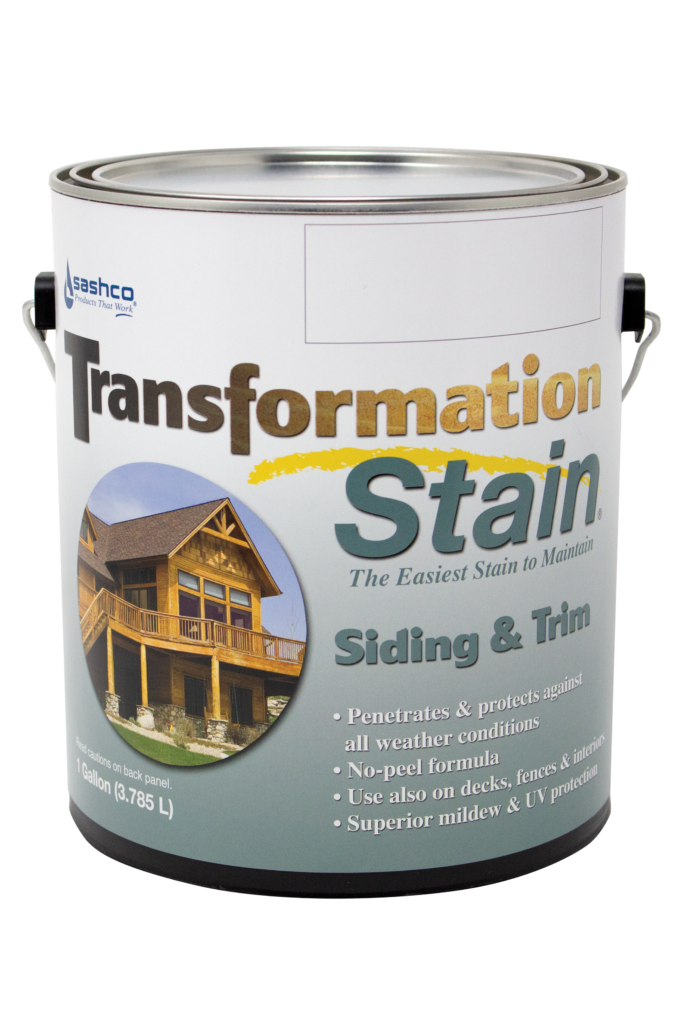
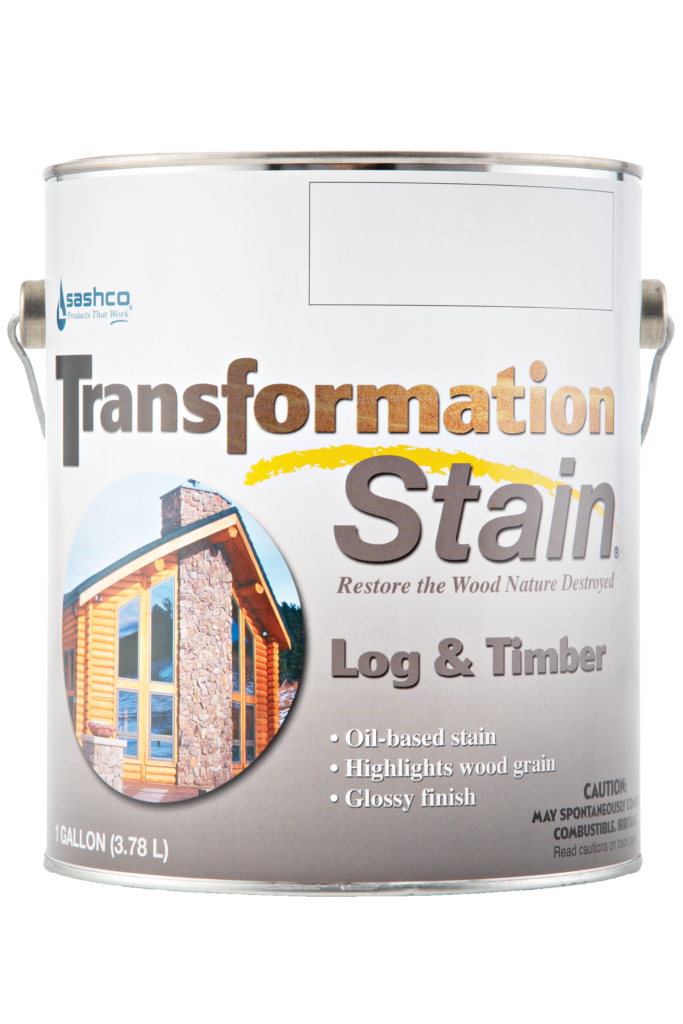
Use soap and water* or mineral spirits**, and don’t leave this until you’re done. Clean up drips and unwanted surface spills right away. Trust us: they’ll be hard to remove once dry.*with Capture Log Stain, Cascade, and Transformation Siding & Trim**with Transformation Log & Timber
Step 8 – Enjoy
You just accomplished a major feat. Enjoy it!
Special Tip
As you stain a log house, work in the shade. This prevents the stain from drying too quickly and not properly penetrating into the wood, and it keeps you from sweating as much. Score!
