How to Caulk a Log Home
By now, you’ve figured out that logs move…a lot. And when they do, they leave behind cracks and checks galore. Read on to learn how to seal your log home. Seal ‘em up to seal out the weather and live to hear those logs move another day.
What You’ll Need

Conceal®
Water-based acrylic latex textured wood caulk
Step 1 – Gather tools
You’ll need:
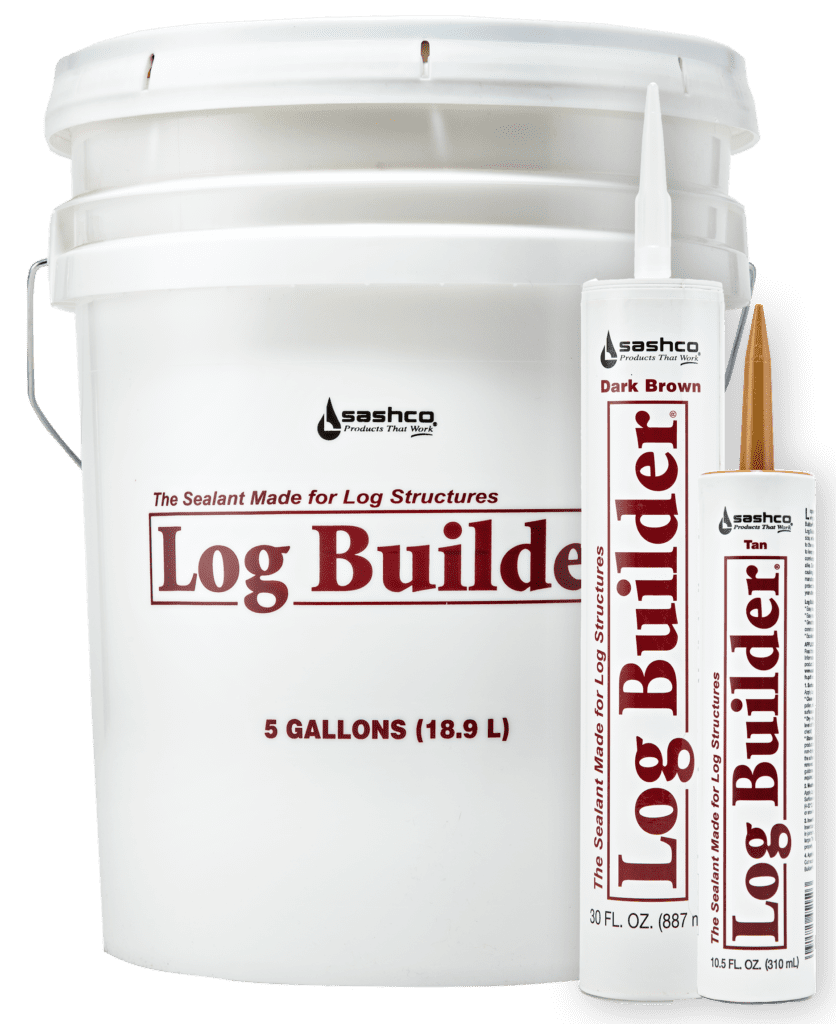
- One of the products listed above
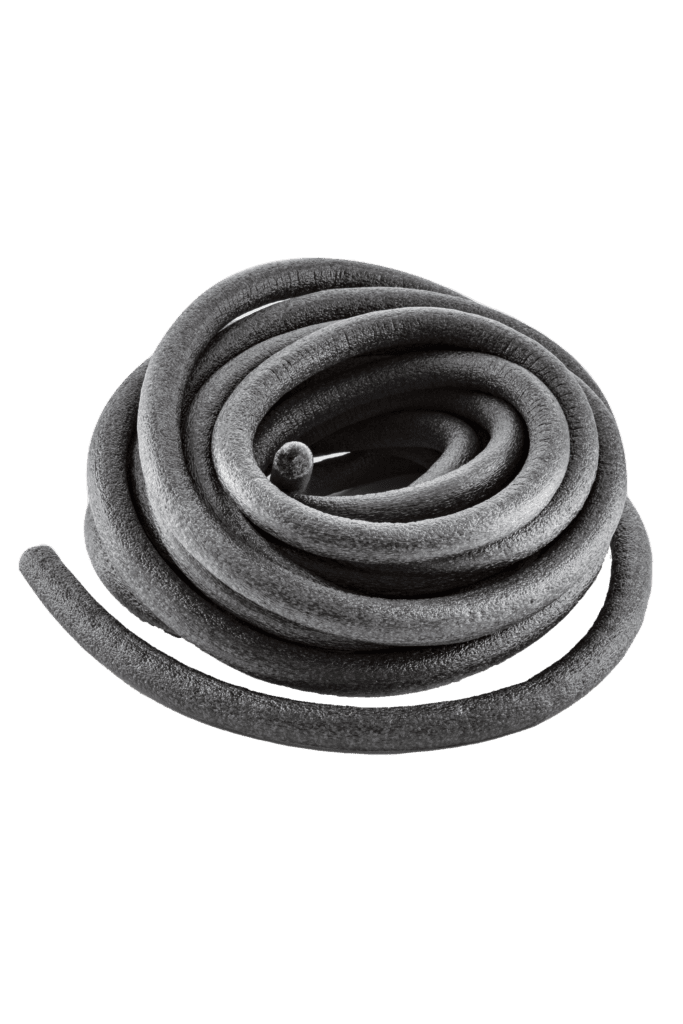
- Backer rod
- Utility knife to open the caulk cartridge
- Caulk gun
- A beading tool, trowels or foam brushes for tooling
- Damp rags for clean-up
- Some denim overalls so you can feel very Paul Bunyan-ish while working
Step 2 – Clean the joints
If you want your caulking job to stick and stretch for years to come, make sure you clean out dirt, flaking stain, gray and otherwise damaged wood fibers, and other contaminants.
Step 3 – Insert Filler Rope™
Any crack that’s deeper than ½” and wider than ¼” needs Sashco’s Filler Rope™ or some other type of backer rod so the caulking will properly stretch, and so you use less caulking.
Step 4 – Apply the caulk
A steady hand is helpful, so put down the coffee for a bit. This will help you avoid making unnecessary messes.
Step 5 – Tool (smooth) the caulk
Use a damp foam brush, a trowel, or your trusty fingers to create a good-lookin’ bead and ensure the caulk is sticking to the sides of the joint properly. For an even neater bead, line the joints with blue painter’s tape. Remove tape after tooling but before the caulk dries.
Step 6 – Clean up
Use soap and water to clean up skin and tools. Grab that coffee again, along with some of those roasted chestnuts and admire your log home sealing job.
Special Tip
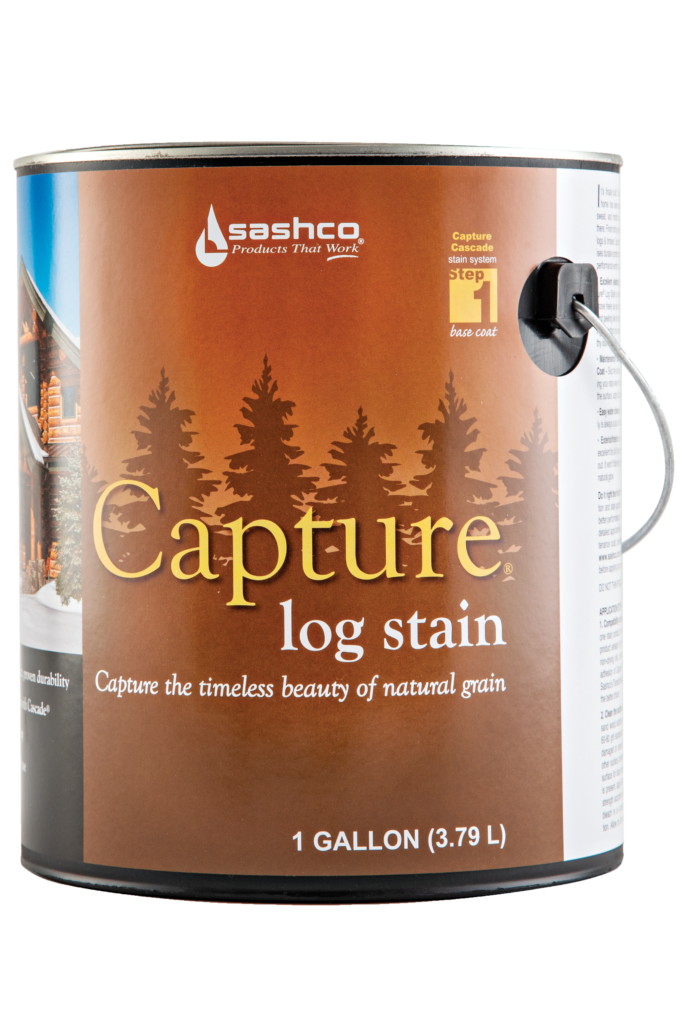
When learning how to seal a log home, it’s important that the stain you use be chemically compatible with the caulk you use. If they’re not compatible, the caulk won’t stick and you’ll end up where you started. Good news: all Sashco stains are compatible with Sashco caulks. But if you’re not sure what stain was used, contact us and we’ll help you figure it out.
