You just applied the perfect caulking bead. So, then what’s up with the caulk shrinkage?
It was even with the surface. You even outlined the joint with painter’s tape to make sure it looked clean when done. Now, a couple days later, the caulk bead has gone concave. It’s the incredible shrinking caulk! What happened?
Have no fear: shrinking caulk is actually a good thing.
Shrinking Caulk = Better Performance
Fact is, shrinking caulk is a sign of good elasticity. In order to achieve that elasticity, fewer fillers are used. Those fillers are great for creating a nice, even caulk line with the surface, but too many fillers create a thick, hard sealant with no stretch. It will quickly crack, creating rework for you. (Ugh!)
But why do I need elasticity?
Because homes move. Your bathtub moves every time you get in and out of it. Your window shifts with the wind, and your door frame shrinks every time you turn on the heat. All of this movement stresses the sealants used in those areas. A nice, non-shrinking caulking product will look great when first applied, but at the first sign of movement, it will crack or lose adhesion. And we’re pretty sure that repairing cracked caulk isn’t what you enjoy doing with your weekends. So avoid cracked caulk by using high-performance, ultra-elastic sealants. All of Sashco’s products are formulated with obscene amounts of elasticity to last longer.
But I don’t like how shrinking caulk looks, so what can I do?
Simply apply more caulk a day or two later. You’ll achieve the even caulking bead look you want without sacrificing performance. (Make sure you don’t apply it too thickly or it won’t stretch properly.)
Most importantly, have peace of mind knowing that a slightly concave caulk joint means your hard work is going to last longer. You have more important things to do than repair failed caulking anyway, right?
Why use caulk? What is its purpose? We’ve got some caulking tips for you!
No, your new caulk won’t stick to silicone caulk. Sorry to be so abrupt, but it’s the truth. You can stop reading now if you don’t want all of the details and the whys. Here at Sashco, we love the “whys,” so we’re trudging ahead.Nothing sticks to silicone – not paint, not new caulking products. Not even silicone will stick to itself.
Fact is: nothing will stick to silicone – not even silicone. For the average person who needs to re-caulk their windows, bathtub, or anything else around the house, failed silicone means starting over from the very beginning.
Why won’t your new caulk stick to silicone?
You see, silicone has oils in it. These oils are introverts. They don’t like crowds. When silicone is first applied, these oils are all together in one happy bead of caulk. It’s quite the crowd! Over time, their introverted nature kicks in and they have to exit the crowd. Those oils migrate out of the original silicone bead to find some open space. They might migrate into whatever porous surface is nearby, or they’ll just hang out in their own happy little space on the surface of the original bead. (Perhaps there’s a happy little tree there, too.)
In the meantime, nothing else is allowed into their space. They’re quite stubborn about it. Their space is for them only, so no new sealants – no matter the kind! – will stick.
What can you do if you need to re-caulk and silicone is present?
You have two options:
Use a silicone caulk remover to remove all silicone before applying new caulk. Completely remove the silicone.
Apply the new caulk over top, making sure the new caulk bead is wider and outside of the silicone caulk, sticking to a clean, silicone-free surface.
Use a silicone remover, readily available at hardware stores, to get rid of all traces of silicone.
Thoroughly clean the surface with rubbing alcohol to make sure there is no silicone residue left.
Once any silicone is removed, you can apply new caulk. Reapply caulk. (Psst…Sashco’s products would be great for your re-caulking project!)
Option 2: Apply a wider bead of caulk
Clean the surface of the silicone bead, as well as surrounding areas, with rubbing alcohol to remove as much oil as possible.
Test a small area with the wider bead of caulk. Make sure no silicone oil molecules are still residing where the new bead needs to stick.
If the test turns out OK, apply the new caulk, making sure it’s sticking to clean surfaces on either side of the silicone.
Cross your fingers and hope that the oils don’t decide to become a menace and hurt the new sealant adhesion in the future. If that doesn’t work, revert to Option 1.
For future consideration
Silicone has its place in the world. It’s great for applications where there are extreme temperatures. (They love it in Antarctica!) But for most areas around the home, it’s not ideal. Instead, choose a high-performance sealant (like Sashco’s) with excellent elasticity and adhesion to a variety of surfaces. Then, make sure that product will stick to itself, in case you have to do repairs down the road. All of Sashco’s sealants will stick to themselves, making any (unlikely) future repairs or retrofits much easier.
Need some more info? Here are some other resources:
No, your new caulk won’t stick to silicone caulk. Sorry to be so abrupt, but it’s the truth. You can stop reading now if you don’t want all of the details and the whys. Here at Sashco, we love the “whys,” so we’re trudging ahead.
We’ve got all the caulk geek answers you could ever hope for on how water-based caulks and sealants dry (aka cure).
Rain and humidity and my caulk won’t dry – oh my!
The United States experienced the wettest May on record in 2015. All of that rain was great for flowers, trees, and weeds. For some, it created another problem: caulking that took a lot longer than normal to dry. Why? Keep reading!
How do water-based caulking and sealants dry (aka cure)?
The short answer is: by evaporation. (Here is a quick trip back to elementary science for a great explanation.)
The combination of wet weather and the accompanying cooler temperatures creates an abundance of water vapor (humidity) in the air. Higher humidity means moisture can’t evaporate as quickly, and frizzy hair and mushrooms thrive!
This means that water-based caulking and sealants don’t cure as quickly, either.
Keep in mind, most manufacturers give instructions based on ideal temperatures and humidity (70⁰F and 30% or lower relative humidity.) When these ideals are out of whack, cure times will change.
That quick-dry 30 minute caulk may now take a few hours to cure. In addition, with all caulking products, the larger the joint that is filled, the longer the product will take to dry. That 1” wide crack in your concrete sidewalk may take up to 2 weeks to dry under ideal conditions. In humid conditions, it may take up to a month or more. And don’t forget – surfaces that hold moisture (like concrete that has gotten wet from rain or sprinklers) will add to that!
So, does this mean you shouldn’t caulk anything right now?
Keep caulking! It’s important to keep moisture and insects where they belong – outside.
Absolutely not! It’s important to keep all of that moisture out. It does mean taking some extra precautions to protect the caulking during the early stages of drying. For instance:
• Cover it: Put some plywood over that sidewalk crack for the first 2-4 days to protect it from direct rain. Or, put some plastic sheeting over the window you just caulked to protect it.
• Then, uncover it: When it’s sunny and warm, let the sunshine in! The warmth will help the caulking cure, even in humid conditions.
• Don’t touch: Keep fingers, toes, and tools out of fresh caulking for the first 24-48 hours after application to allow that initial drying process to happen. Even after that, the sealant may remain soft and somewhat tacky for a while.
• Bring out the fans: To speed up the drying process, point a fan or two directly on the sealant.
• Don’t worry: Though it may be soft and tacky for a while, the caulk will still hold its seal to keep out rain.
It’s also a perfect opportunity to practice patience.
You know that saying, “A watched pot never boils?” Well, a watched caulk bead will never cure. As long as the caulk is holding back that moisture, no watching is necessary.
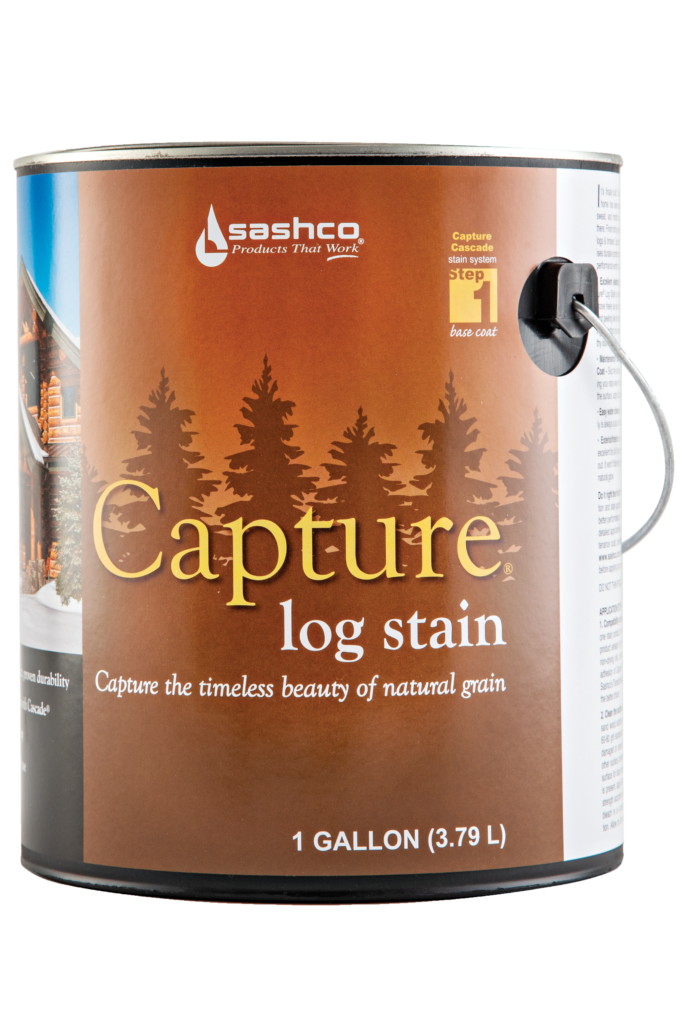
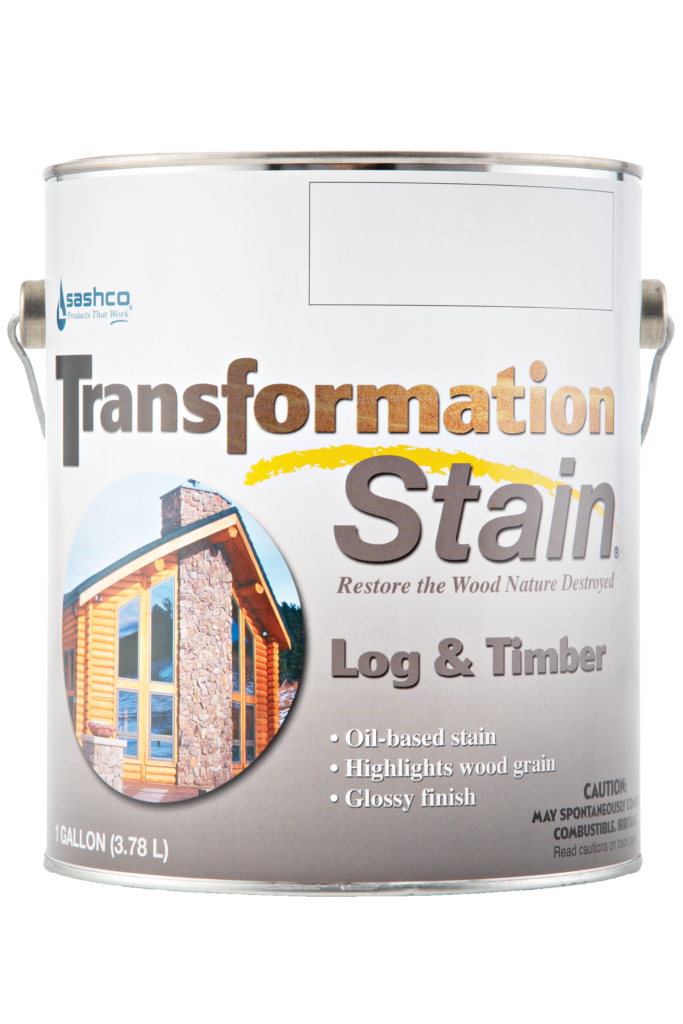
Don’t compromise at the end of a long and arduous journey by using an inferior stain not designed for logs. Capture and Cascade deliver performance worthy of the journey that got you here.
Moves with your logs and timbers
Won't hide the wood grain
Easy clear coat maintenance with Cascade(R) exterior clear coat
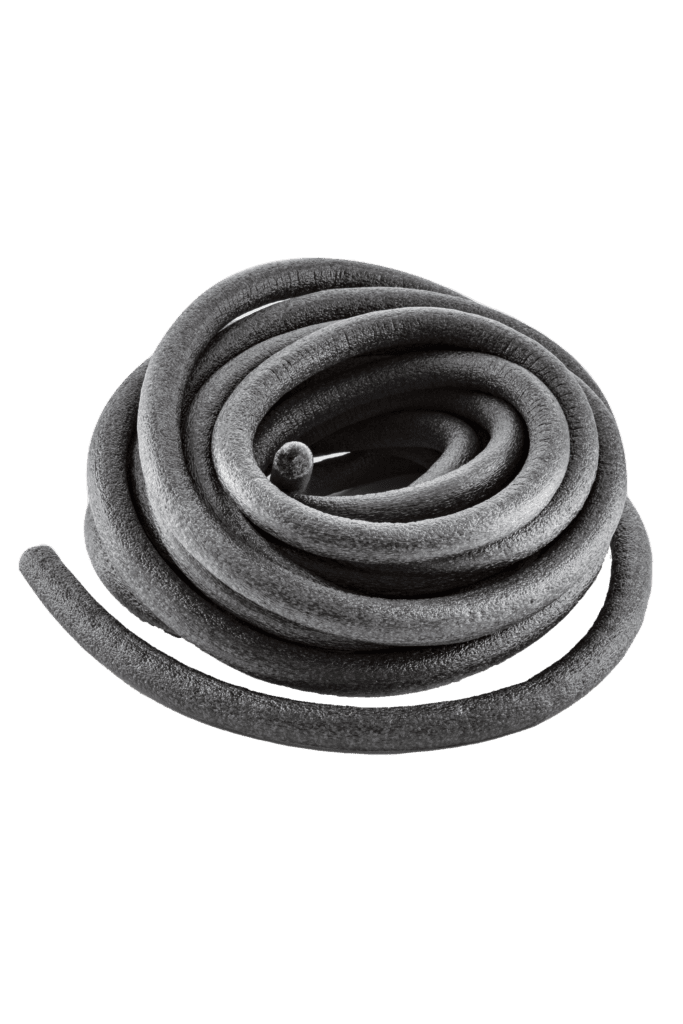
Backer Materials that Seal Things Right the First Time Backer Rod, Grip Strip, and Log Gap Cap all help you create the ideal joint desing for a long-lasting, durable seal
Logs are in constant dynamic motion. That's why there's Log Builder®, the sealant made for log structures. Stretches up to 500% of original size, while still maintaining tenacious adhesion to the wood.
When other chinking pulls away, Log Jam holds its seal With Log Jam chinking, you can keep the cozy feel and rustic look of a log home without compromising comfort and performance.
Easy to Use - Hard to See Keep out weather, bugs, and moisture without seeing it. Conceal disappears into the woodwork so you don't know the wood starts and the caulk begins.
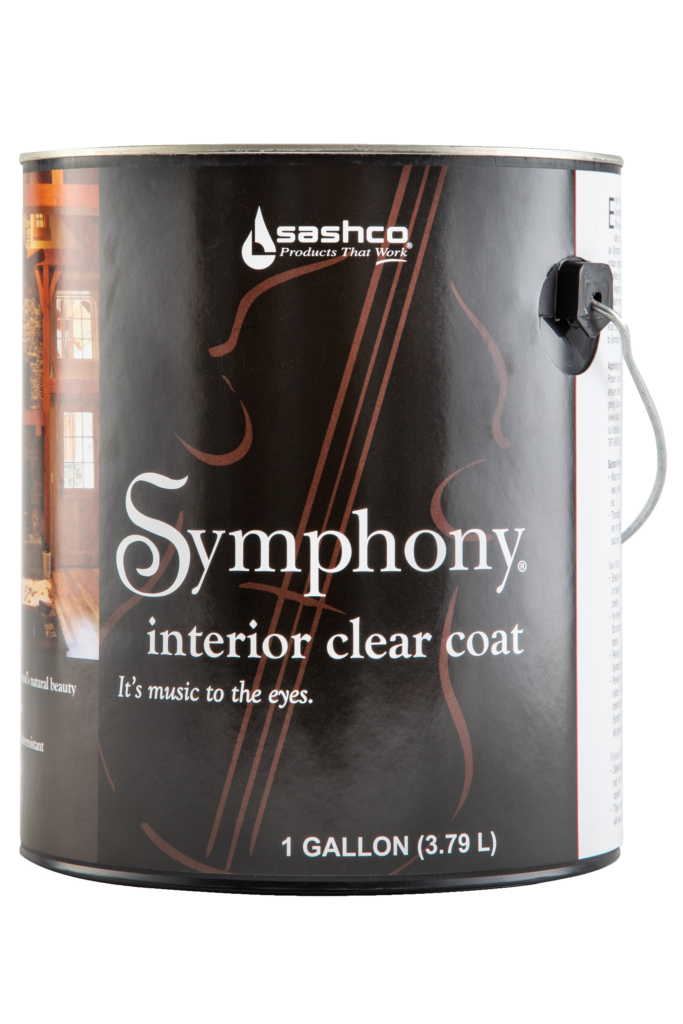
It's Music to the Eyes Symphony works in harmony with the unique character of your logs and wood to reflect an atmosphere or cozy warmth and elegance while creating and scuff-resistant and durable surface that's easy to dust.
Right Color. Right Quantity. Right Now. Never run out of stain at the jobsite again. Stock exactly what you need in your truck or trailer at the jobsite.
Easy to mix
The same color, durability, and application you've come to expect from Capture Log Stain and Transformation Log & Timber
Maintenance Made Easy Now that Capture® Log Stain is applied, it’s time for Cascade® Clear Topcoat to bring out the depth and character of your unique woodgrain while protecting it against moisture, mildew, and algae. Predictable and affordable routine maintenance with Cascade throughout the years means your home stays protected and beautiful. Easy!
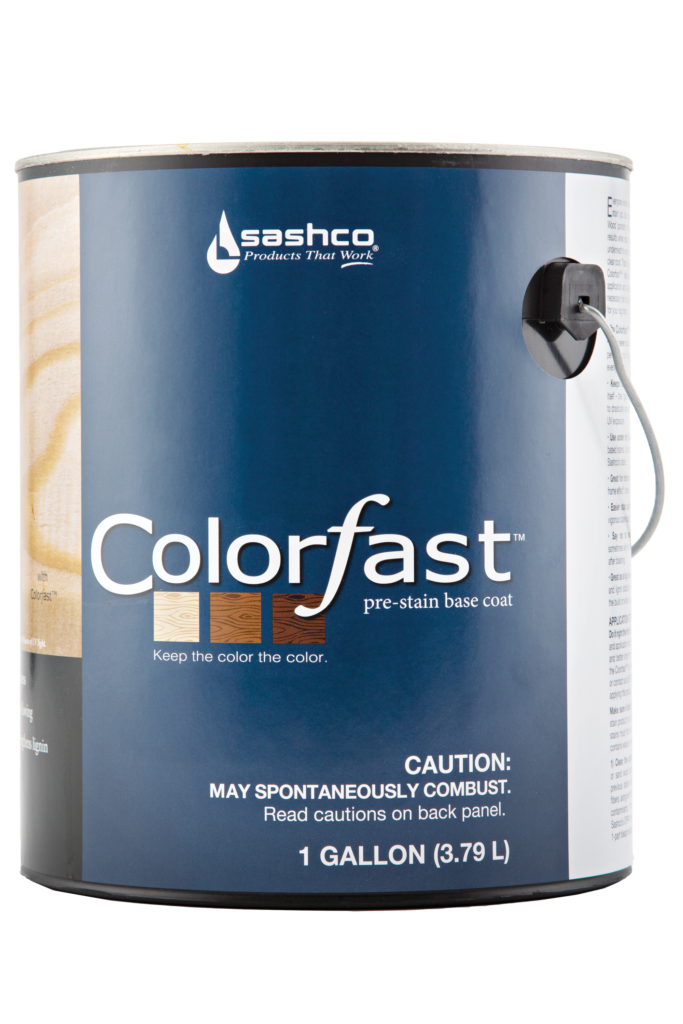
Keep the Color the Color Colorfast delivers the ideal canvas for stain application and leaves behind the strong foundation necessary for long-lasting color. It’s color confidence for your log home.
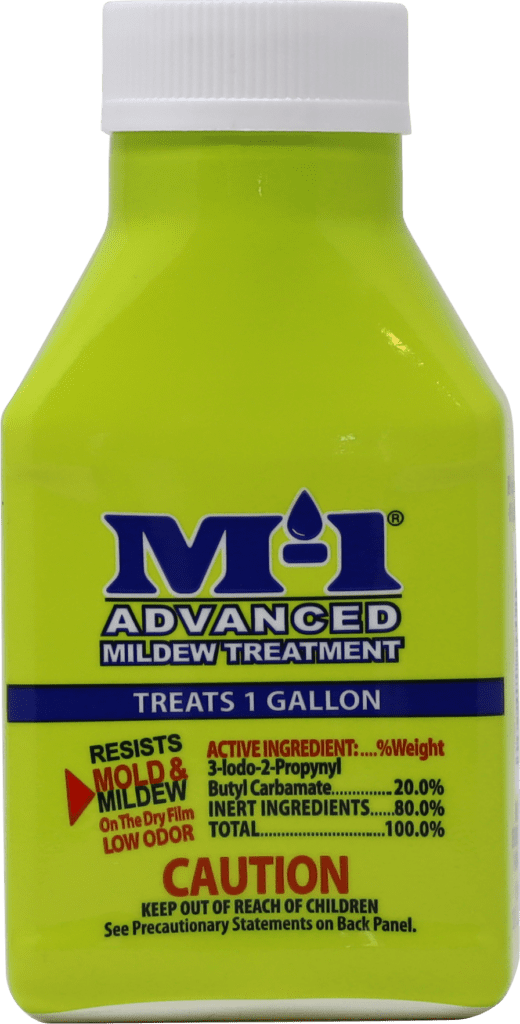
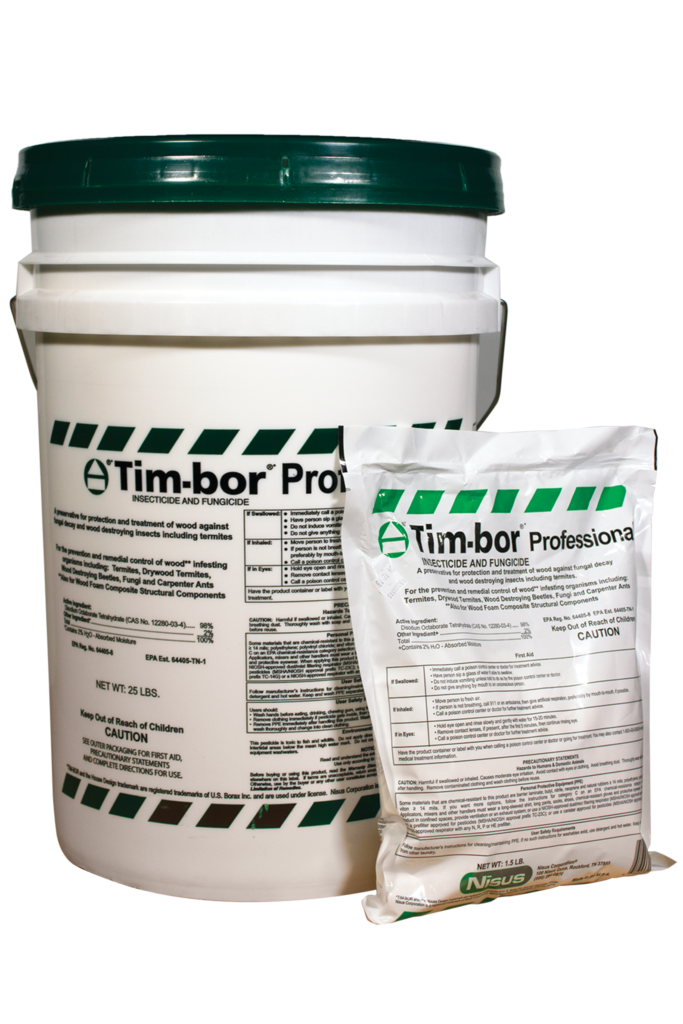
Rot, weather, insects, fungi all pose a serious threat to your logs. Protect your investment—treat your logs first to make them last. Tim-bor® helps protect your home from the costly damage caused by rot and insect infestation.
Bugs don't stand a chance
Easy to mix and apply
Prevents decay fungi
Costs 5 times less than glycol-based borate products
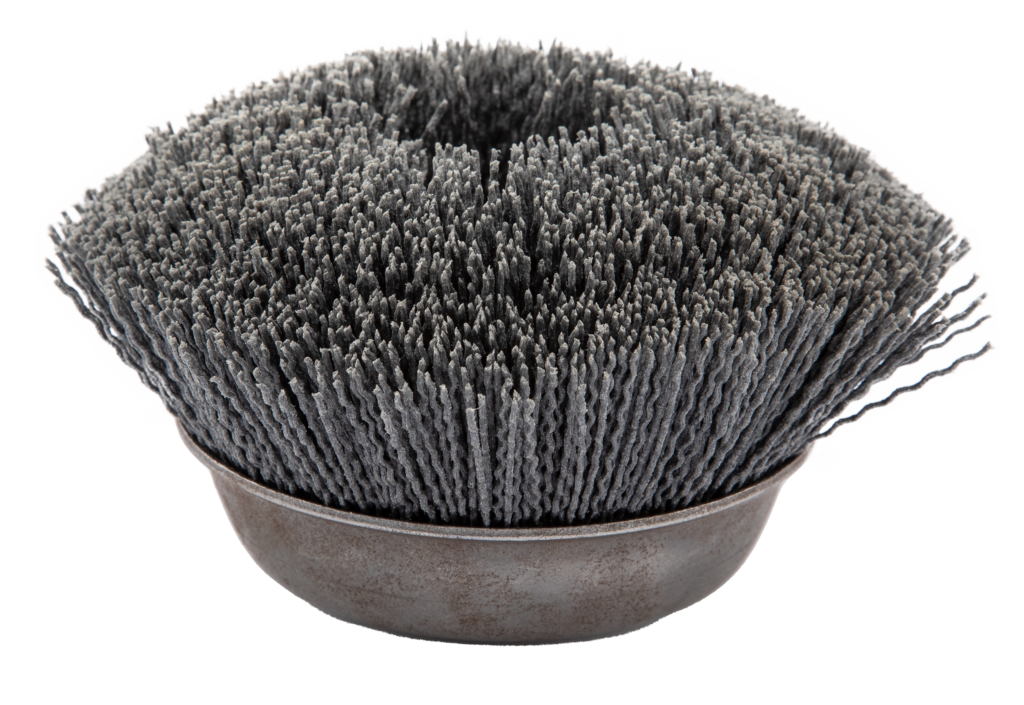
Remove Wood Felting and Raised Grain Remove wood fuzz (called felting) after power washing or media blasting, and knock down excessive raised grain with Sashco's finish sanding tools
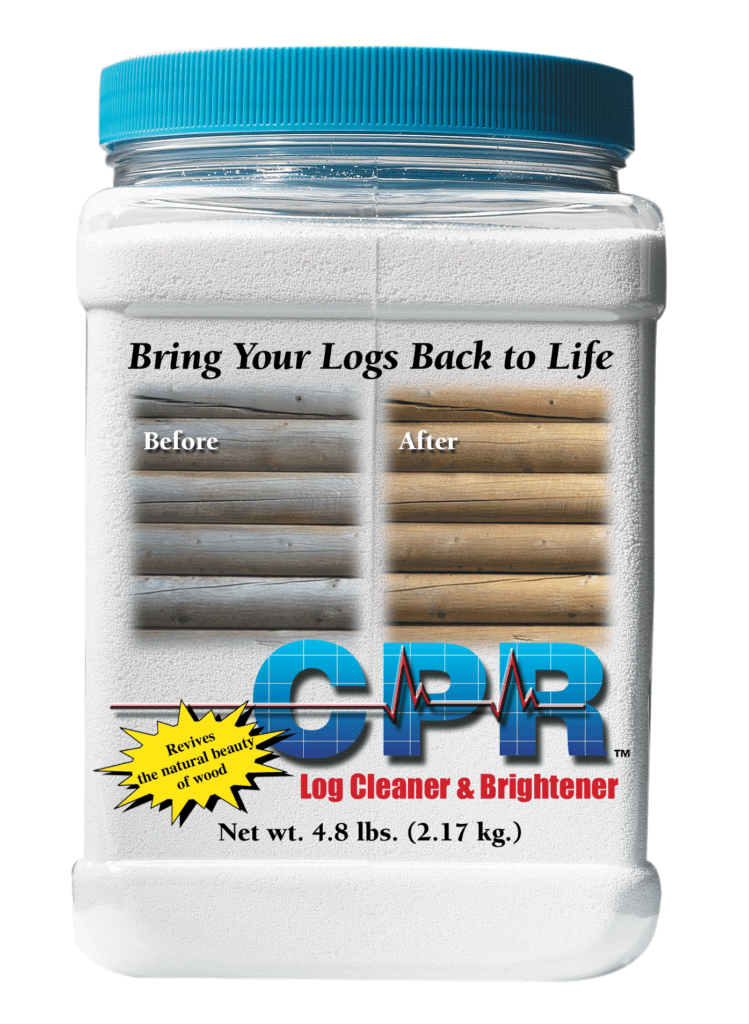
Clean and brighten bare logs and wood, remove surface dirt, pollen, and kill mold for maintenance, and keep your logs looking fresh with CPR Log Cleaner and Brightener


