How to Remove Mold and Mildew on Bath and Shower Caulk.
Mold might be the most dreadful of all four-letter words!
When dealing with mold, you may come up with a few four-letter words of your own. No wonder. It’s a major headache!
You probably wonder, “Can I scrub that black spot off the caulk?” In good faith, you try to clean the surface. The surface may even look good briefly, but then you realize mold is growing beneath the caulk. Argh! Even re-caulking your bathtub or shower does not work. It always returns over and over again. Please give me an Advil and an explanation for why it keeps coming back.
You don’t have to worry. We’ve got you covered. You might discover mold and mildew growing underneath your bathroom caulk, which means that new caulk will not fix the problem (Say what?!?!?!). They keep growing back, so even if you replace the caulk, the mildew keeps coming back, and then you just end up where you started. It’s a frustrating cycle that never ends.
What are the best ways to determine where mold or mildew is growing?
Here’s a quick test you can perform, along with DIY tips on how to fix things once and for all.
The bleach test
Soak a cotton ball in fresh chlorine bleach and apply it to mildewed caulk. If it disappears immediately, the mildew is growing on top of the caulk. Score! You just need a little elbow grease and a thorough cleaning session.
Mildew that takes 45 seconds or more to disappear is likely mildew under the caulk, requiring more effort (and persistence, don’t worry, you’ve got this).
Here’s how to tackle that project.
1. Remove the caulk.
2. Assess the situation.
Do you see mildew where you removed the caulk? This happens when rigid caulk loses adhesion or crack. Water gets behind the caulk and causes mold and mildew. Is it difficult to see the mildew? Unfortunately, it may be behind the tile, and the caulk line is simply an exit. (Ugh.) Remove a tile (we know, but there’s still Advil) and see where the mildew comes from. Moisture often enters through unsealed grout lines. The scenario can be a bit like trying to find the source of a leaky pipe. You can see the water dripping and the damage it is causing, but it takes some detective work to discover where the leak comes from.
3. Eliminate mildew.
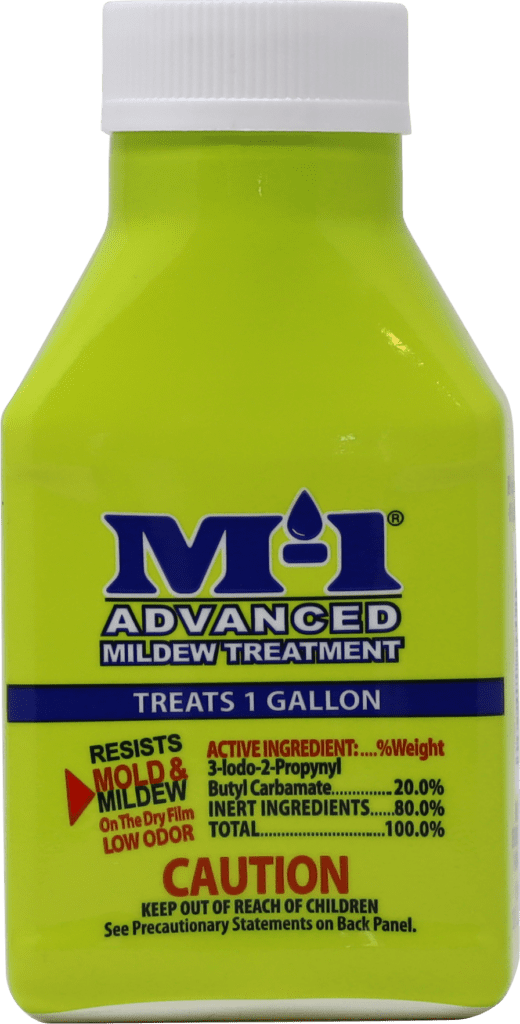
Hopefully, the mildew growth is localized and minor. Mildew remover products or mild bleach and water solutions – 5 parts water to 1 part bleach are great options. Getting a specialist in is essential if that tile you removed hints at something more serious (like mildew covering the walls and tile backs, or visible mildew around the surrounding tiles, etc.).
4. Reset the tiles and seal the grout
It’s important to seal that grout to prevent any further moisture infiltration. You can find grout sealer at any hardware store. Re-caulk after removing all mildew, and the surface is clean.
5. Re-caulk
If you don’t want mildew to grow on your caulk, use an enzyme-based product (like Sashco’s CleanSeal®) or a product that has a chemical composition that naturally inhibits mildew growth (like Sashco’s Lexel®).
6. You’ve worked hard, so enjoy it.
Let’s toast to that mold-free shower. Linger under that hot water and marvel at the lack of black stuff. Oh, that’s so soothing. Cheers!
Need some more info? Check out these resources:
