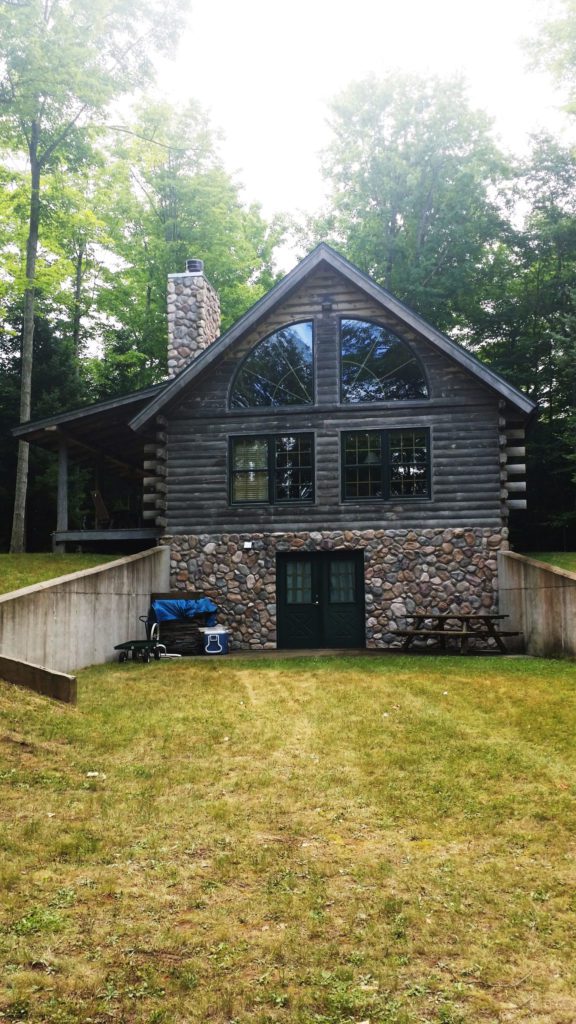
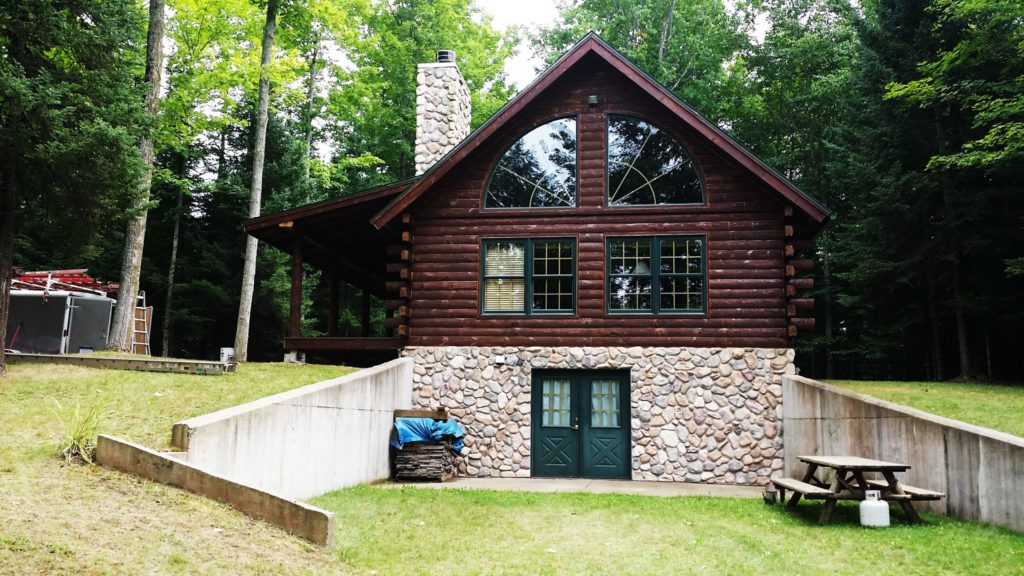
How To Restore A Log Home
Don’t know where to start? You came to the right place! The first step is to get some basic education. With some hard work, determination, and a can-do attitude, you’ll get your dream log home back. Ready? Set? Learn.
Don’t forget: It’s always a good idea to get a pro’s opinion. Find a log home contractor who can take a look at your home, make recommendations, formulate a plan, and do the restoration work for you.
Step 1 – Read through “Restoring the Dream”
Every good home improvement endeavor starts with foundational knowledge. (And every home improvement endeavor gone awry often starts with bad info from the internet, right? Don’t worry – this isn’t the bad internet info.)
Sashco’s “Restoring the Dream” will give you the basics of log science – how it acts in different weather, how stains are supposed to perform on them, and how logs ain’t wood. This info will help you begin to answer some of the questions yourself.
Step 2 – Get inspired and find hope
Take a gander at some real restorations. You’ll discover that real restoration on your home is possible, too.


Step 3 – Inspect
Now that you have the basics of log home finishing on your mind, along with some dreamy pictures, go take a look around your home. A thorough inspection is in order. Write down your observations, take good pictures (both close-ups and wider views), and don’t forget a cup of coffee while you’re at it. For most people, caffeine is necessary for proper brain function.
Step 4 – Watch How-To Videos
Everything, including log home restoration, is easier with a little help from our friend, YouTube™. Watch Sashco’s How-To videos for an idea of the time and energy required for each step of your log home restoration.
Step 5 – Plan
From your observations, make a plan for each wall of the home. What kind of prep is needed? Do any cracks need to be sealed? Once again, a list comes in handy.
Call in a pro for any major rot or logs that need replacing, as well as necessary design changes (like installation of wider eaves and overhangs, or gutters and downspouts.)
Step 6 – Tackle the work
Now that you know what your time commitment is going to look like, get to work. These simple, step-by-step instructions will help you know what the work might look like so you can plan your time accordingly.
- How To Restore My Log Home
- How To Stain My Log Home
- How To Caulk My Log Home
- How To Chink My Log Home
- How to enjoy a log home (We’re pretty sure you have that one down.)
Don’t forget to contact our Customer Service team for any help along the way.


