Got “Cabin Fever?” So do we! Sashco products are featured on national television again! We’re kind of a big deal like that (wink, wink).
Since its introduction in 1985…

Got “Cabin Fever?” So do we! Sashco products are featured on national television again! We’re kind of a big deal like that (wink, wink).
Most blisters in caulking happen when large amounts of moisture vapor try to evaporate out of the caulk line too quickly and after it has skinned over. This is more likely to happen when the caulk is applied in direct sunlight, to hot surfaces, in hot temperatures, or to wet surfaces. We know that those conditions are not always avoidable, so some blistering is normal and to be expected. When possible, apply caulking during the cool part of day, out of direct sun and to dry surfaces. If you can’t, remember that repairs are easy.
Note: A couple of applications may be necessary to get a uniform look.
Want more? Watch this video – How to Repair Bubbles in Slab
As winter winds down, you might notice some tears in the caulking around your windows, doors, siding, etc.
It is important to understand what causes caulking tears and how to prevent them from occurring again. We will discuss the causes of caulking failure and, most importantly, some easy fixes.
If you want to add texture and dimension to your home, log chinking is a great way to do so. But before you start the project, there are a few things you need to know.
First thing first, choose a good quality chinking.

Joint Design
(Insert Joint Design photo from Data Tech)
The diagram shows the ideal type of joint design for all sealants—which allows for maximum sealant movement and favors cohesive failure (the best kind) if the movement is so than 15% of the log width. For example, with 10″ diameter logs, the chink joint should be about 1 1/2″ wide. If you choose to apply a smaller bead, expect more chinking repairs.
Ideal sealant depth is half of the joint width, but no less than 1/4″, nor more than 1/2″.
Wood should be clean and stained, as discussed in the Fundamental Chinking Application Guidelines on page. Remove all loose mortar.
Bond-Breaker: When using Log Jam as a restoration chinking over old mortar, cover it with clear packing tape, which provides a surface Log Jam will not stick to. When movement occurs, the Log Jam will be free to stretch.
Tooling: Log Jam should be tooled to contact at least 1/2” of the bare wood surface on either side of the old mortar. This will ensure adequate adhesion.
(Insert Slab siding illustration from Data Tech)
Slab siding can pose a special challenge due to the very rapid and large amount of movement it often exhibits after being installed. This movement shows up as extreme shrinkage, bowing and twisting, and can stress sealants more than logs do. To help reduce this problem, follow these additional tips with slab siding: 1. Use only dry slab siding (19% or less moisture wp-content level, verified with a moisture meter) 2. Install the siding with heavy screws, not nails.
3. If applying over TyvekTM house wrap, make sure the TyvekTM is
wrinkle free and tape over it with clear packing tape.
4. If the boards are thick enough, install Half Rod backer rod with
the round portion of the profile facing out. This will provide for the best joint design. (Refer to the graphic.)
Routine log home maintenance will keep your home looking beautiful as well as cut down on costs. Everyone knows that a $30 oil change twice a year beats a $2,000 mechanic’s bill. Routine maintenance on your logs, timbers or wood could be the difference between $2,000 every 3-5 years or $20,000 to completely redo the job. It’s truly the key to “a better way to stain.”
All homes require maintenance at some point in their life cycle. Just like conventional stick-built homes need to be scraped and repainted, log and timber homes (the same is true for decks and fences, for that matter) need to be re-stained periodically. Like fresh paint on conventional homes, stains, and regular maintenance help protect log and timber homes. In the end, proper, consistent maintenance will save you time, money, and headaches. It’s like the saying goes: an ounce of prevention is worth a pound of cure. We’ve got you covered. These six maintenance tips will keep your log home looking like new!
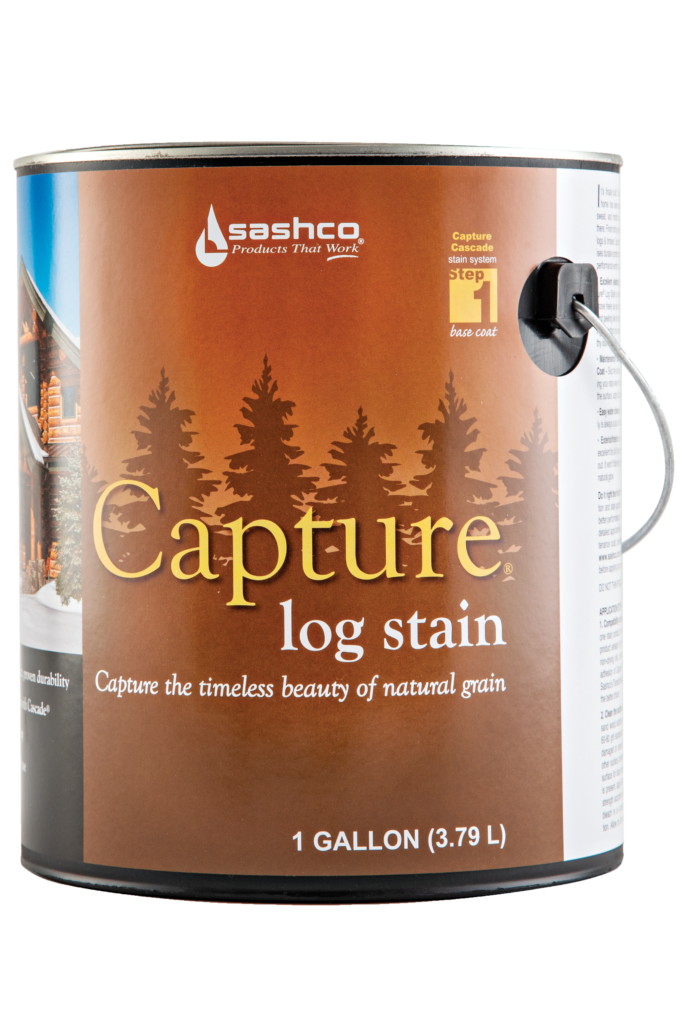
Capture the Timeless Beauty of Natural Grain
Don’t compromise at the end of a long and arduous journey by using an inferior stain not designed for logs. Capture and Cascade deliver performance worthy of the journey that got you here.
Available in 11 popular colors.
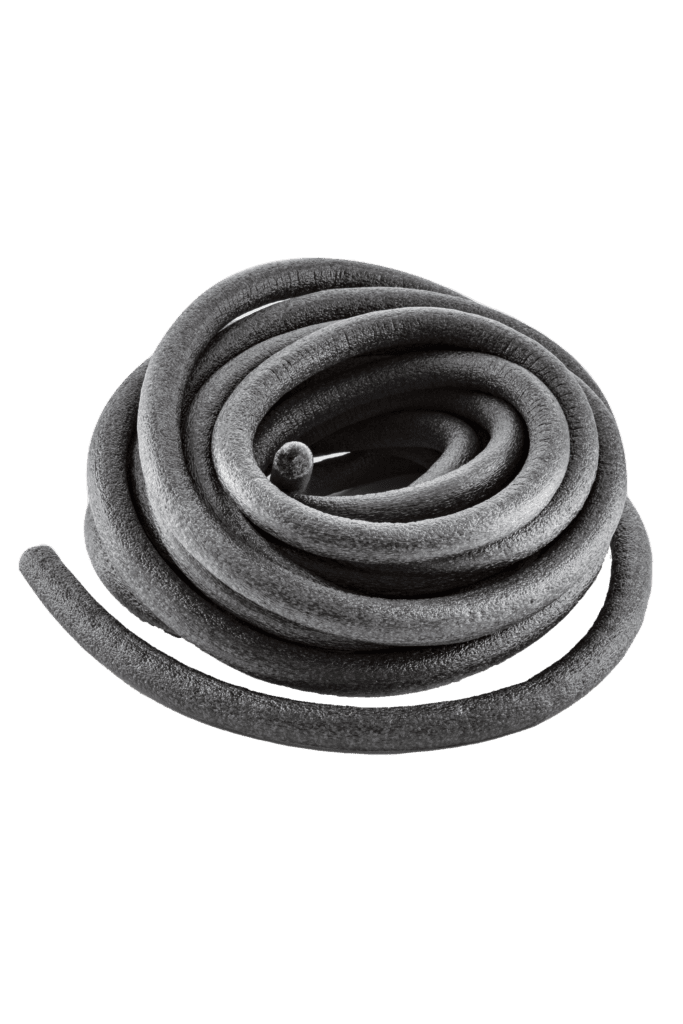
Backer Materials that Seal Things Right the First Time Backer Rod, Grip Strip, and Log Gap Cap all help you create the ideal joint desing for a long-lasting, durable seal

Logs are in constant dynamic motion. That's why there's Log Builder®, the sealant made for log structures. Stretches up to 500% of original size, while still maintaining tenacious adhesion to the wood.


When other chinking pulls away, Log Jam holds its seal With Log Jam chinking, you can keep the cozy feel and rustic look of a log home without compromising comfort and performance.
Available in 8 popular colors.

Easy to Use - Hard to See Keep out weather, bugs, and moisture without seeing it. Conceal disappears into the woodwork so you don't know the wood starts and the caulk begins.
Available in 7 popular colors.
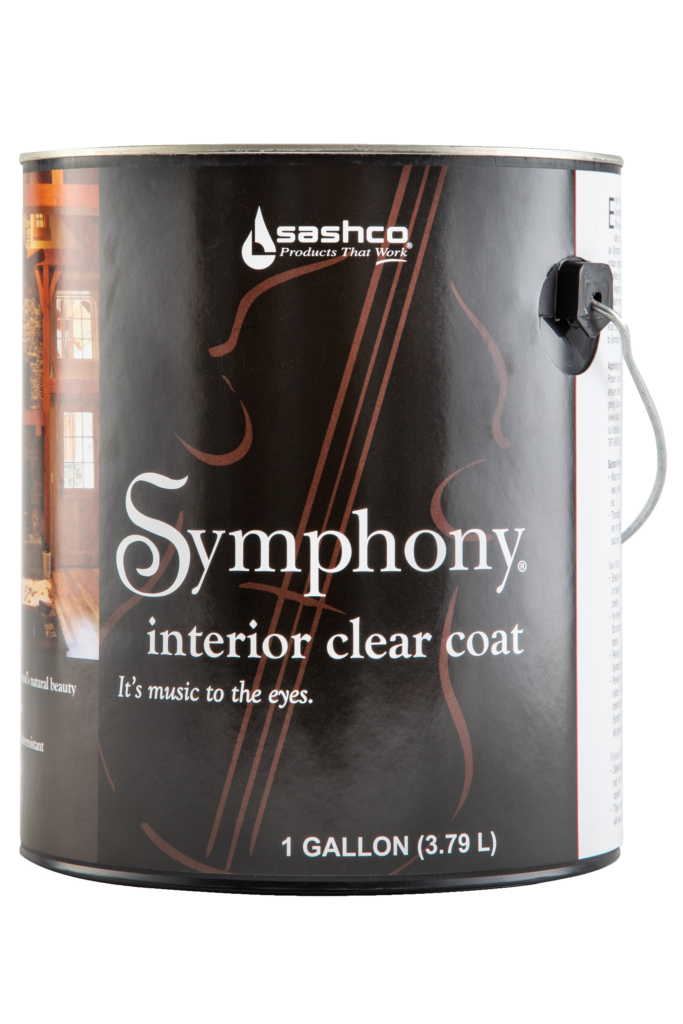
It's Music to the Eyes Symphony works in harmony with the unique character of your logs and wood to reflect an atmosphere or cozy warmth and elegance while creating and scuff-resistant and durable surface that's easy to dust.
The Easiest Stain to Maintain Transformation Siding & Trim is the no-peel, easy-to-maintain stain for your siding, trim, and decks.
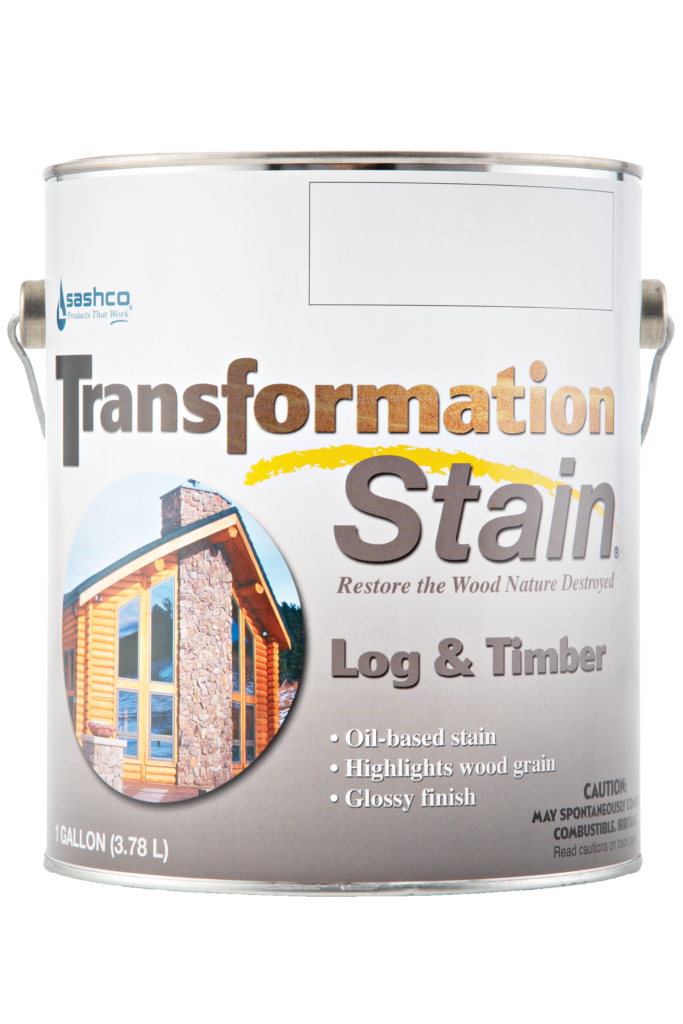
Restore What Nature Destroyed
Bring old, damaged, gray and weathered logs back to life with this flexible oil-based semi-transparent stain

Right Color. Right Quantity. Right Now. Never run out of stain at the jobsite again. Stock exactly what you need in your truck or trailer at the jobsite.

Maintenance Made Easy Now that Capture® Log Stain is applied, it’s time for Cascade® Clear Topcoat to bring out the depth and character of your unique woodgrain while protecting it against moisture, mildew, and algae. Predictable and affordable routine maintenance with Cascade throughout the years means your home stays protected and beautiful. Easy!
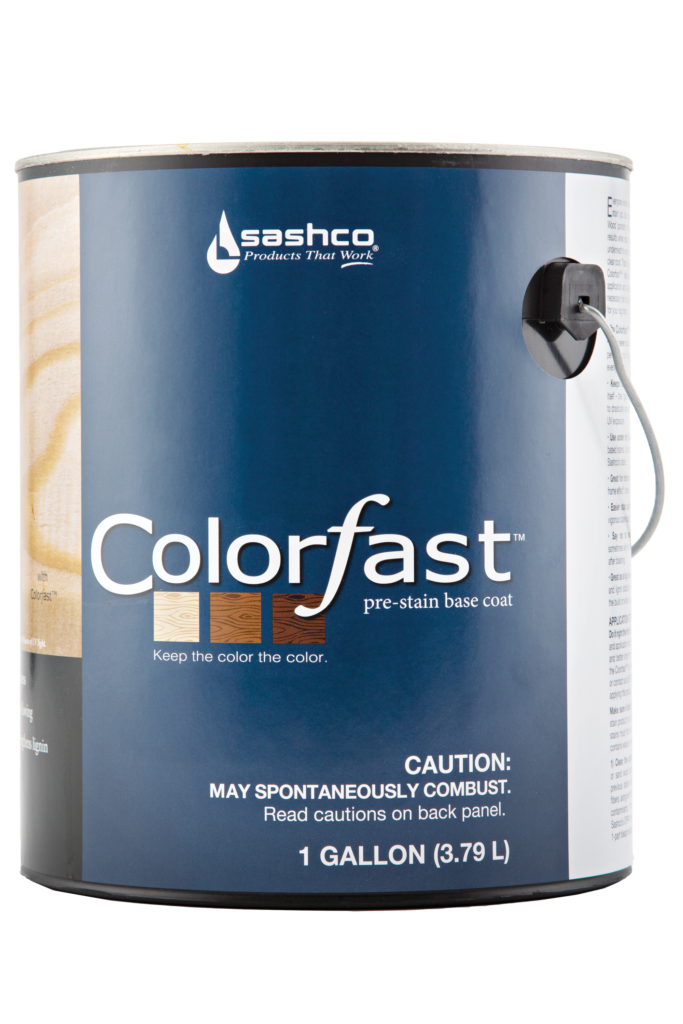
Keep the Color the Color Colorfast delivers the ideal canvas for stain application and leaves behind the strong foundation necessary for long-lasting color. It’s color confidence for your log home.

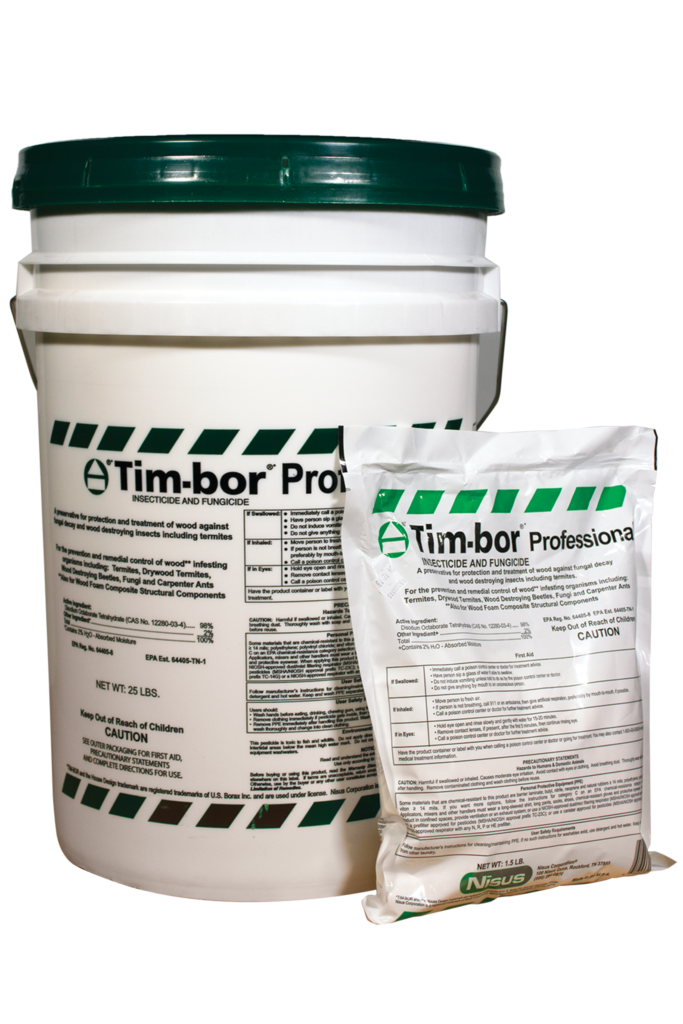
Rot, weather, insects, fungi all pose a serious threat to your logs. Protect your investment—treat your logs first to make them last. Tim-bor® helps protect your home from the costly damage caused by rot and insect infestation.
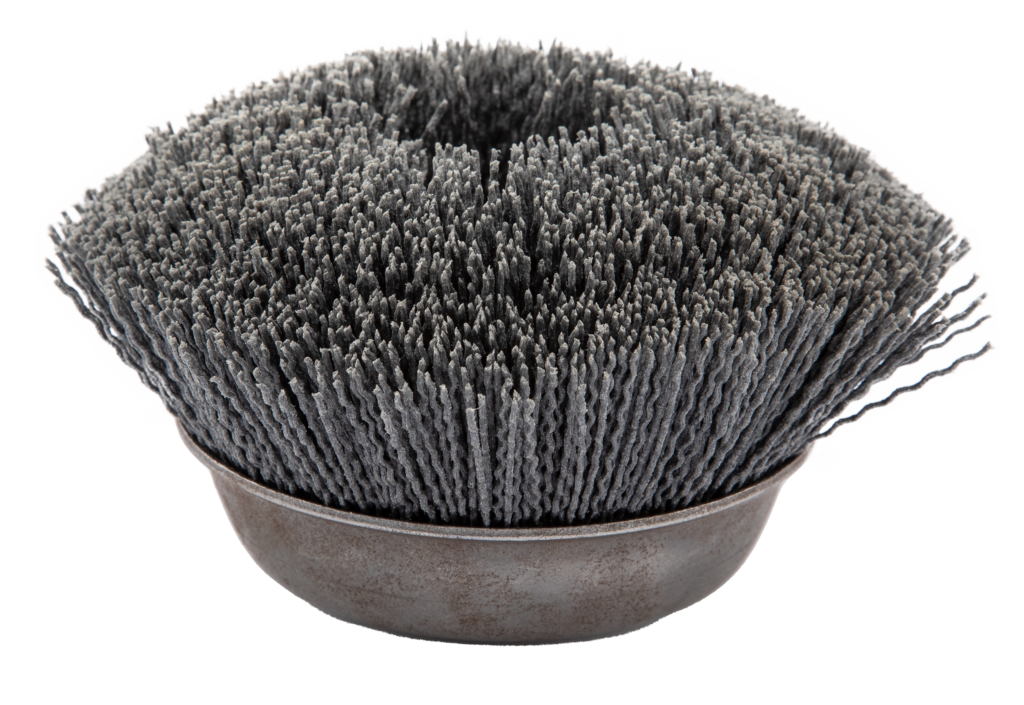
Remove Wood Felting and Raised Grain Remove wood fuzz (called felting) after power washing or media blasting, and knock down excessive raised grain with Sashco's finish sanding tools

Clean and brighten bare logs and wood, remove surface dirt, pollen, and kill mold for maintenance, and keep your logs looking fresh with CPR Log Cleaner and Brightener

The Serious Fix for Concrete Cracks Just say no to cracks

Textured like mortar - stretches like rubber
It's easy, it's fast, and it works.
Available in 5 popular colors.

The sealant that integrates into your design.

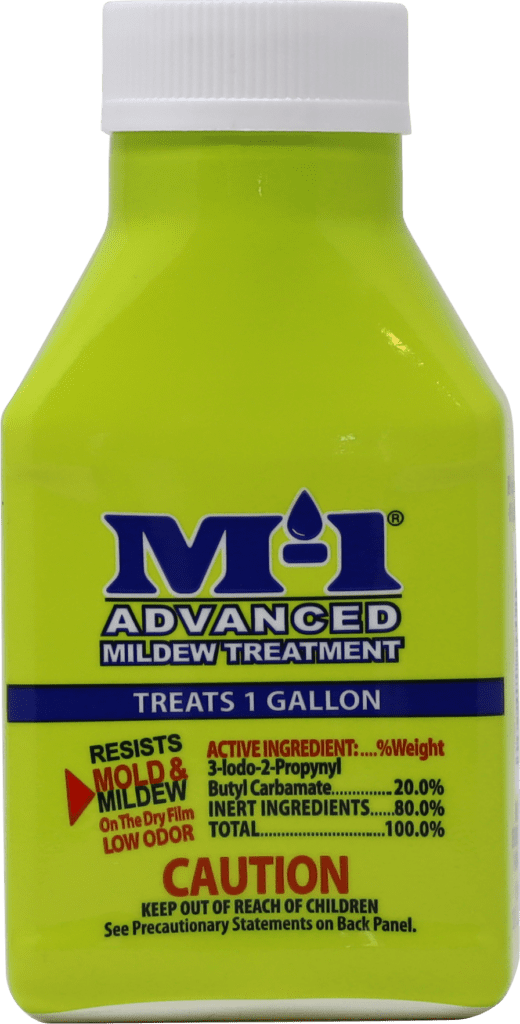
No mold. No mildew. No scrubbing needed!
Mold is gross. Stop feeding it.
Available in white and almond.

Won't Crack...It just stretches
All homes move - Big Stretch moves with them.
Available in 12 popular colors, and clear.

Seals leaks that asphalt can't
Stop leaks now!

The Tough Elastic Sealant For Every Job
Sticks To Most Anything
Available in clear and white.