Chinking 101: How to Apply Log Chinking.
If you want to add texture and dimension to your home, log chinking is a great way to do so. But before you start the project, there are a few things you need to know.
First thing first, choose a good quality chinking.
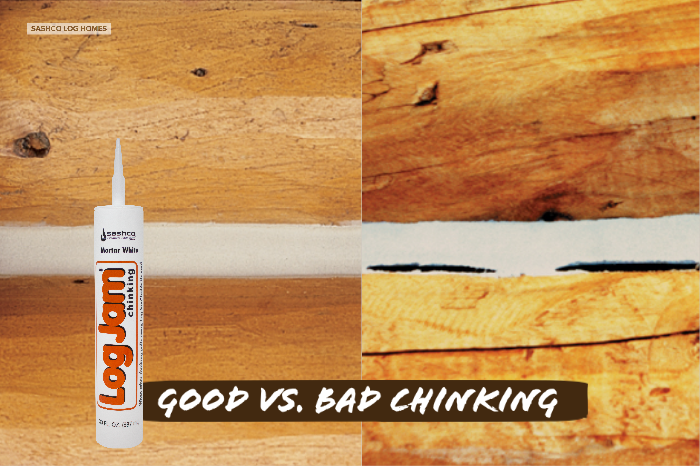
Bad Chinking vs. Good Chinking (Log Jam)

Let Sashco teach you how to apply chinking! Sure, we’re a little biased, but we prefer Log Jam, it has been the recognized industry stander in elasticity, adhesion and durability since 1985. So what makes it so great and what should you expect from a quality chinking product?
- Log Jam moves with your logs and sticks like no other, eliminating costly repairs.
- Log Jam Chinking comes in a 5 gallon bucket or a cartridge for easy application.
- Superior early water resistance. No more worrying about that unexpected rain storm.
- It won’t eat away at Styrofoam bead board. No more unsightly chinking lines that look dented and deformed—just the rustic, traditional look of the mortar you want.
- A limited lifetime guarantee, you can be confident that you’re using the right product for you dream home.
- Maintains a tight seal to keep your home.
Chinking 101: How to Apply Chinking
Proper substrate preparation and application are imperative for product longevity.
1. Best results are obtained when chinking is applied to clean, dry, stained wood. Make certain there is compatibility between your stain and your preferred chinking, we like to use Log Jam.
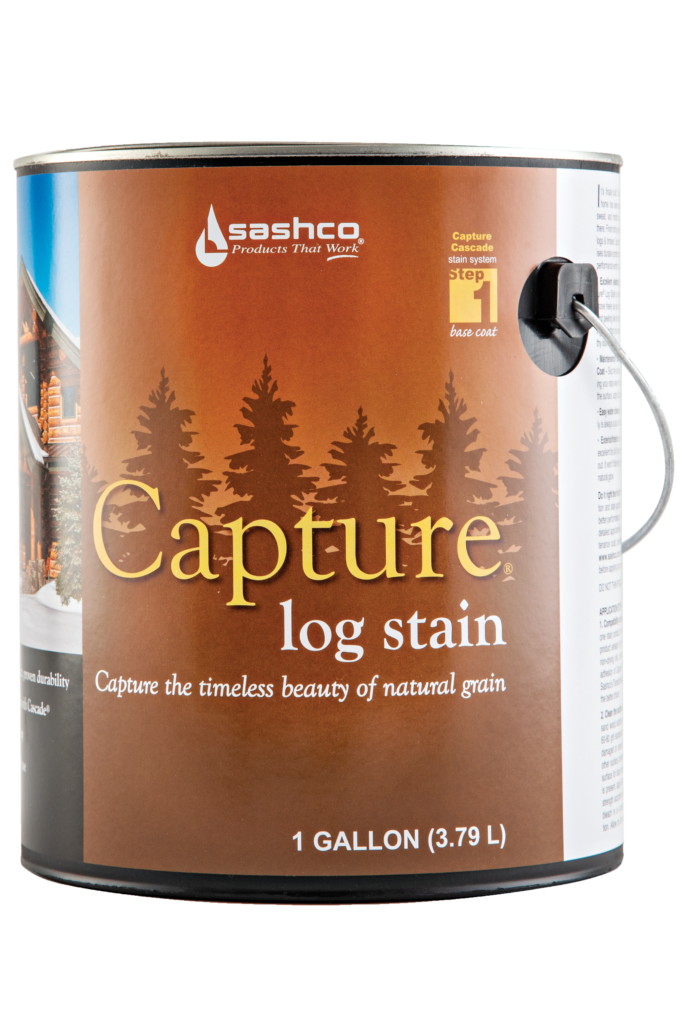
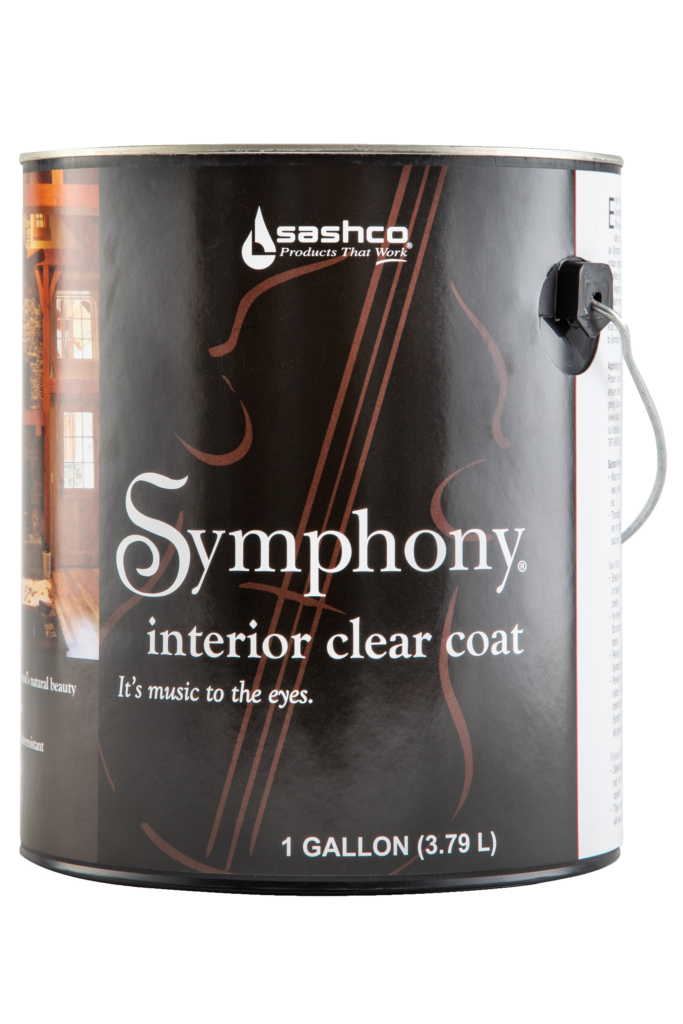
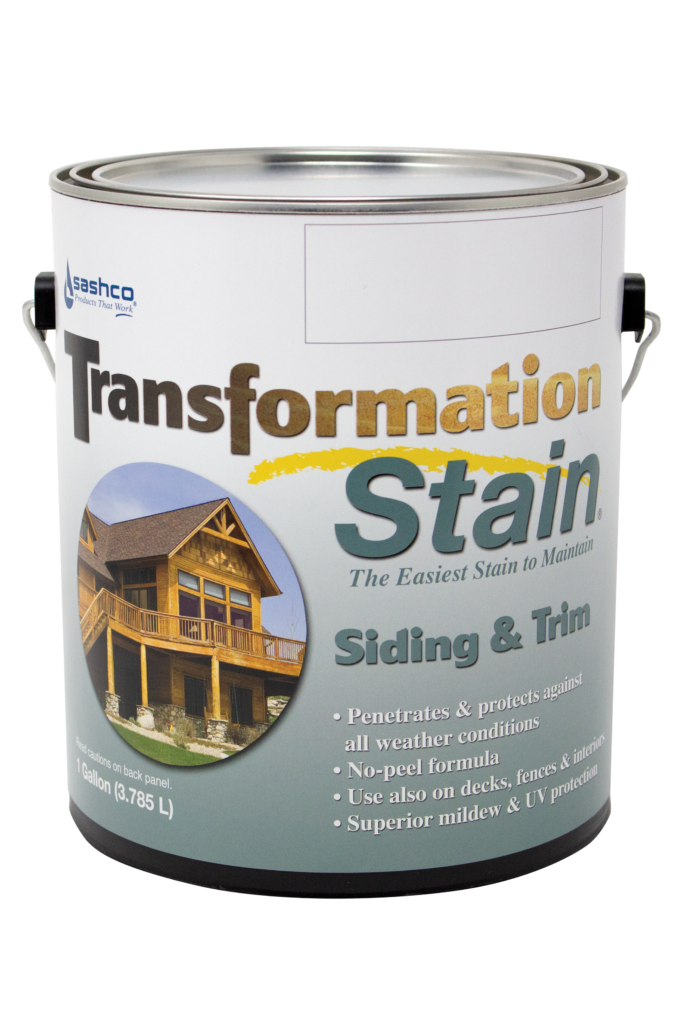
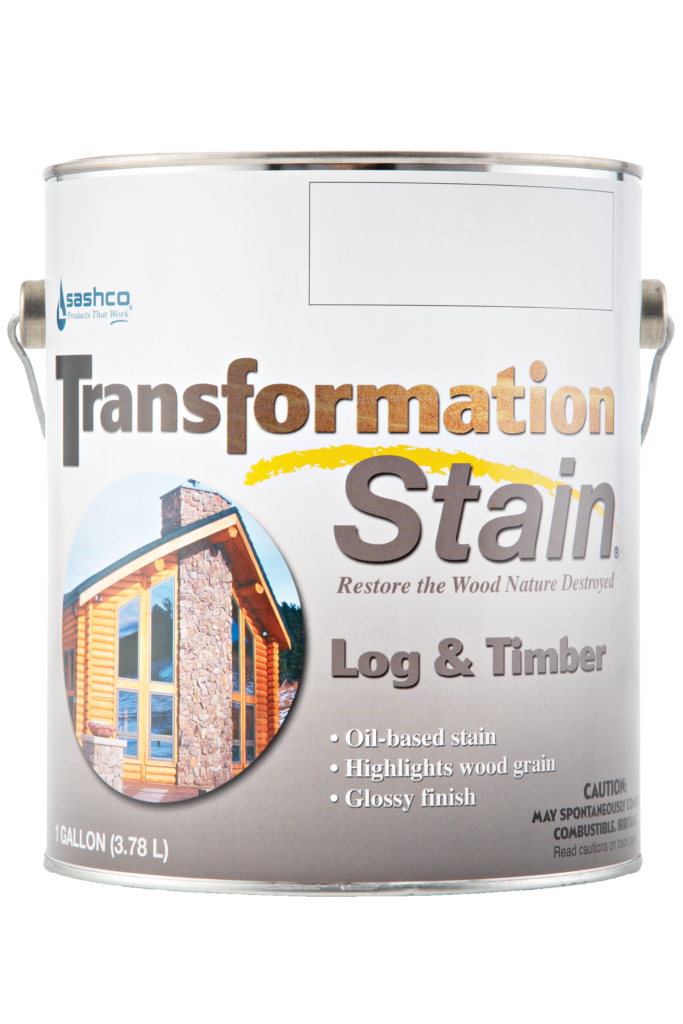
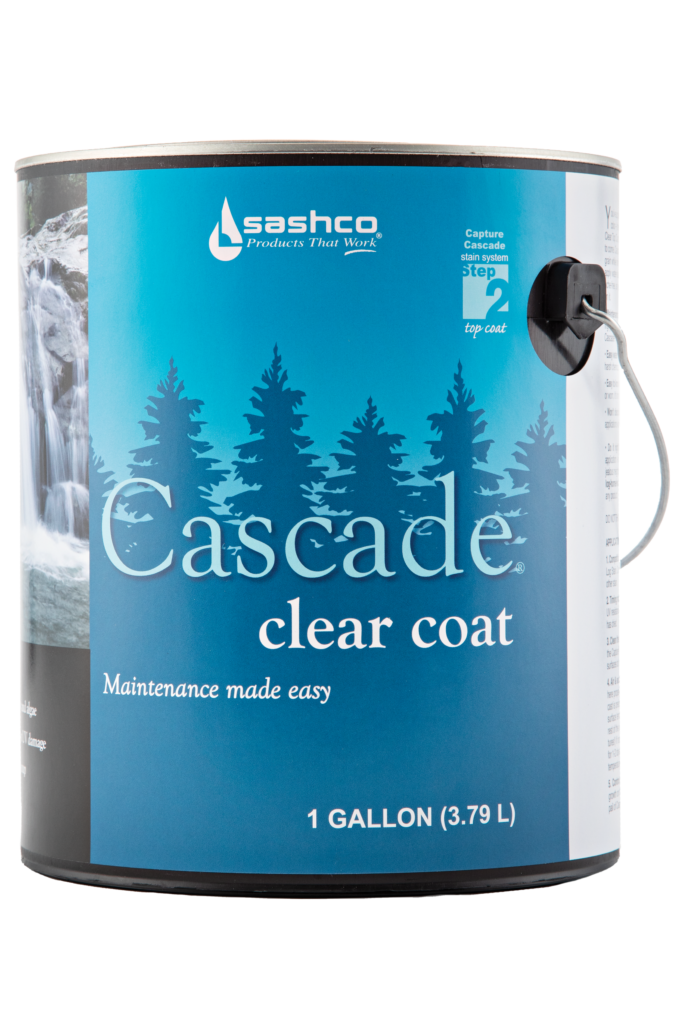
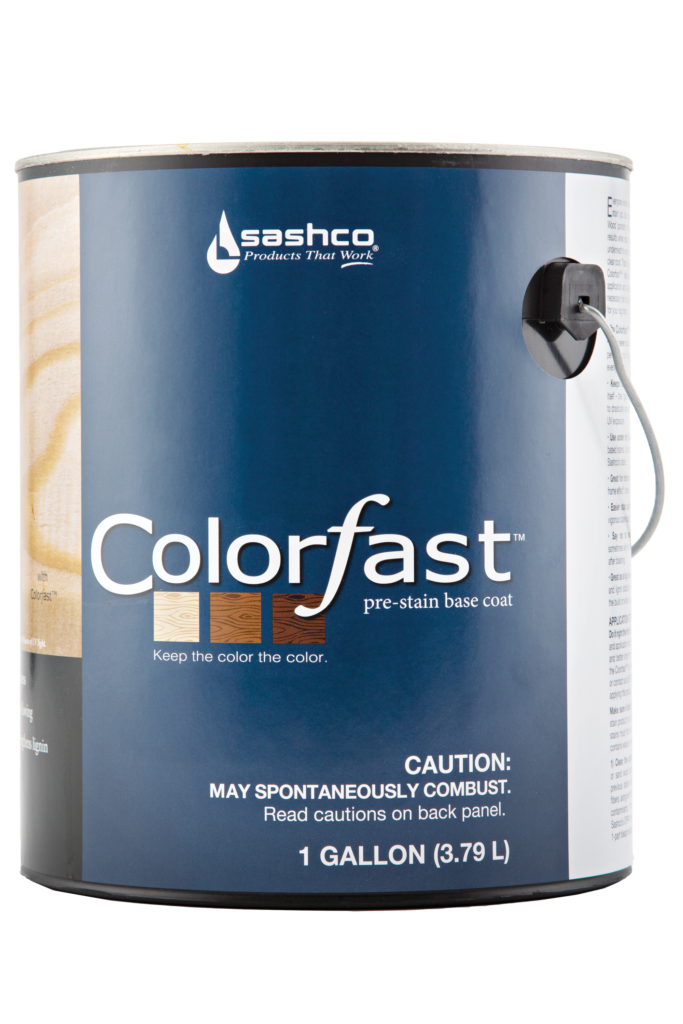
Log Jam has a lifetime warranty when applied with Sashco’s stains: Capture Log Stain/ Cascade staining system, High Sierra, Transformation and Symphony Interior Clear Coat. If you are using a different stain or finish, contact Sashco for guidance. Call 1-800-767-5656, or visit and chat live at sashco-current.local.
2. Check the weather forecast. Finishing products are best applied in moderate weather conditions, i.e., out of direct sunlight, in dry, warm conditions.
3. Check the log surface temperature. The surface temperature should be between 40 ̊– 90 ̊F
(4 ̊– 32 ̊C).
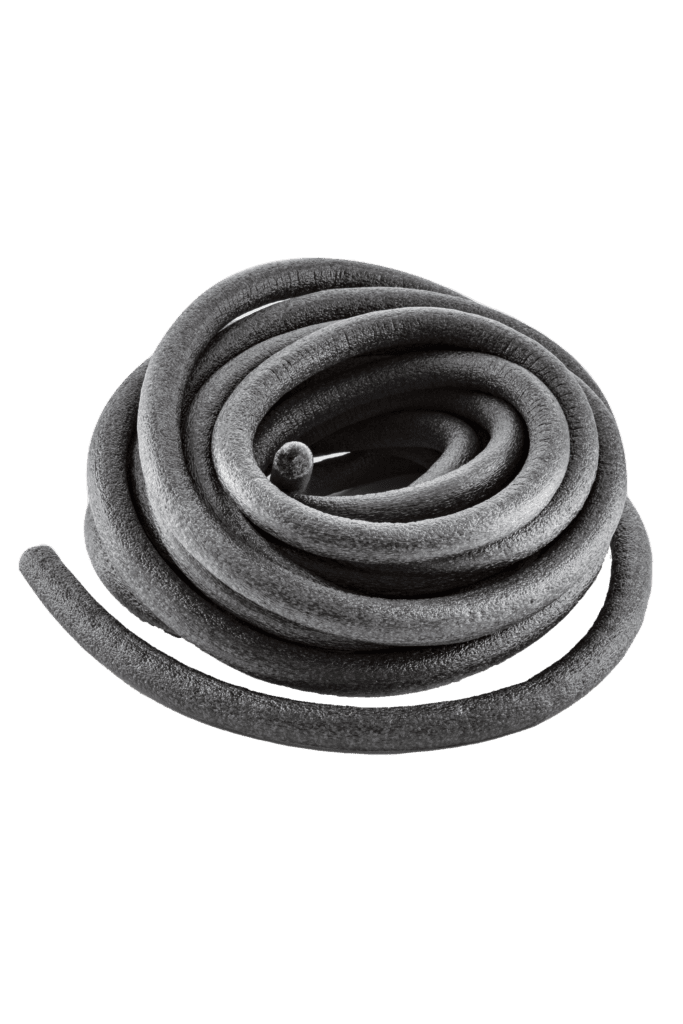
4. Install a bond breaker before Log Jam, or your chinking, is applied. Backer rod, Grip Strip, and clear packing tape all perform this function well. If Log Jam is applied over white styrene bead-board or Tyvek house wrap, it is best to cover the bead-board or wrinkle-free house wrap with clear packing tape (to prevent adhesion to those materials). We do not recommend the use of blue or pink extruded polystyrene board as a bond breaker.
5. Gun the chinking over the backing material. Ideal sealant depth is half of the joint width, but no less than 1/4”, nor more than 1/2”.
6. Tool Log Jam to ensure good contact with the log surfaces, especially to the upper log; this will greatly aid adhesion.
