Four Reasons Transformation Stain is the Best Log Home Stain for Siding and Trim.
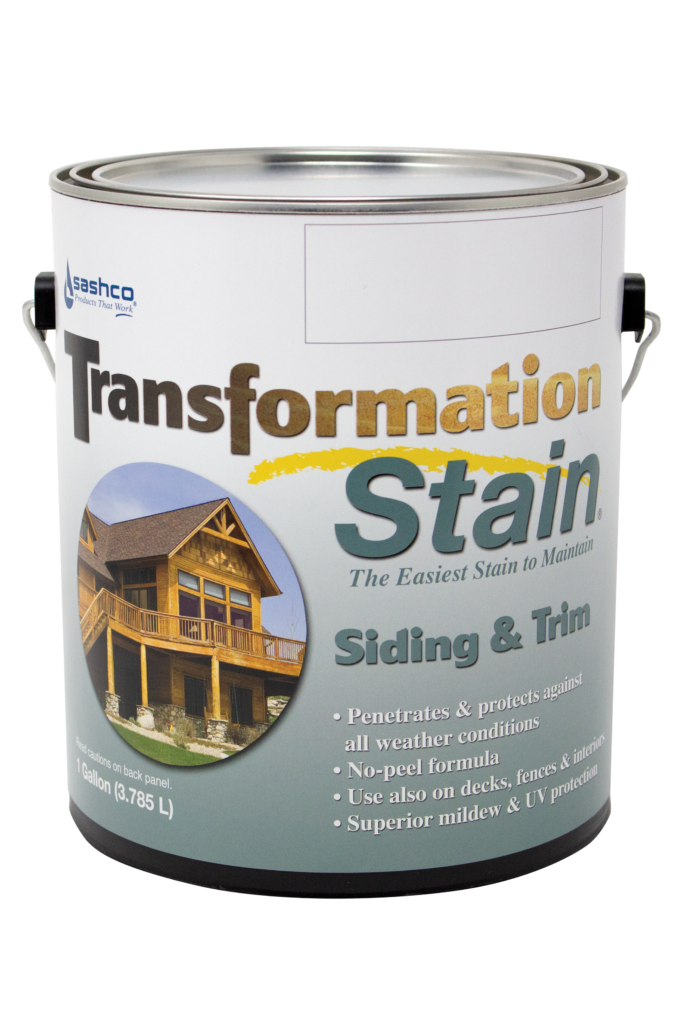
Not sure which stain to choose for your upcoming project? Here are four reasons why transformation stain is the best log home stain for siding and trim.
Reality Check
When applied incorrectly, a high quality stain will give you the same results as a low quality stain. At Sashco, we want to help you avoid that pitfall. Sashco’s Transformation Stain Siding & Trim is the quality product you’re looking for, bundled with the support and education necessary to do it right the first time. It’s what we call “A Better Way to Stain.” The result is beautiful siding and trim you can enjoy for years to come.
1. Sampling
Proper sampling is where it all starts. Sampling is critical because the same stain can look very different on various species of wood, as demonstrated by the color samples in this brochure. Different prep and application methods also affect the final result. Therefore, sampling is the only way to make sure you get the color you want the first time.
Sampling is easy: on a small, inconspicuous test area (we recommend a minimum 2 sq. ft. space), simply do each step the way you will on all your siding and trim.
- Prep the wood.
- Apply the stain.
- Let the stain dry (both between coats and after all coats have been applied).
- If working with a contractor, don’t allow the contractor to stain until you have thoroughly discussed and demonstrated the look you want. Show him/her the sample.
- Don’t stain all of the siding and trim before you verify that you’re achieving the look you want. It is best if you can be on site during the staining process.
2. Proper Prep
Now that you’ve chosen the perfect stain color, it’s time to prep for staining. But before you begin applying the stain it’s best to understand what it takes to create a long-lasting stain job. Below are five things you’ll need to do before you begin.
- Clean the wood. Bare, clean wood is essential for a successful stain application. This means you’ll need to get rid of everything from dirt, pollen, mold and mildew to wax, old finishings and more.
- Get to sound wood. What the heck is sound wood? Weathering from the sun, water, wind and insects all can wreak havoc on your wood, causing rot and decay. This deteriorated wood is what we call unsound wood. You’ll need to remove it so that the stain can properly adhere to the wood by media blasting or other means.
- Warm wood. You’ll need to apply the stain when it’s not too hot or cold, between 40° and 90°F (4° to 32°C). If it’s too hot or cold the stain won’t have time to penetrate the wood so you’ll miss out getting the best protection for your home.
- Dry wood. The moisture content of your wood should be 19% or less. Otherwise you’ll run into problems such as peeling, flaking, poor adhesion, mold, mildew, and rot.
- Textured wood. The more textured an exterior wood surface, the longer the stain will last. Period.
3. Application
You’ve done all the proper prep and now it’s time to grab a brush and start staining, right? Well hold on minute there partner. Did you know there are some optimal conditions you should keep in mind before you start? First, make sure you’re in that Goldilocks temperature zone where it’s not too hot or cold like we discussed above in the “Warm Wood” bullet.
Next, it helps to start staining in the morning on the south and west sides of the home, while the wood is at it’s coolest point. Stain the north and east sides of the home in the hotter parts of the day.
Also try to avoid applying stain right before or right after extreme weather. For example, staining 24 hours before a major rain storm will not allow enough time for most stains to dry properly. This could lead to your stain getting “washed off” the wood by the rain. If high winds are forecasted, the stain may dry too quickly or dirt, sand and dust may stick to your fresh stain. So be sure to check your local weather, because ain’t nobody got time to do it twice.
When you properly apply Transformation Siding and Trim you can reap the benefits of:
- A no-peel formula
- A semi-transparent stain that shows off the beauty of your wood grain
- An oil and water hybrid formula — protection of an oil with easy water cleanup
- Ideal dry time — not too slow to create weeks of sticky surfaces, not too fast to cause lap lines
- Compatibility with all Sashco caulking and chinking products — because all wood and log homes will need some caulking
- Exquisite color portfolio — rich colors and a matte finish create a natural look
- Coordinating colors — it can also be used also on decks, fences & interiors
Use Transformation Stain® Siding and Trim on interior and exterior:
- Wood siding
- Wood trim
- Handrails and spindles
- New or restoration projects
- Decks and fences
4.Routine Maintenance
“Pay now or pay later” is what my mama always says when it comes to raising kids. So it goes with routine maintenance. A little bit of work spread out will reap rewards later and cause fewer headaches down the road. Download our Log Home Maintenance Checklist to make it easier on yourself. Check once in the spring for any winter damge and again in the fall for summer damage. Now don’t you wish your kids came with a handy checklist too?
