The Secret to a Successful Wood Staining Process
Kurt Denman, former Product Manager for Benjamin Moore, once said, “I cannot emphasize enough how critical proper preparation is to realize a successful staining project. It’s the ultimate determinant on how long the beauty of a job lasts.”
In these days of social media, we would “like” that comment about a thousand times. With that in mind, let’s look at the five “must-do” prerequisites for staining a log or wood home to ensure the job lasts as long as possible and looks good, too.
Requirement #1: Sound Wood
When we say get down to “sound” wood, we mean you want your logs as close to original as possible. They should be free of any loose wood fibers and old stain. You want to be sure that any gray, patina, or amber yellow glow is removed. To get down to sound wood, you’ll need to use one or a combination of the following techniques:
Media blasting – Crushed glass media is what we recommend, but corn cob media can also work well.
Power washing – Vigorously enough to create wood fuzz (called felting, seen in the photo below), not just a swipe or two!
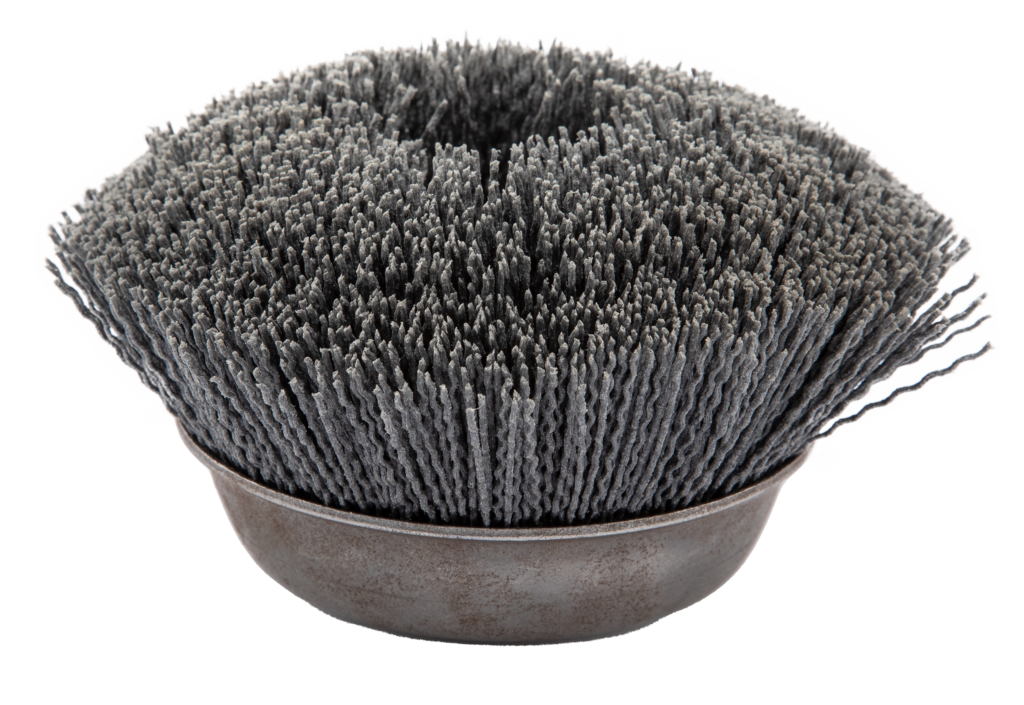
Hand-sanding – You can use an Osborn® brush or something similar.
Requirement #2: Clean Wood
Clean means, well, really clean. Don’t skimp on this step. Thoroughly clean your logs from dust, pollen, bird poo, pencil marks, mill glaze (this is a biggie!), or anything else that makes your logs dirty. Sashco’s CPR® is perfect for this job. If we haven’t convinced you to embrace the cleaning process, here are three more reasons that clean wood is worth your while. If logs are not clean and contaminants get trapped under the stain, it can result in:
-
- Peeling or flaking stain
- Mold, mildew, or algae growth under the stain
- Ugliness (Not the adjective you desire for your log home, right?)
Requirement #3: Textured Wood
Smooth wood is great on the interior of a home, but on the exterior, we say, “Leave smooth to the backside of the baby.” When it comes to your exterior logs and wood, you want them rough! Texturing the wood simply means “roughing them up.” When you’re ready to stain the logs, you want as much surface area as possible. Adding texture, or “roughing up” the logs creates more surface area. More surface area means more stain on the wood. Ultimately, this all means more protection.
So, texture is good, and the only way to get more texture is by using the techniques we mentioned in the first requirement – power washing, media blasting, or hand sanding. (Note: this kind of work isn’t necessary when doing routine maintenance.)
Requirement #4: Dry Wood
You’ve got to make sure logs are completely dry before applying your stain. Properly dried wood has moisture content levels that are at 19% or less. We strongly suggest getting a moisture meter to properly measure so you’re not guessing.
Do you live in coastal Alaska? 19% is about as dry as you’ll get. Do you live in the Arizona desert? Closer to 8% is going to be best for you.
Be patient! If you stain over logs that are too wet, it can lead to:
-
- Peeling or flaking stain
- Mold, mildew, and algae growth
- Rot
- Headaches, frustration, and tantrum throwing
Requirement #5: Warm Wood
Great job! If you’ve met all four of the other requirements, your home is almost ready for that gorgeous stain job. But wait! Don’t get so excited that you miss this final but very important step! Logs must be warm, but not too warm, when you stain. Why? When logs are cold, the pores are closed and stain can’t hold on, or penetrate, as designed. In addition, most stains don’t like the cold. They may freeze before properly curing. Likewise, when logs are too hot, the stain may cure too quickly, preventing proper adhesion and penetration. Your “just warm enough” conditions are when the surface (not air!) temperature of the logs is between 40° and 90°F (4° to 32°C). Invest in a surface thermometer so you’re not guessing.
Watch the forecast carefully. Choose a week to stain when temperatures are forecast to stay in the “safe” range throughout product application, plus an additional three to five days after you’re done to allow stain, chinking, or log home caulk to cure properly.
Special Tip
Moisture meters and surface thermometers are tool box staples for most paint pros. They should be for any log homeowner, as well. You can pick them up online or in any paint store.
Need a little more guidance and help planning?
No problem, our customer service team is always happy to help! Give us a call at 800-767-5656.
Learn More:
Download Keeping the Dream Alive – Sashco’s guide to log and wood home finishing and maintenance
