Meet the Craftsmen Behind Rocky Ridge: Passion, Precision, and Pride in Every Log Home Project
When it comes to restoring log homes, few things are as rewarding as seeing history preserved and beauty brought back to life. That’s exactly what Rocky Ridge Log Restoration
is all about. Founded in June 2024, this emerging company has already made a significant impact with its commitment to craftsmanship and quality. We caught up with the team behind Rocky Ridge to learn more about how they got started, what drives their passion, and the tips they have for others in the trade. Here’s what they had to say.
Q: What’s your company’s specialty, and how long have you been in the business?
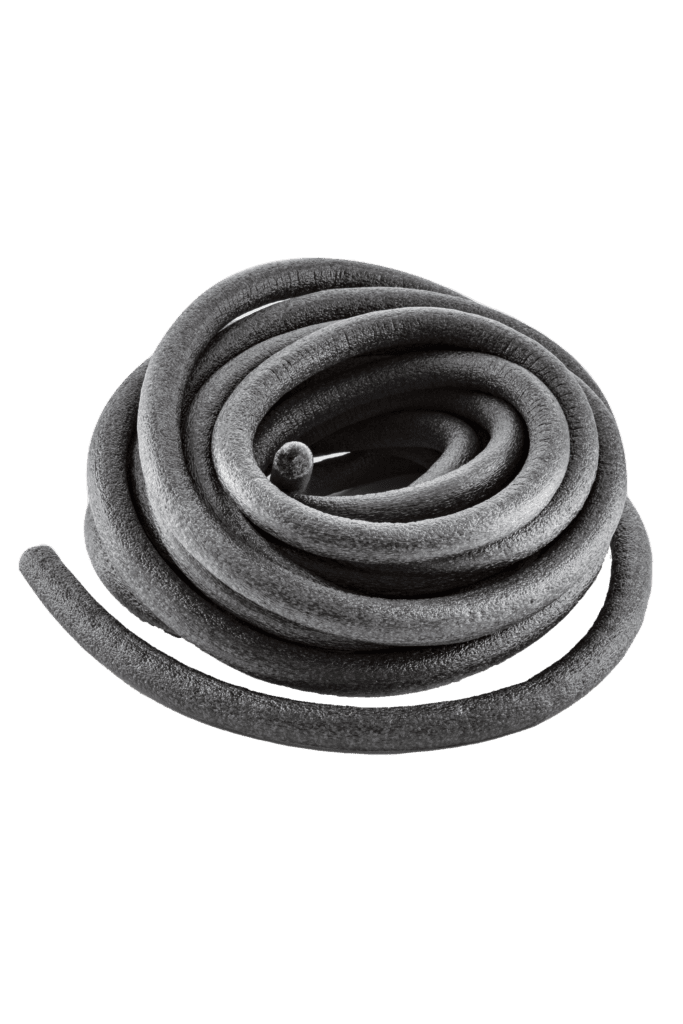
A: “Rocky Ridge Log Restoration started in June 2024. The venture began with a thought, and then I discovered the Zero Failures course at Sashco’s headquarters. I met a lot of amazing people, and the thought became a reality. At Rocky Ridge, we specialize in all aspects of log homes, but we mainly focus on rot repair, blasting, staining, and some chinking.”
Q: What’s one project you’re especially proud of?
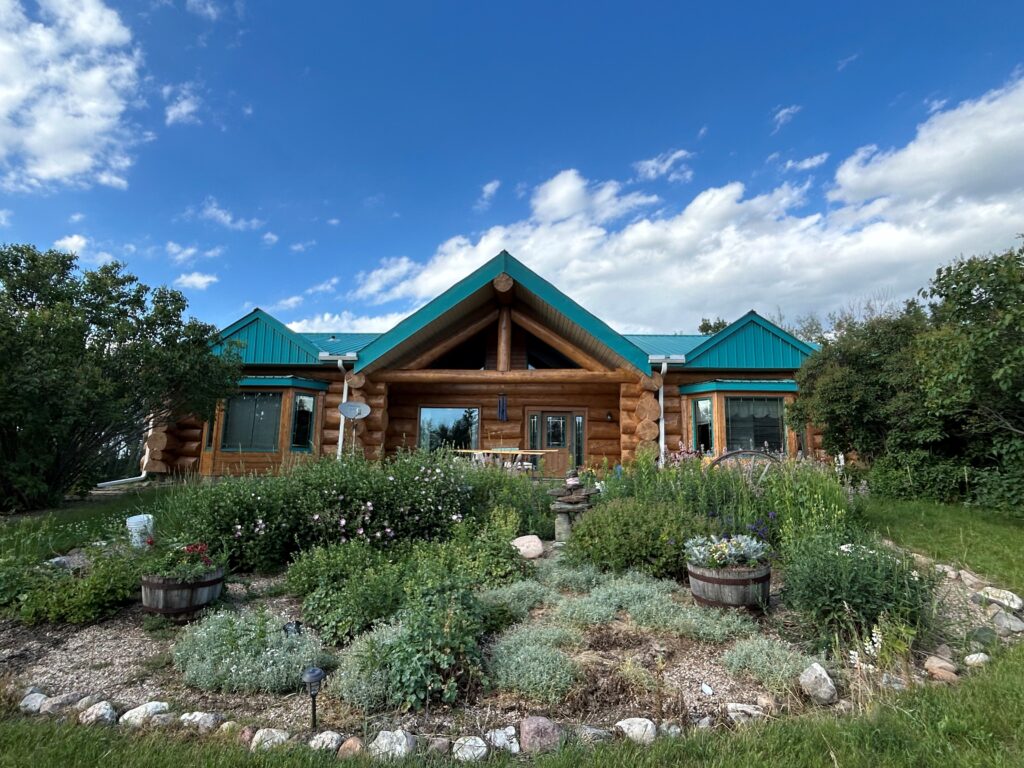
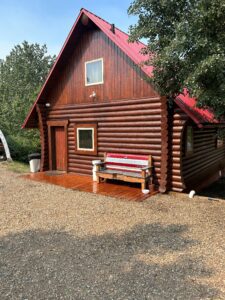
A: “I am proud of all my projects! I take a lot of pride in my work. One of my jobs I take real pride in is the Fairmont Jasper Park Lodge job, as it is a massive resort that brings in people from all over the world. I just find it so cool that I was able to work on those 100-year-old buildings (I would’ve never thought that a year ago when I first started this venture).”
Q: What’s your favorite Sashco (or product-specific) tool or material, and why?
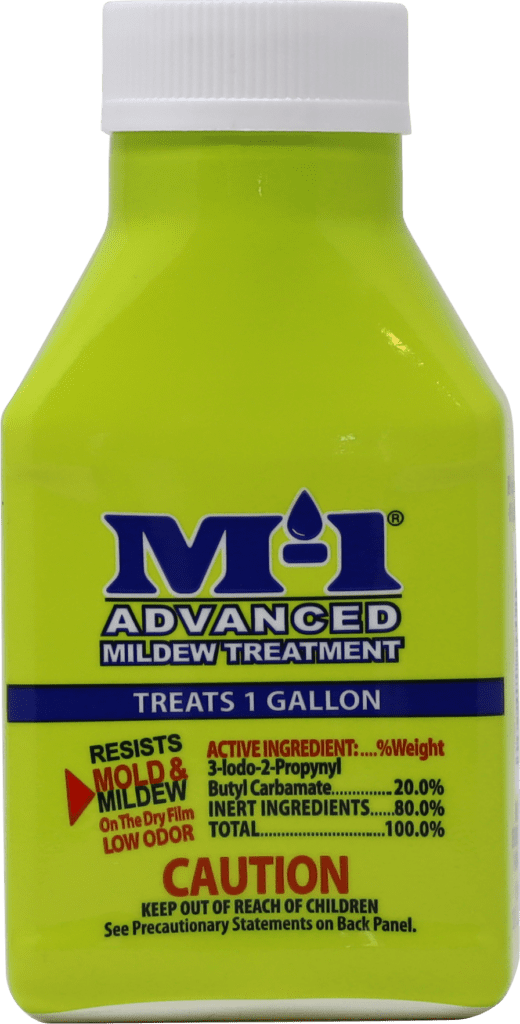
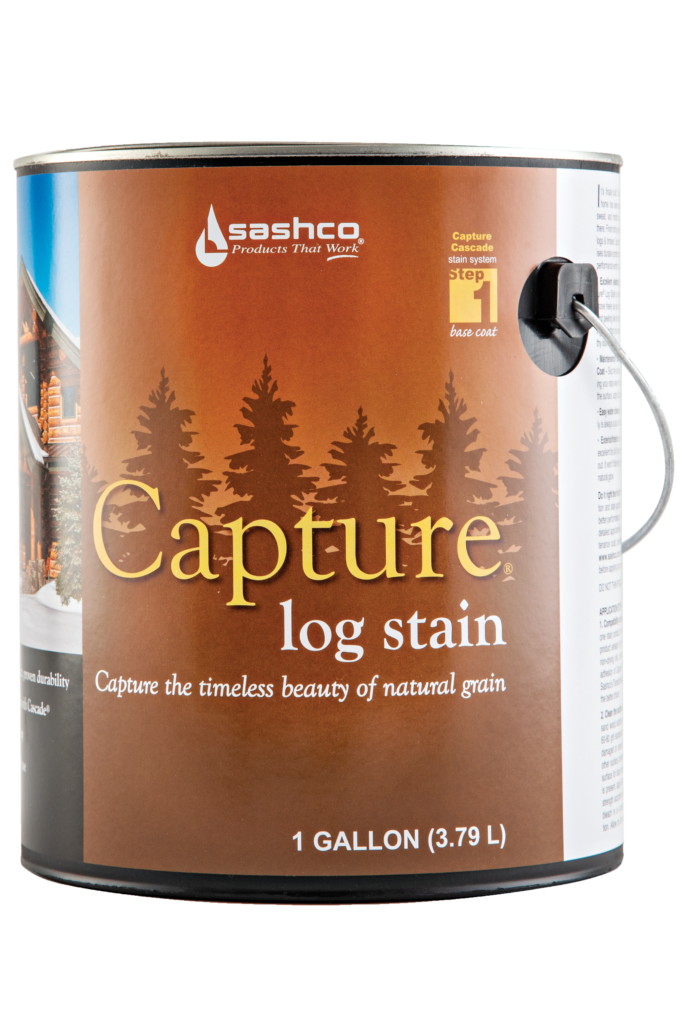
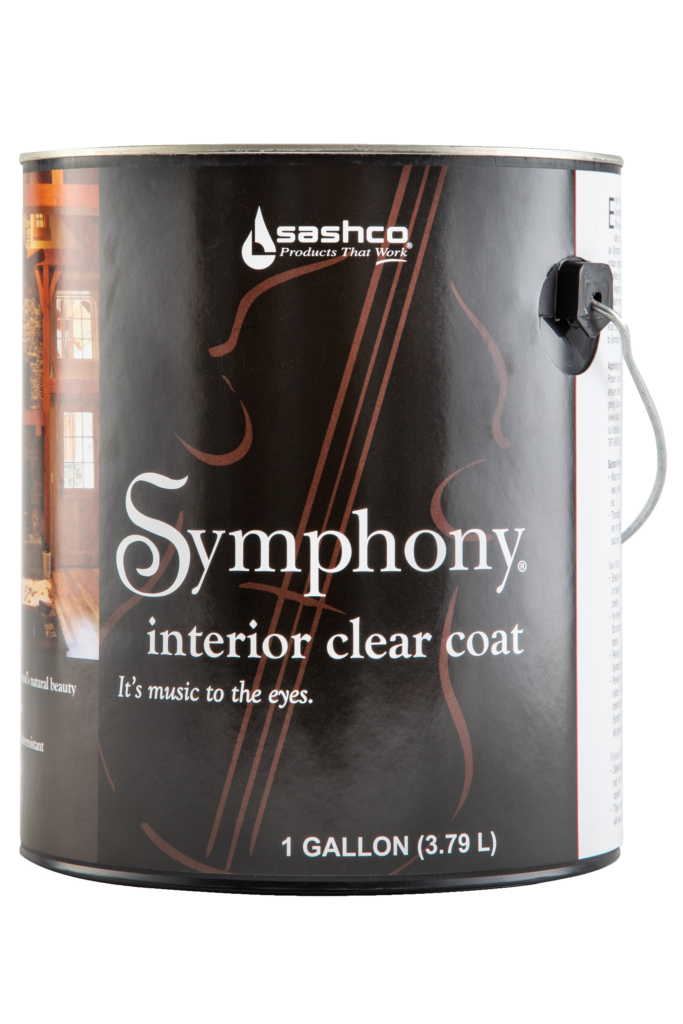
A: “I am a big fan of the Sashco Capture/Cascade combination. They have created a variety of nice colors, and by layering them, you can discover even more beautiful combinations. The clear coat is honestly my favorite as it really finishes the whole restoration as the homes really shine and look brand new again!”
Q: Any tips or advice you’d share with other contractors?
A: “A lot of these contractors have a lot more experience than I do, and I have learned a lot from them! One tip I would say, as I have been an employee for longer than I have been an employer, is to treat your employees great and they will put in great effort.”
Q: What do you enjoy most about the work you do?
A: “I really enjoy the transformation part of the house. Taking something that is worn out and needs attention, then transforming it into something beautiful, and ultimately having clients fall in love with their home again. That’s the best part of the job for me, and I get to see some pretty cool country and animals (bears)!”
Follow Rocky Ridge Log Restoration on social media!
Share this:
About Sashco Log Home Products
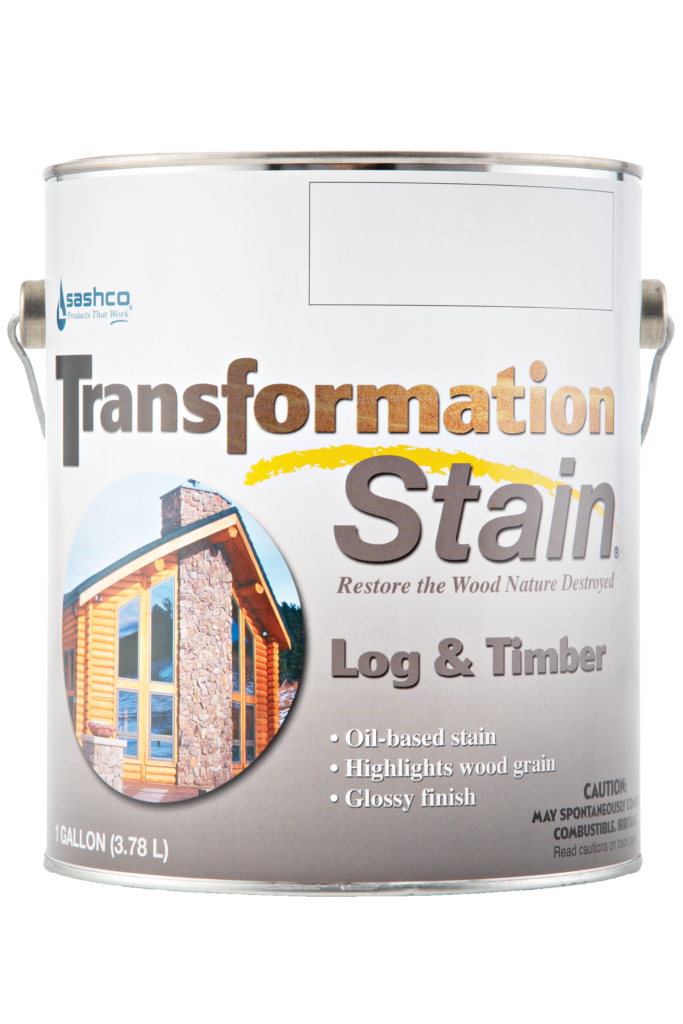
When it comes to protecting and beautifying your log home, Sashco isn’t just another stain on the market — it’s the high-performance choice for serious log lovers. With industry-leading products like Capture, Cascade, and Transformation, Sashco combines cutting-edge technology and rugged durability to keep your logs looking stunning and standing strong year after year. Whether you’re chasing that perfect finish or just want to avoid the heartbreak of costly repairs, Sashco’s got your back. Because your log home deserves more than “good enough,” it deserves Sashco. Made for logs. Made to last. Made to make your neighbors jealous.