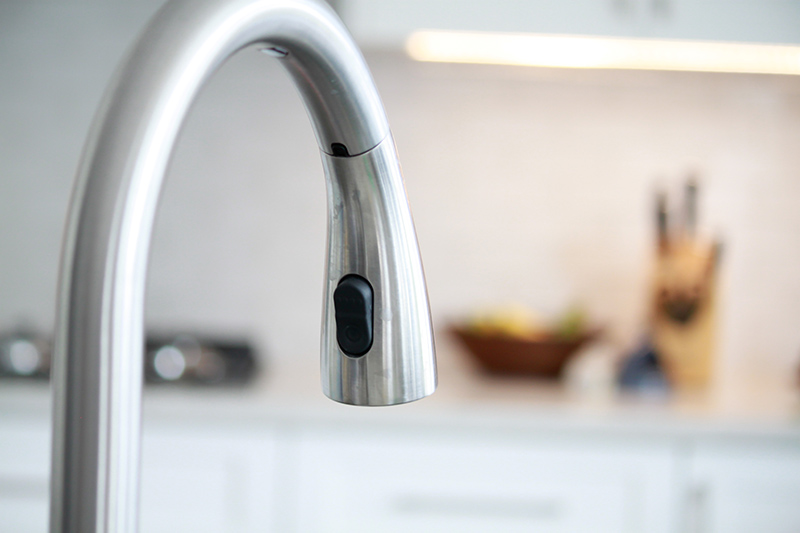
Kitchen Sink Caulking: How To Do it Right.
Knowing how to caulk a sink is essential for any kitchen remodel. Not just any caulk will do for this project – you’ll need a high-performance caulk or sealant that gives your customers long-lasting results. High-quality sealants are more durable and, for a contractor, that means fewer repairs for your team and less hassle for your customers. Read on to learn how to caulk a sink and why the type of caulk you use makes a difference.
Why You Need A High Performance Caulk For The Sink
A high-quality sealant is a worthwhile investment for your kitchen and bathroom projects. Why do we keep using the word sealant? It’s all about elasticity and performance! Not only are quality sealants easier for your team to work with, but they also make a better end product for your customers. Sashco’s innovative sealant products, like CleanSeal and Lexel, use innovative formulas that provide longer-lasting results, especially around the sink.
One of the most important things to look for in a sealant is its adhesive properties. The formula needs to adhere very tightly to the surrounding surfaces.. This creates a water-tight seal that won’t crack off, even with the natural wear and tear that kitchen sinks experience. This seal is also very important for preventing water damage, especially in areas like the kitchen that see a lot of moisture.
It’s also extremely important for your sealant to be elastic This is because sinks and countertops can move over time with house-shifting or as appliances bear weight on them, putting strain on the caulk. Changes in temperature can also cause a house to stretch and contract. Your caulking needs to stretch and contract with it while staying intact, whereas lower quality caulks will eventually break off with this movement.
Finally, the caulk you use should prevent mold and mildew growth. In moist areas like the kitchen and bathroom, mold and mildew grow very easily. Residue from soap or food can also fuel mold and mildew growth. Once these fungi have started to grow on your sink, it can be very difficult to fully remove them. A caulk that has inherent mold and mildew resistance will help to prevent these problems.
Sashco makes multiple products that provide the high performance you need for kitchen and bath projects. CleanSeal is a unique formula that’s designed specifically for kitchen, bath, and other humid indoor environments. It uses active enzymes to prevent mold and mildew from growing. It works by preventing oils from building up on the caulk. Without these oils, there’s nothing for the mold to grow on, which keeps the caulk nice and clean.
Lexel is a durable, rubber-based sealant that works on virtually any surface throughout the house. It’s extremely elastic, so it doesn’t break even if the sink moves. It creates a tight waterproof seal. Lexel dries clear, so the final product looks great, especially any place a white product might detract from the design.
Pro Tips For Caulking A Sink
1. Prep Your Surface
Before you start applying caulk, you’ll want to make sure your sink and the surrounding surface is clean. Prepping your surface will make it easier to apply the caulk neatly and evenly. If the sink has been caulked in the past, you’ll want to make sure you’ve fully removed any product that’s been left behind. You may need to use a utility knife to scrape away any excess that’s still stuck to the sink.
Water and rubbing alcohol are very effective for washing away any traces of caulk that have been left behind. Scrub thoroughly to remove any residue. If you are removing silicone you’ll need a specific caulk remover product as other cleaners will not remove the oily silicone film. Once your surface is clean and dry, you can start applying the caulk.
2. Use Painter’s Tape
Painter’s tape is one of the easiest ways to get a clean and attractive final product. Before you start, line up your painter’s tape on the edges where you’ll be caulking. The tape will catch any excess caulk, and you’ll get clean, straight lines as a result. The aesthetic of the sink is just as important as its functionality and painter’s tape ensures that the final result looks clean and professional. Just be sure to pull the tape right away before the caulk begins to form a skin.
3. No More Micro Beads!
In a 90 degree joint use a bead ¼” – 3/8” wide on the face. This will ensure enough caulking to absorb movement. Larger beads, when done well, will add to both the aesthetic and performance.
To ensure you’re using just the right amount of caulk, you’ll want to make sure you cut the nozzle at a 45 degree angle. The nozzle is tapered, so you’ll get a smaller bead if you cut towards the top, and a larger bead if you cut lower. For the most precise application, you can measure the area that you need to caulk and then line that up with the nozzle.
When you are applying the caulk, you’ll want to pull the cartridge backward toward you, instead of pushing it forward. This pulling motion ensures that the caulk comes out evenly. It’s also much easier to guide the caulk around corners this way.
How To Caulk A Kitchen Sink
When you have the right products, caulking a kitchen sink is actually very simple. Here’s the summary of how to caulk a sink in five easy steps.
- Prepare the surface. Wipe away any dirt or debris on the sink and surrounding areas. Make sure there are no traces of caulk or other adhesives remaining from previous projects.
- Apply painter’s tape around the area where you’ll be caulking. Make sure the tape is straight and even, as this will have an effect on the look of the finished project.
- Carefully cut the nozzle of the caulk bottle at a 45 degree angle. Be careful where you cut on the nozzle – you’ll want to make sure you’re getting the right size bead for your project.
- Apply the caulk around the joints of the sink that you’ve taped out. Pull the bottle back toward you as you do so for easier application. You’ll want to make sure that you’re applying a consistent amount of pressure the entire time so the caulk comes out even.
- Smooth down the edges of the caulk for a clean finish and let dry. You can do this using your finger or using a caulk finishing tool. Remove the tape and wipe away any excess caulk.
When you have the right products, caulking a kitchen or bathroom sink can be a very simple process. Sashco’s high-performance sealants are sure to keep your customers satisfied for years to come.


 | Sashco")


 | Sashco")

