It’s easy to make your own Log Jam® chink paint on site. And since mixing your own costs 1/3 less than buying premixed chink paint, it’s the money-smart choice. Simply follow the instructions below, then apply over any water-based chinking.
It’s easy to make your own Log Jam® chink paint on site. And since mixing your own costs 1/3 less than buying premixed chink paint, it’s the money-smart choice. Simply follow the instructions below, then apply over any water-based chinking.
Knowing how to caulk a sink is essential for any kitchen remodel. Not just any caulk will do for this project – you’ll need a high-performance caulk or sealant that gives your customers long-lasting results. High-quality sealants are more durable and, for a contractor, that means fewer repairs for your team and less hassle for your customers. Read on to learn how to caulk a sink and why the type of caulk you use makes a difference.
Renovating a bathroom comes with plenty of unique challenges. As a contractor, you know how tough it can be to create a water-tight seal that will prevent mold and mildew from growing. You’ll need a tough, long-lasting caulk with water-sealing technology. Your caulking also needs to look great in the bathroom and be easy to use on any project that comes your way.
If you have ever remodeled a bathroom, you understand how challenging finding a product that works can be. Although a veritable army of caulk brands is on the market, it is surprisingly difficult to find one that seals gaps and joints around the tub and sink so that moisture and mold can’t get in. In some cases, the caulk looks great when applied but cracks or breaks in a matter of months—cue callback.
Whether it’s for a new bathroom install or a repair job, the nightmares that come with bathtub caulk jobs are all too familiar. It’s difficult enough to get a perfectly smoothed bead that doesn’t look messy or thoughtless, but even after application, caulk often provides more problems that contractors have to face: it cracks or zippers apart after curing, lets in moisture, and often does little to stop the growth of mold and mildew that can cause all kinds of other long-term disasters.
Whether you’re working in new construction or finishing up a remodel on a bathroom, caulk can be a real pain. Caulk applied around the shower faces a wide variety of stress factors that limit its longevity, which takes away from customer satisfaction and requires you to redo your best work over and over again for years down the road.
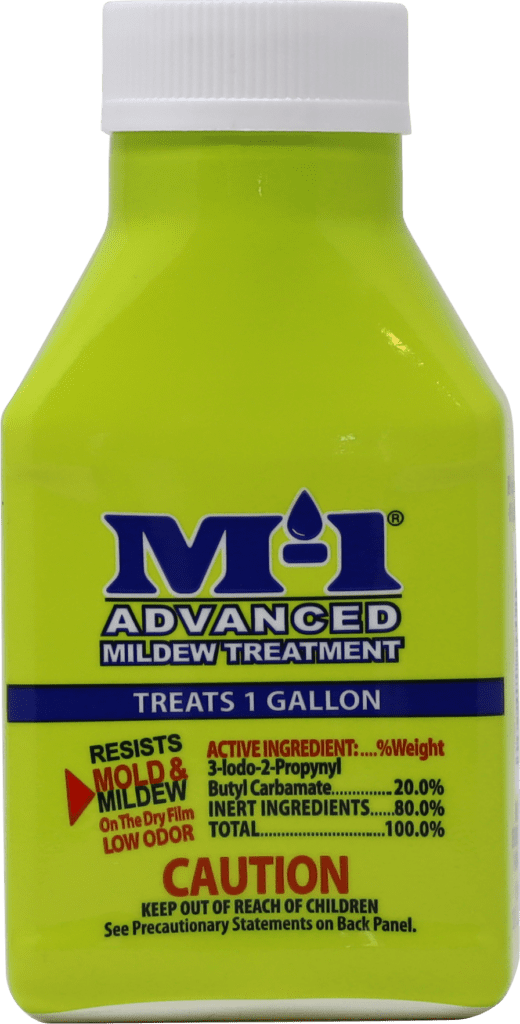
Mold might be the most dreadful of all four-letter words!
When dealing with mold, you may come up with a few four-letter words of your own. No wonder. It’s a major headache!
You probably wonder, «Can I scrub that black spot off the caulk?» In good faith, you try to clean the surface. The surface may even look good briefly, but then you realize mold is growing beneath the caulk. Argh! Even re-caulking your bathtub or shower does not work. It always returns over and over again. Please give me an Advil and an explanation for why it keeps coming back.
You don’t have to worry. We’ve got you covered. You might discover mold and mildew growing underneath your bathroom caulk, which means that new caulk will not fix the problem (Say what?!?!?!). They keep growing back, so even if you replace the caulk, the mildew keeps coming back, and then you just end up where you started. It’s a frustrating cycle that never ends.
What are the best ways to determine where mold or mildew is growing?
Here’s a quick test you can perform, along with DIY tips on how to fix things once and for all.
The bleach test
Soak a cotton ball in fresh chlorine bleach and apply it to mildewed caulk. If it disappears immediately, the mildew is growing on top of the caulk. Score! You just need a little elbow grease and a thorough cleaning session.
Mildew that takes 45 seconds or more to disappear is likely mildew under the caulk, requiring more effort (and persistence, don’t worry, you’ve got this).
Here’s how to tackle that project.
Do you see mildew where you removed the caulk? This happens when rigid caulk loses adhesion or crack. Water gets behind the caulk and causes mold and mildew. Is it difficult to see the mildew? Unfortunately, it may be behind the tile, and the caulk line is simply an exit. (Ugh.) Remove a tile (we know, but there’s still Advil) and see where the mildew comes from. Moisture often enters through unsealed grout lines. The scenario can be a bit like trying to find the source of a leaky pipe. You can see the water dripping and the damage it is causing, but it takes some detective work to discover where the leak comes from.
Hopefully, the mildew growth is localized and minor. Mildew remover products or mild bleach and water solutions – 5 parts water to 1 part bleach are great options. Getting a specialist in is essential if that tile you removed hints at something more serious (like mildew covering the walls and tile backs, or visible mildew around the surrounding tiles, etc.).
It’s important to seal that grout to prevent any further moisture infiltration. You can find grout sealer at any hardware store. Re-caulk after removing all mildew, and the surface is clean.
If you don’t want mildew to grow on your caulk, use an enzyme-based product (like Sashco’s CleanSeal®) or a product that has a chemical composition that naturally inhibits mildew growth (like Sashco’s Lexel®).
Let’s toast to that mold-free shower. Linger under that hot water and marvel at the lack of black stuff. Oh, that’s so soothing. Cheers!
Need some more info? Check out these resources:
As a contractor, it can be difficult to find a balance between performance and productivity. Water-based sealants are very easy to use on siding and other exterior surfaces – but can they provide the quality you’re looking for? The answer is yes, but you’ll need to find the best exterior caulk for the job.
Many of us don’t give caulk guns much thought. Typically, they’re the inexpensive throw-away tools tossed in the toolbox at the beginning of a job.
Those guns quickly turn into clumsy, uncomfortable tools that don’t put caulk exactly where you want it. They break often and require frequent replacement, which means they cost you more money in the long run.
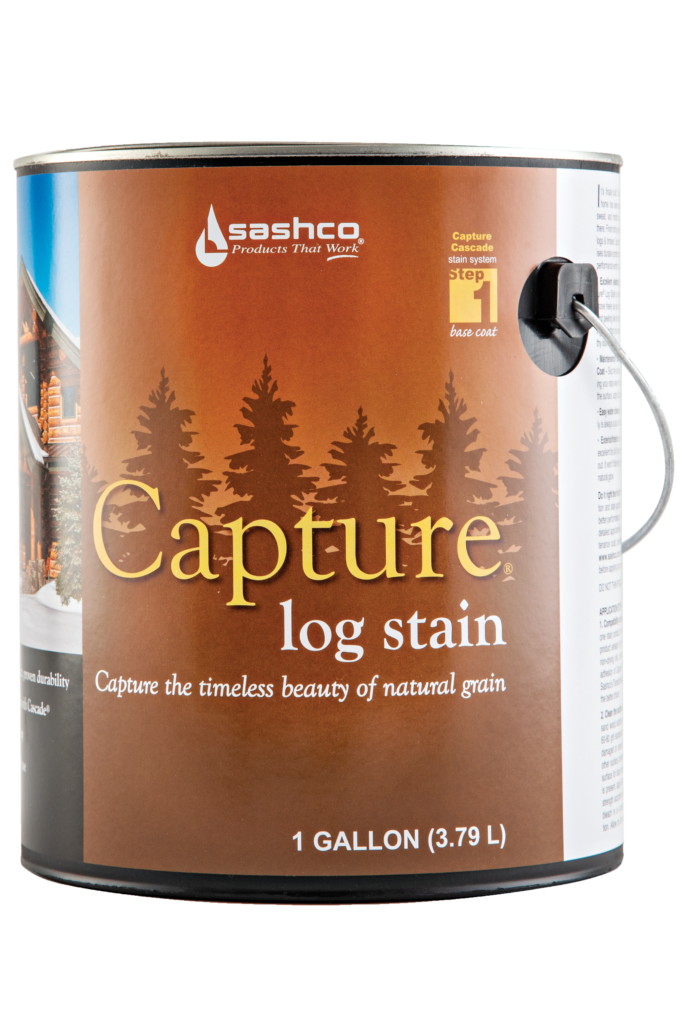
Capture the Timeless Beauty of Natural Grain
Don’t compromise at the end of a long and arduous journey by using an inferior stain not designed for logs. Capture and Cascade deliver performance worthy of the journey that got you here.
Available in 11 popular colors.
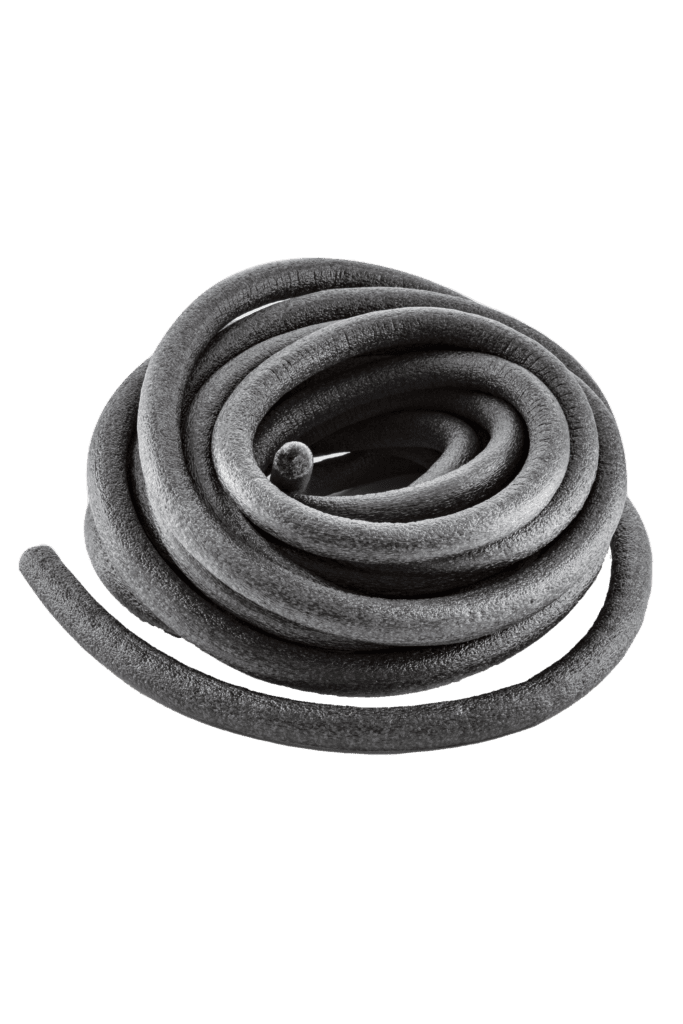
Backer Materials that Seal Things Right the First Time Backer Rod, Grip Strip, and Log Gap Cap all help you create the ideal joint desing for a long-lasting, durable seal

Logs are in constant dynamic motion. That's why there's Log Builder®, the sealant made for log structures. Stretches up to 500% of original size, while still maintaining tenacious adhesion to the wood.


When other chinking pulls away, Log Jam holds its seal With Log Jam chinking, you can keep the cozy feel and rustic look of a log home without compromising comfort and performance.
Available in 8 popular colors.

Easy to Use - Hard to See Keep out weather, bugs, and moisture without seeing it. Conceal disappears into the woodwork so you don't know the wood starts and the caulk begins.
Available in 7 popular colors.
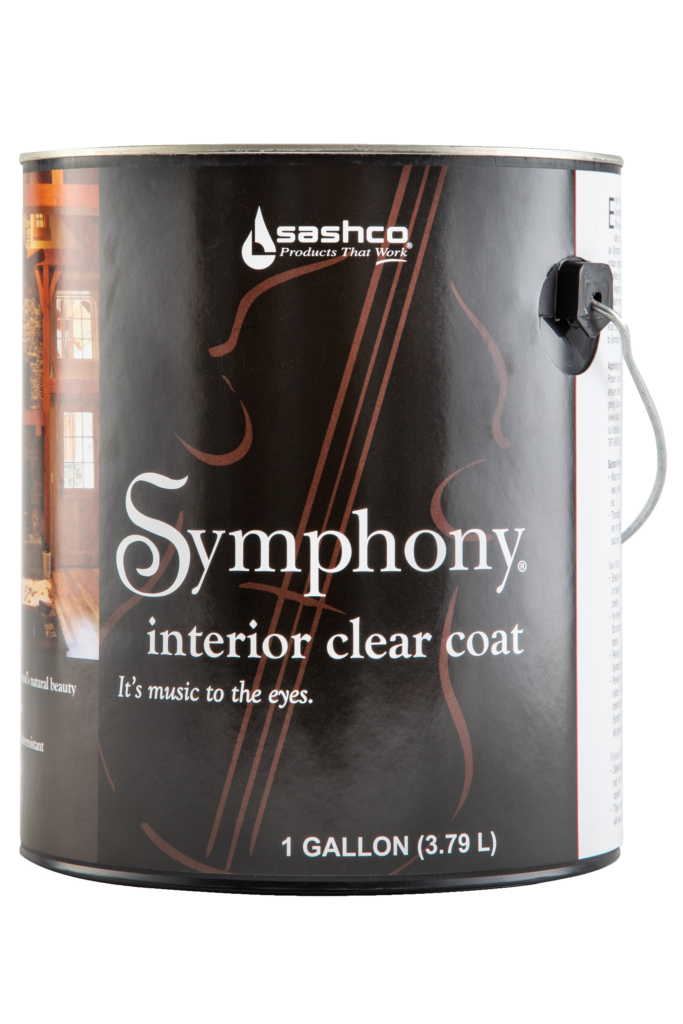
It's Music to the Eyes Symphony works in harmony with the unique character of your logs and wood to reflect an atmosphere or cozy warmth and elegance while creating and scuff-resistant and durable surface that's easy to dust.
The Easiest Stain to Maintain Transformation Siding & Trim is the no-peel, easy-to-maintain stain for your siding, trim, and decks.
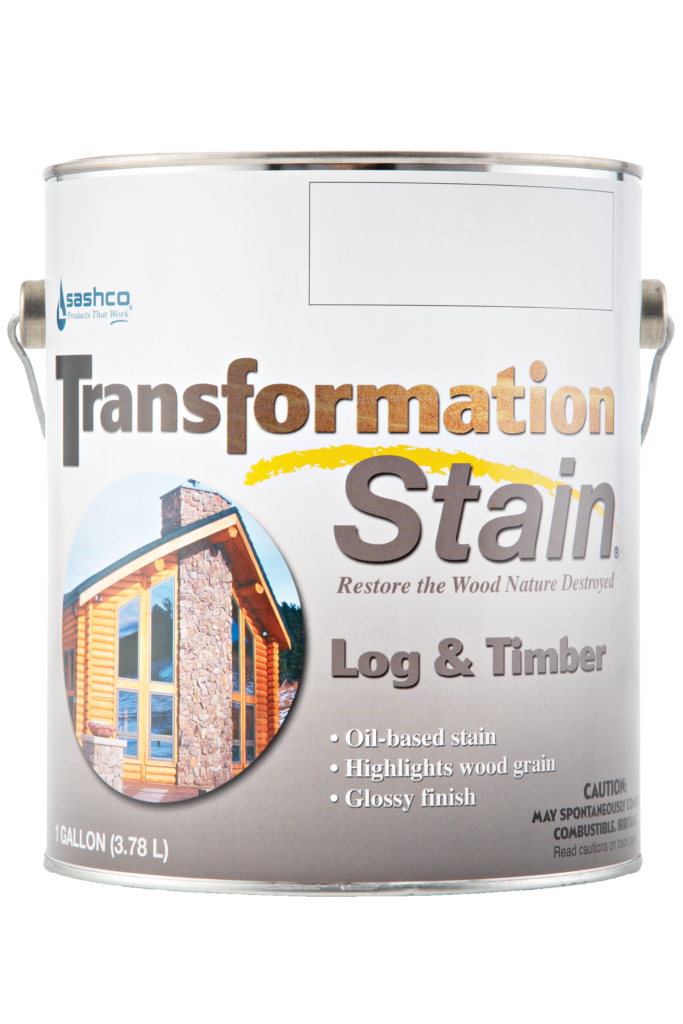
Restore What Nature Destroyed
Bring old, damaged, gray and weathered logs back to life with this flexible oil-based semi-transparent stain

Right Color. Right Quantity. Right Now. Never run out of stain at the jobsite again. Stock exactly what you need in your truck or trailer at the jobsite.

Maintenance Made Easy Now that Capture® Log Stain is applied, it’s time for Cascade® Clear Topcoat to bring out the depth and character of your unique woodgrain while protecting it against moisture, mildew, and algae. Predictable and affordable routine maintenance with Cascade throughout the years means your home stays protected and beautiful. Easy!
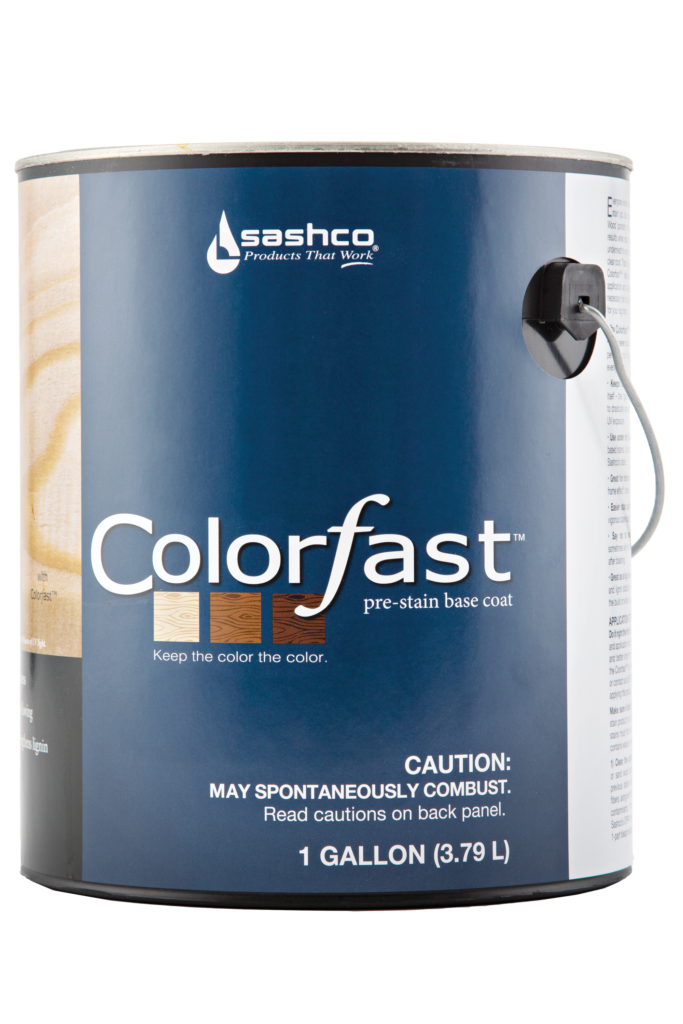
Keep the Color the Color Colorfast delivers the ideal canvas for stain application and leaves behind the strong foundation necessary for long-lasting color. It’s color confidence for your log home.

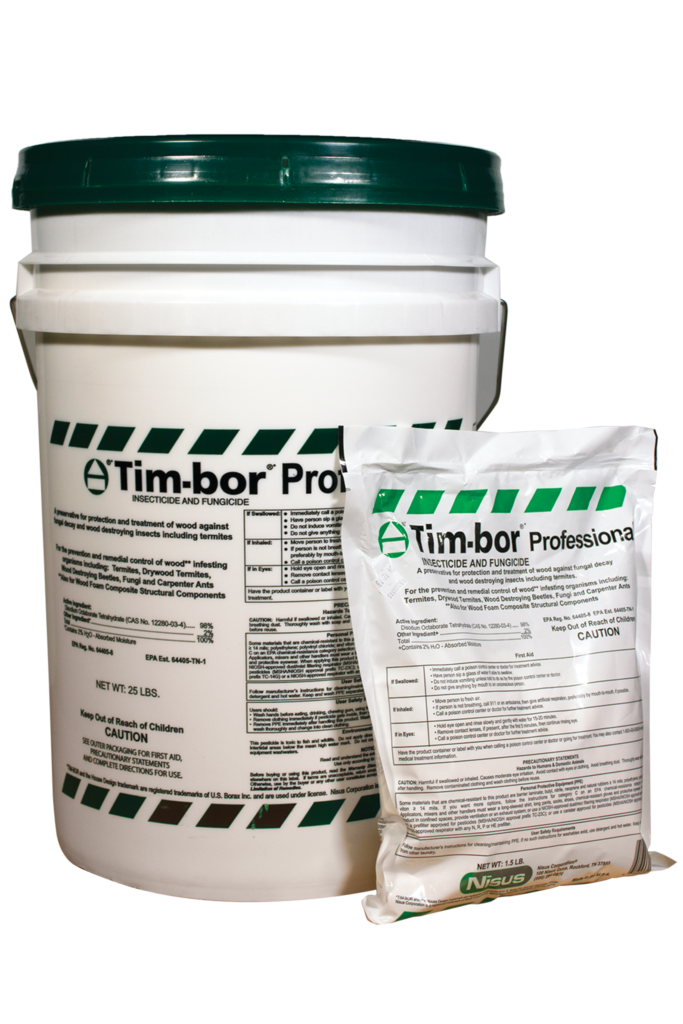
Rot, weather, insects, fungi all pose a serious threat to your logs. Protect your investment—treat your logs first to make them last. Tim-bor® helps protect your home from the costly damage caused by rot and insect infestation.
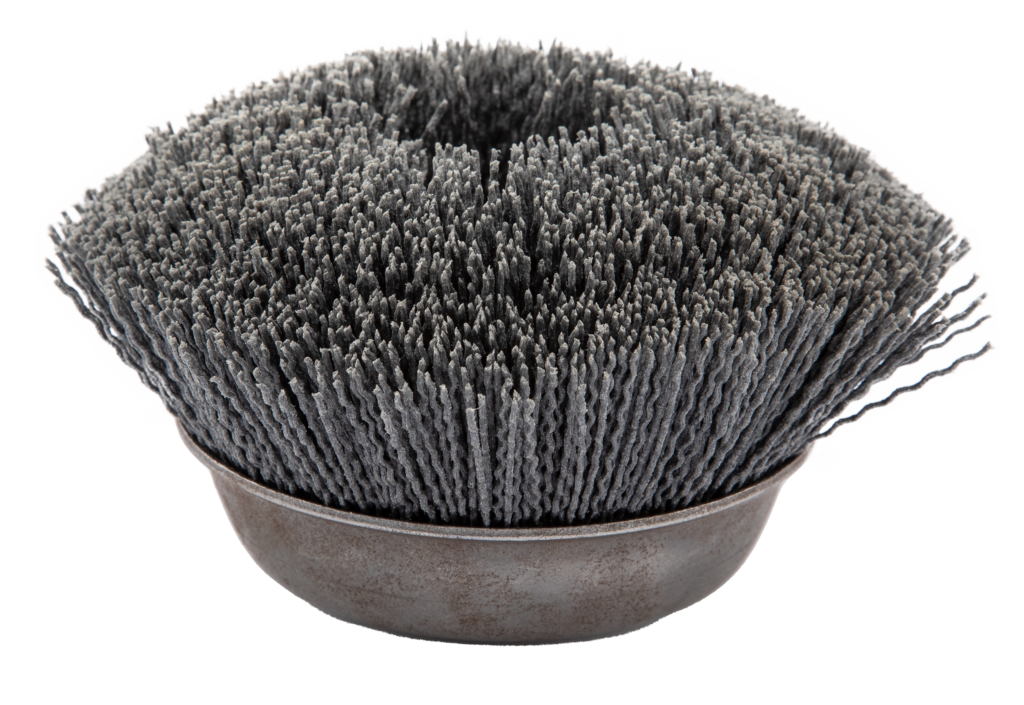
Remove Wood Felting and Raised Grain Remove wood fuzz (called felting) after power washing or media blasting, and knock down excessive raised grain with Sashco's finish sanding tools

Clean and brighten bare logs and wood, remove surface dirt, pollen, and kill mold for maintenance, and keep your logs looking fresh with CPR Log Cleaner and Brightener


