4 Easy Tips To Get A Perfect Stain Match Every Time.
Tip #1: Proper Prep, Please!
Spend any time around Sashco peeps, and you’ll hear ad nauseam about the importance of proper prep. Why? Because it will guarantee the best long-term performance in a stain. Without proper surface prep, even the best log home stain in the world will fail.
Don’t just take our word for it! Kurt Denman, a former Product Manager for Benjamin Moore, said, “I cannot emphasize enough how critical proper preparation is to realize a successful staining project. It’s the ultimate determinant on how long the lasting beauty of a job lasts.” (Ahem…see how we repeated that? Repetition is key.)
So, as a reminder, the five primary factors that contribute to a stain-ready surface are:
- Sound wood: This means free of any loose, unsound, degraded wood fibers. If loose fibers are left on the surface they will continue to loosen more over time and fall right off.It will look like the stain is flaking or peeling. But, it’s really flaking wood fibers.
- Clean wood: This means wood free of any dirt, pollen, dust, bird poo, mold, etc. If you stain over the top, you trap those items. This can lead to various problems, including peeling or flaking stain, and even worse, rot. The only way to fix dirty wood underneath a stain is to take the stain off. Better to not go there.
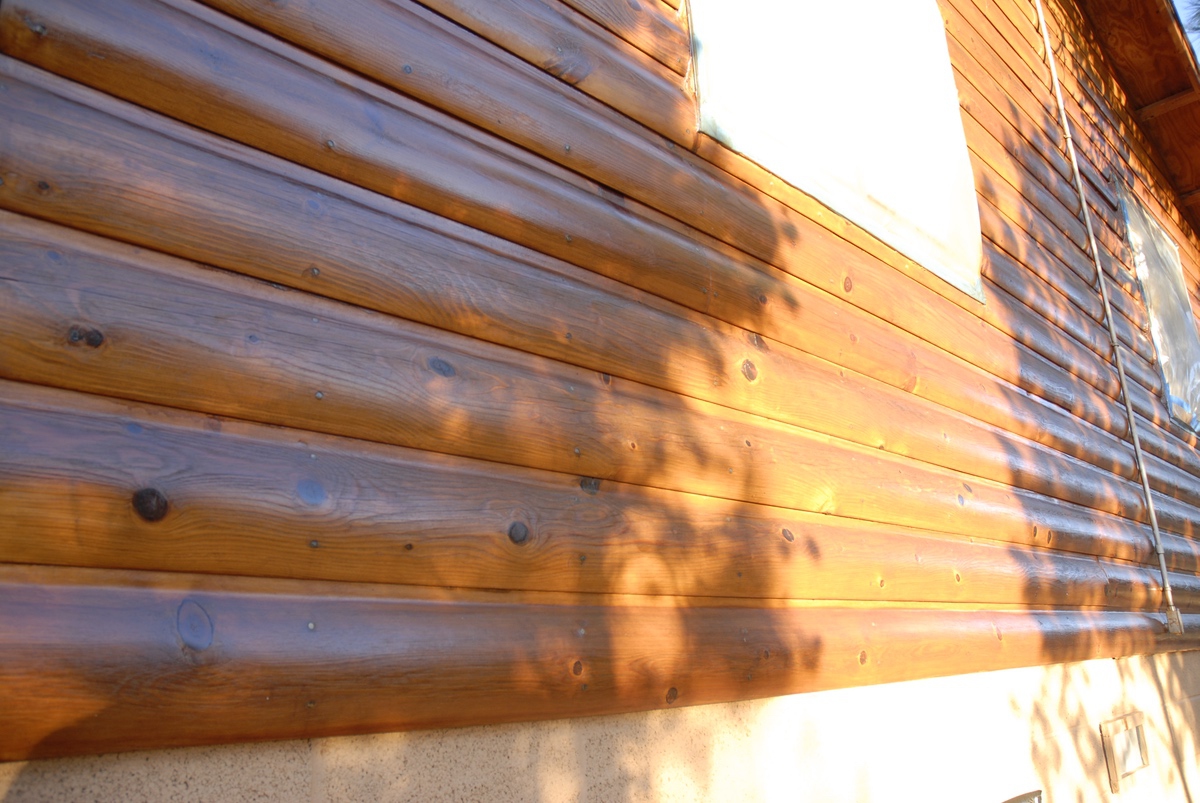
- Textured wood: Textured wood can hold up to twice the stain smooth wood can. Just remember, more texture equals more longevity. Simple.
- Dry wood: This means wood below 19% moisture content level (or lower if you’re in a dry climate). Wet wood can lead to peeling stain, mold, mildew, and rot.
- Warm (not hot) wood: Surface temperature is the name of the game here. The surface should be between 40°F and 90°F. Any colder and you risk the stain freezing and severely slowing down the cure, leading to wash out or peeling. Any hotter and you risk the stain curing too quickly, leading to peeling stain and lap marks. Either way, in a word — yuck.
Tip #2: DON’T think out of the box.
Heh? Ok, allow us to explain. There is always a chance of small color differences between lots of stains (like lot variations in carpet); therefore, it is important to intermix, or “box,” different lots of stains before application. Remembering to box your stain will help ensure uniformity of color even when different lot numbers are used.
Tip#3: Get REALLY mixed up.
Mix, mix, mix it up! Did we mention mixing is important? Skipping this step is no bueno! Thoroughly mixing stain is super important. The preferred method is to use a drill-driven, squirrel-cage type mixer. No matter what method you use to mix the stain, you can help ensure the most consistent color by:
- Scraping all pigment off the bottom of the pail and thoroughly mixing it in.
- Intermix pails with different lot numbers.
- Stirring the stain every 10–15 minutes throughout the application to keep the pigments evenly distributed through the stain.
Tip #4: Use the Perfect Product.
To get a perfect stain match choose a product that will work with you, not against you. Using a product like Flex Tint allows you to create the perfect stain match without product waste. Flex Tint starts with neutral Capture or Transformation Stain. Then, you simply add Flex Tint pigment (cartridges available in all eleven colors to create the perfect match), mix, done! Mic drop. Learn more about Flex Tint here.


 | Sashco")


 | Sashco")

