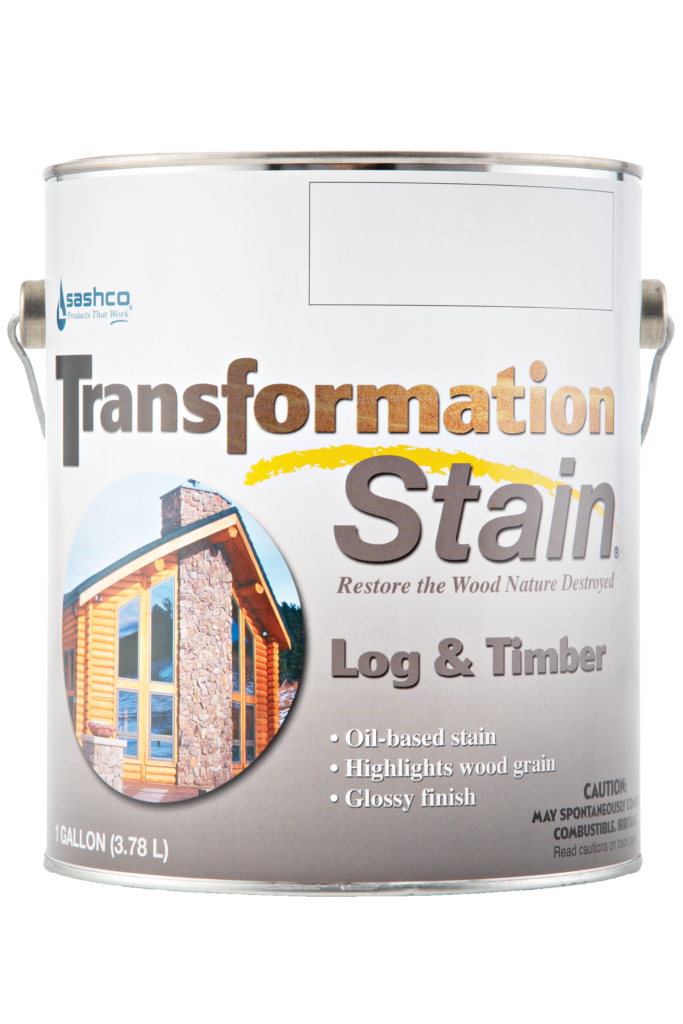
The Pros Trade Secrets for Staining Your Log Home.
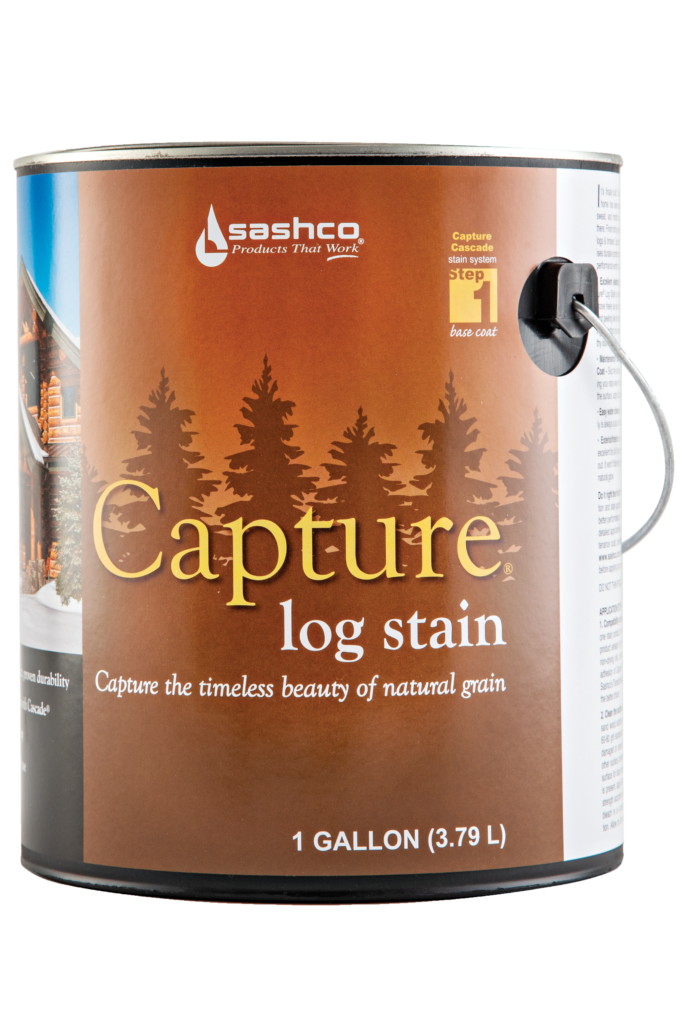
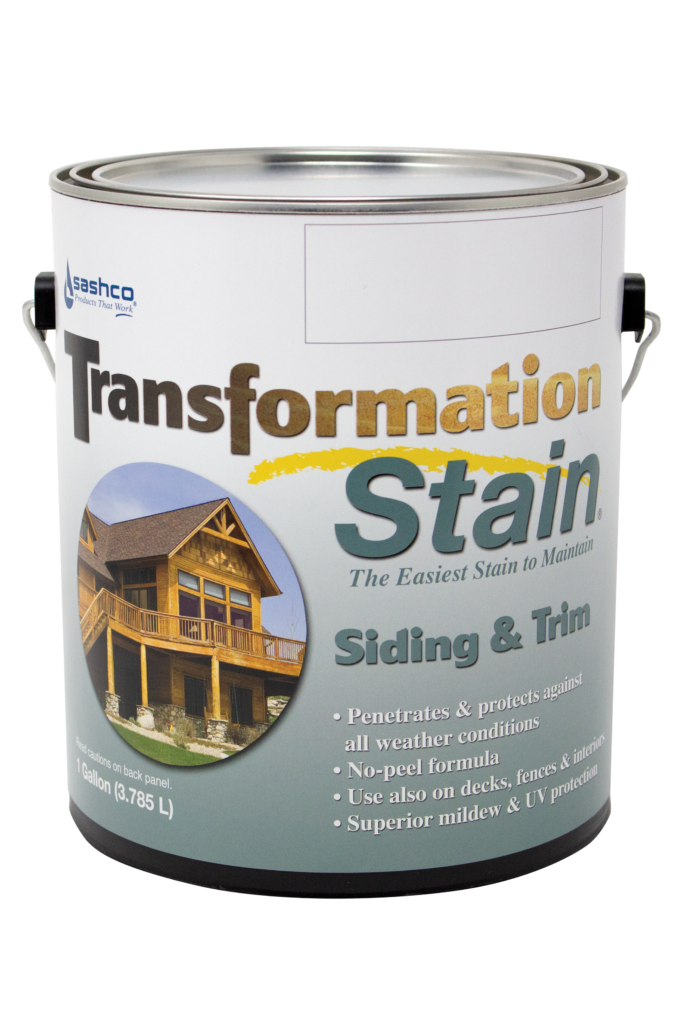
Yes! You’ve chosen your stain, done all the prep, plus secondary prep, and you’ve blocked out that day on your calendar with just the right weather conditions for staining and getting the job done. Before you get started here’s a few tidbits and tips you should know.
1. Don’t forget to box your stain.
There is always a chance of small color differences between lots of stains (like lot variations in carpet or drapes); therefore, it is important to intermix, or “box”, different lots of stains before application. This will help ensure uniformity of color even when different lot numbers are used.
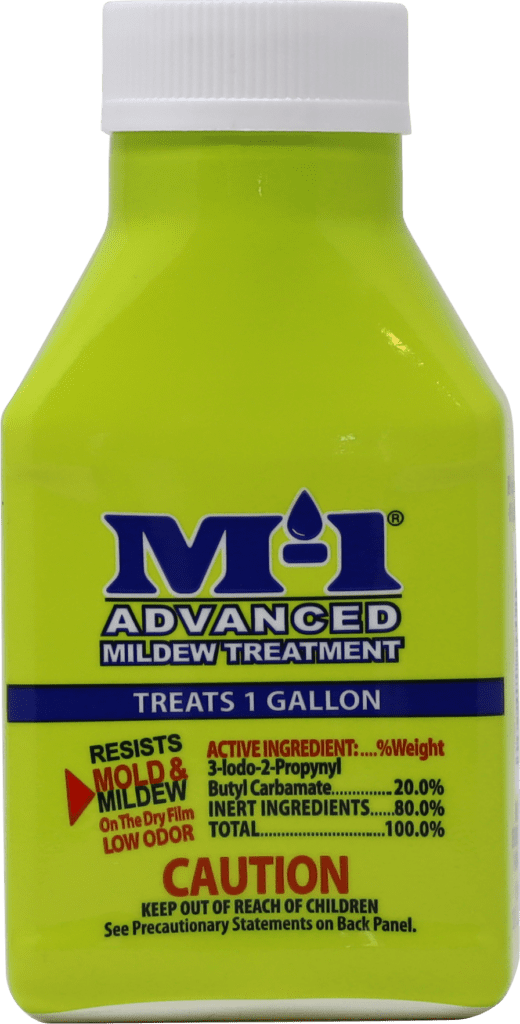
2. Add fungicide to prevent surface mildew.
In areas with high moisture exposure, it is advisable (for exterior use only) to add an additional loading of fungicide to the stain and any finishing clear coat just before application to help control surface mildew. We recommend M-1 Advanced Mildewcide Paint Additive with all of Sashco’s stains.
3. Brush up on your application techniques.
Pay attention to the number of coats recommended for your stain. Both color and gloss can vary greatly from one coat to the next. Regardless of which stain you have selected, the best staining method is usually to spray and vigorously back brush.
Some may desire to brush on the stain. If this is the case, be sure to stick with the manufacturer’s coverage rates. If you end up with a lot of leftover stain, you probably haven’t applied enough and should brush on another coat. Applying enough stain ensures proper UV protection on your home, protecting it longer.
Back Brushing
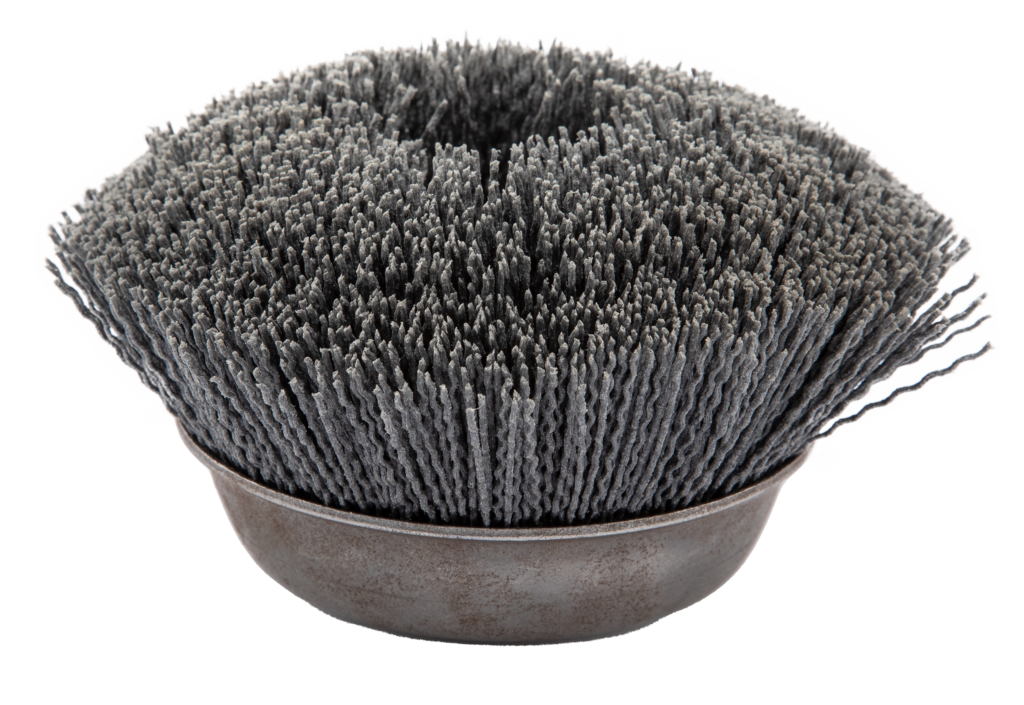
Don’t skip this step, and be prepared to get a workout! Back brushing “pumps” the stain into all the tiny checks and crevices characteristic of wood. This helps the stain adhere better to the wood by anchoring it onto the wood surface — resulting in a longer-lasting finish that will require less maintenance over time.
- Avoiding Lap Marks
Maybe you’ve seen homes that look “striped.” That look is a result of spraying and not brushing out the excess product that overlapped onto the previously sprayed section. Lap marks are usually a result of poor application techniques. To avoid lap marks, it’s best to work horizontally and in sections. If brushing, minimize lap marks by keeping a wet edge and “feathering out” the stain—trailing it out into a ragged “nothing.”
Alright, if you’ve read this all the way to end we think you’re ready to pick up that brush and get started. After you’re done come check out this video on how to caulk your log home with Conceal®.
