Meet the Craftsmen Behind Rocky Ridge: Passion, Precision, and Pride in Every Log Home Project
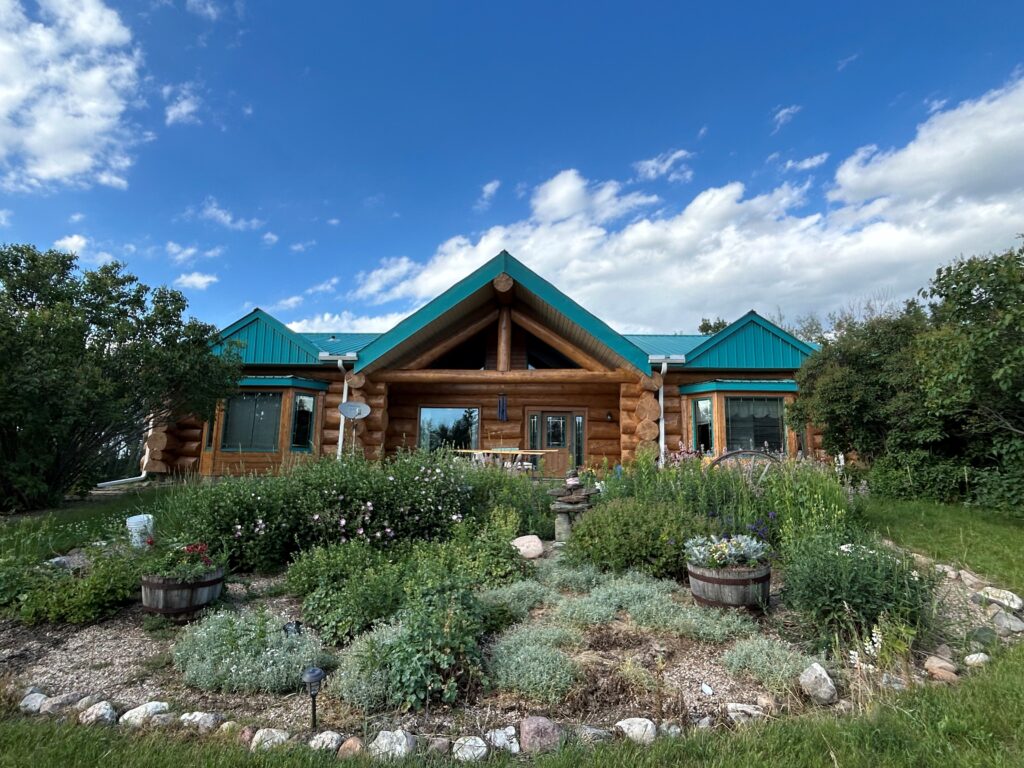
When it comes to restoring log homes, few things are as rewarding as seeing history preserved and beauty brought back to life. That’s exactly what Rocky Ridge Log Restorationis all about. Founded in June 2024, this emerging company has already made a significant impact with its commitment to craftsmanship and quality. We caught up with the team behind Rocky Ridge to learn more about how they got started, what drives their passion, and the tips they have for others in the trade. Here’s what they had to say.
Q: What’s your company’s specialty, and how long have you been in the business?
A: “Rocky Ridge Log Restoration started in June 2024. The venture began with a thought, and then I discovered the Zero Failures course at Sashco’s headquarters. I met a lot of amazing people, and the thought became a reality. At Rocky Ridge, we specialize in all aspects of log homes, but we mainly focus on rot repair, blasting, staining, and some chinking.”
Q: What’s one project you’re especially proud of?
A: “I am proud of all my projects! I take a lot of pride in my work. One of my jobs I take real pride in is the Fairmont Jasper Park Lodge job, as it is a massive resort that brings in people from all over the world. I just find it so cool that I was able to work on those 100-year-old buildings (I would’ve never thought that a year ago when I first started this venture).”
Q: What’s your favorite Sashco (or product-specific) tool or material, and why?
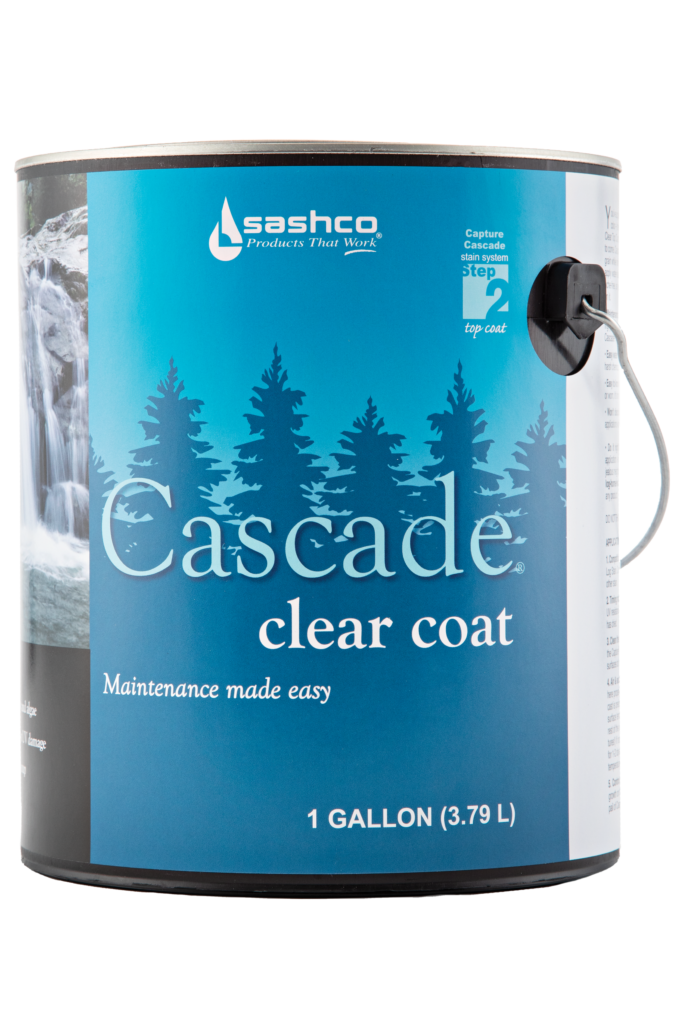
A: “I am a big fan of the Sashco Capture/Cascade combination. They have created a variety of nice colors, and by layering them, you can discover even more beautiful combinations. The clear coat is honestly my favorite as it really finishes the whole restoration as the homes really shine and look brand new again!”
Q: Any tips or advice you’d share with other contractors?
A:“A lot of these contractors have a lot more experience than I do, and I have learned a lot from them! One tip I would say, as I have been an employee for longer than I have been an employer, is to treat your employees great and they will put in great effort.”
Q: What do you enjoy most about the work you do?
A:“I really enjoy the transformation part of the house. Taking something that is worn out and needs attention, then transforming it into something beautiful, and ultimately having clients fall in love with their home again. That’s the best part of the job for me, and I get to see some pretty cool country and animals (bears)!”
Follow Rocky Ridge Log Restoration on social media!
About Sashco Log Home Products When it comes to protecting and beautifying your log home, Sashco isn’t just another stain on the market — it’s the high-performancechoice for serious log lovers. With industry-leading products like Capture, Cascade, and Transformation, Sashco combines cutting-edge technology and rugged durability to keep your logs looking stunning and standing strong year after year. Whether you’re chasing that perfect finish or just want to avoid the heartbreak of costly repairs, Sashco’s got your back. Because your log home deserves more than “good enough,” it deserves Sashco. Made for logs. Made to last. Made to make your neighbors jealous.
This month we’re talking about building a nice butt. Nope, not that kind of butt. We mean butt-joints! Our very own log home expert, Paul Peebles is sharing some of his very best tips from the field to help you build a better butt-joint.
By Paul Peebles, Southeast Territory Manager (and log home owner who knows a thing or two about butt-joints)
We need to have a talk about your butts.
No, not those butts — I mean butts in log homes, sometimes called butt-joints. These things cause a lot of trouble in the log home business because, too often, they are not designed correctly. That’s a problem because a poorly designed butt-joint can allow water and bugs into your home or behind the log siding, leading to rot and insect infestations. Yuck. After decades in the industry, I have found that close to 90% of water damage and rot are caused by leaky butt-joints. In most cases, when I have been called to a home that leaks water, I have found that it is the butt-joints that leaked — sometimes for years! The problem begins when builders butt two logs tightly together during construction. It looks tight, so it must be right, right? We all know that after a couple of years, the logs shrink, opening up those joints, and this lets in the water. Bad situation! One common indication that this has occurred is a little bit of daylight showing from inside the home. Follow these easy steps for effective butt-joint repair.
Step One: Bring out the circular saw.
Place two blades into a circular saw (I use one of the small 5 ¼” rechargeable saws) and tighten the arbor. Make sure both blades are turning in the correct direction.
Step Two: Carefully cut.
CAREFULLY plunge-cut the butt joint to open it up to ¼” wide from top to bottom. While doing this, try to keep the blades in, or on, the end of either the right or left log so you cut off the very end of one log or the other. Cut as deeply as you can into the log, but not down or up into the logs, or above or below them. For safety, I do not tighten my saw arbor completely. This sounds more dangerous, but it’s not. If you leave the arbor snug but not tight, the saw blades will spin on the arbor when the saw is in a bind and prevent the saw from kicking back.
Step Three: Clean your checks.
Carefully clean out any checks that extend into the butt joint. I use a multi-tool with a cutting blade.
Step Four: Insert backer rod.
Add backer rod to the checks and to the gap between the logs and caulk. This configuration allows you to add the caulking INTO the gap between the logs and not just smeared ONTO it.
Step Five: Sealing your joints.
Caulk over top of the backer rod with a good quality sealant like Conceal® or Log Builder®. Be sure to tool it smoothly. If applied correctly, this will be a durable seal that should last darn close to forever.
Ready to stain? Don’t guess! Sample. Testing stain colors on your actual logs before committing ensures that you get the exact look you want and helps prevent “oops” moments later. Snag your free samples here.
When it comes to protecting and beautifying your log home, Sashco isn’t just another stain on the market — it’s the high-performancechoice for serious log lovers. With industry-leading products like Capture, Cascade, and Transformation, Sashco combines cutting-edge technology and rugged durability to keep your logs looking stunning and standing strong year after year. Whether you’re chasing that perfect finish or just want to avoid the heartbreak of costly repairs, Sashco’s got your back. Because your log home deserves more than “good enough,” it deserves Sashco. Made for logs. Made to last. Made to make your neighbors jealous.
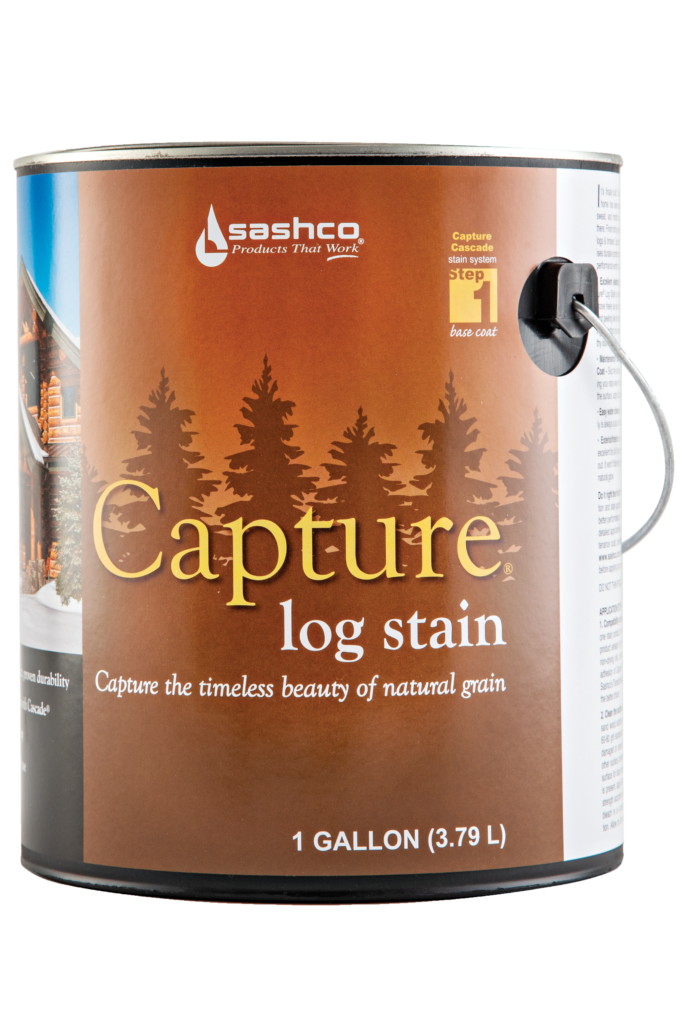
Don’t compromise at the end of a long and arduous journey by using an inferior stain not designed for logs. Capture and Cascade deliver performance worthy of the journey that got you here.
Moves with your logs and timbers
Won't hide the wood grain
Easy clear coat maintenance with Cascade(R) exterior clear coat
Backer Materials that Seal Things Right the First Time Backer Rod, Grip Strip, and Log Gap Cap all help you create the ideal joint desing for a long-lasting, durable seal
Logs are in constant dynamic motion. That's why there's Log Builder®, the sealant made for log structures. Stretches up to 500% of original size, while still maintaining tenacious adhesion to the wood.
When other chinking pulls away, Log Jam holds its seal With Log Jam chinking, you can keep the cozy feel and rustic look of a log home without compromising comfort and performance.
Easy to Use - Hard to See Keep out weather, bugs, and moisture without seeing it. Conceal disappears into the woodwork so you don't know the wood starts and the caulk begins.
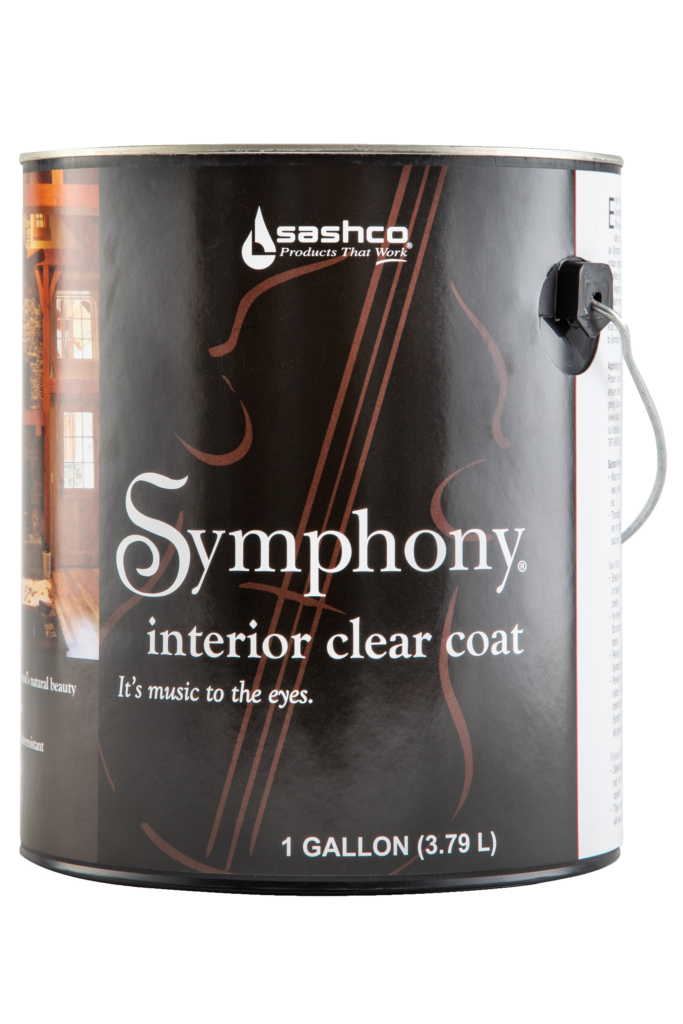
It's Music to the Eyes Symphony works in harmony with the unique character of your logs and wood to reflect an atmosphere or cozy warmth and elegance while creating and scuff-resistant and durable surface that's easy to dust.
Right Color. Right Quantity. Right Now. Never run out of stain at the jobsite again. Stock exactly what you need in your truck or trailer at the jobsite.
Easy to mix
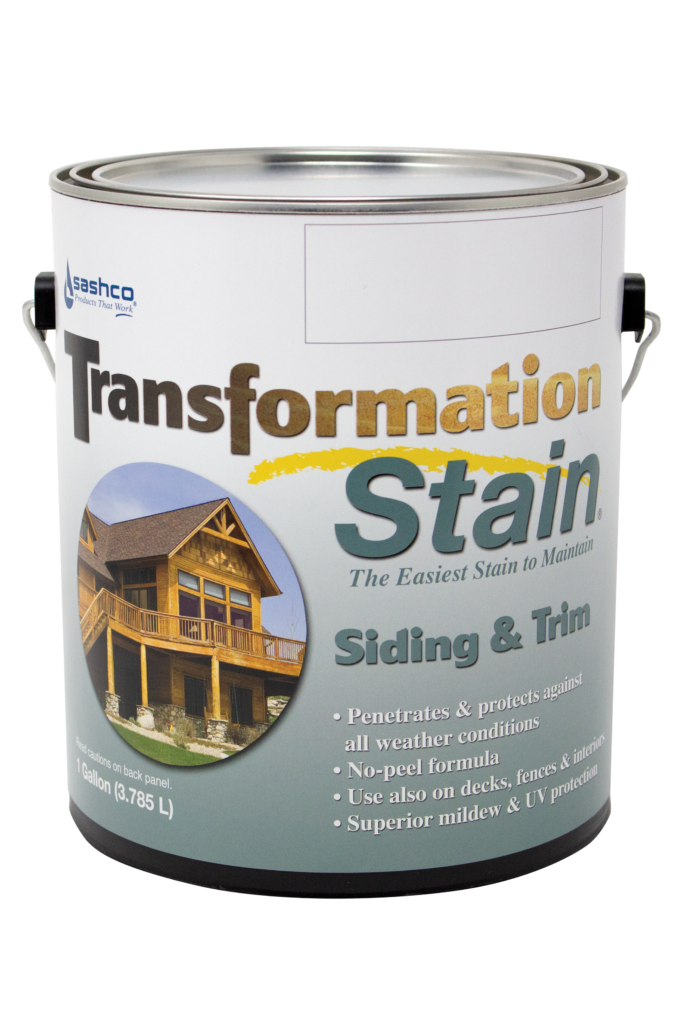
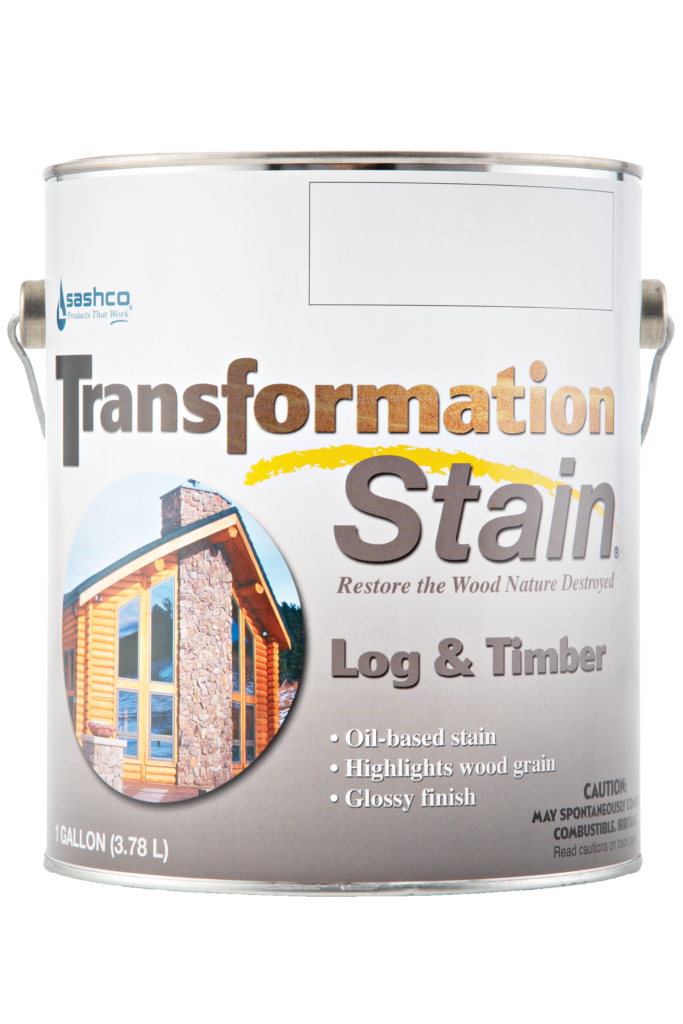
The same color, durability, and application you've come to expect from Capture Log Stain and Transformation Log & Timber
Maintenance Made Easy Now that Capture® Log Stain is applied, it’s time for Cascade® Clear Topcoat to bring out the depth and character of your unique woodgrain while protecting it against moisture, mildew, and algae. Predictable and affordable routine maintenance with Cascade throughout the years means your home stays protected and beautiful. Easy!
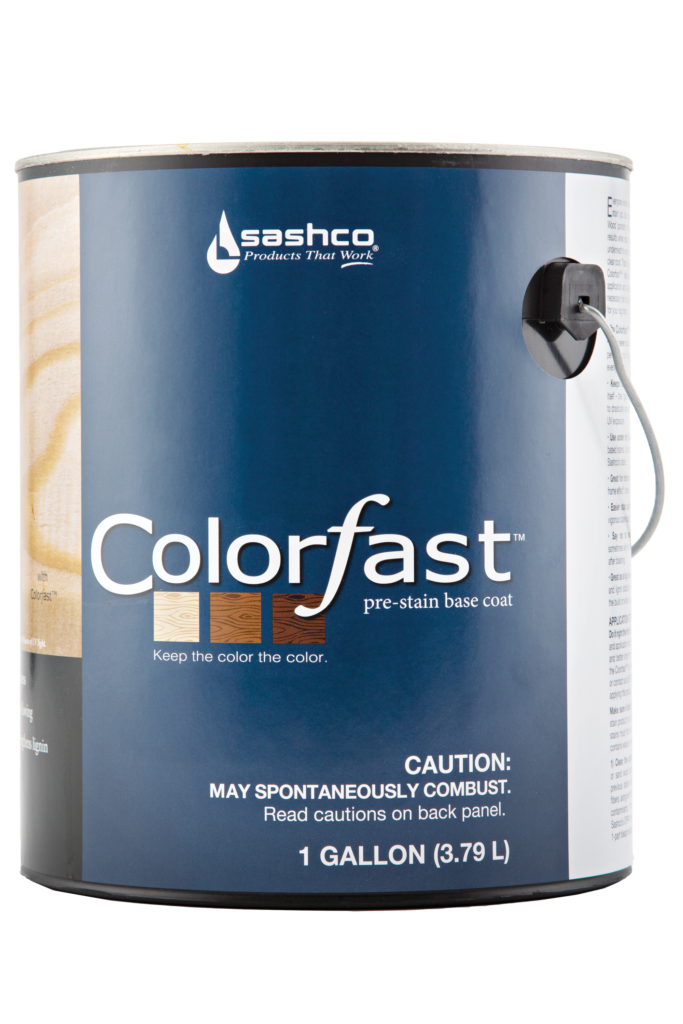
Keep the Color the Color Colorfast delivers the ideal canvas for stain application and leaves behind the strong foundation necessary for long-lasting color. It’s color confidence for your log home.
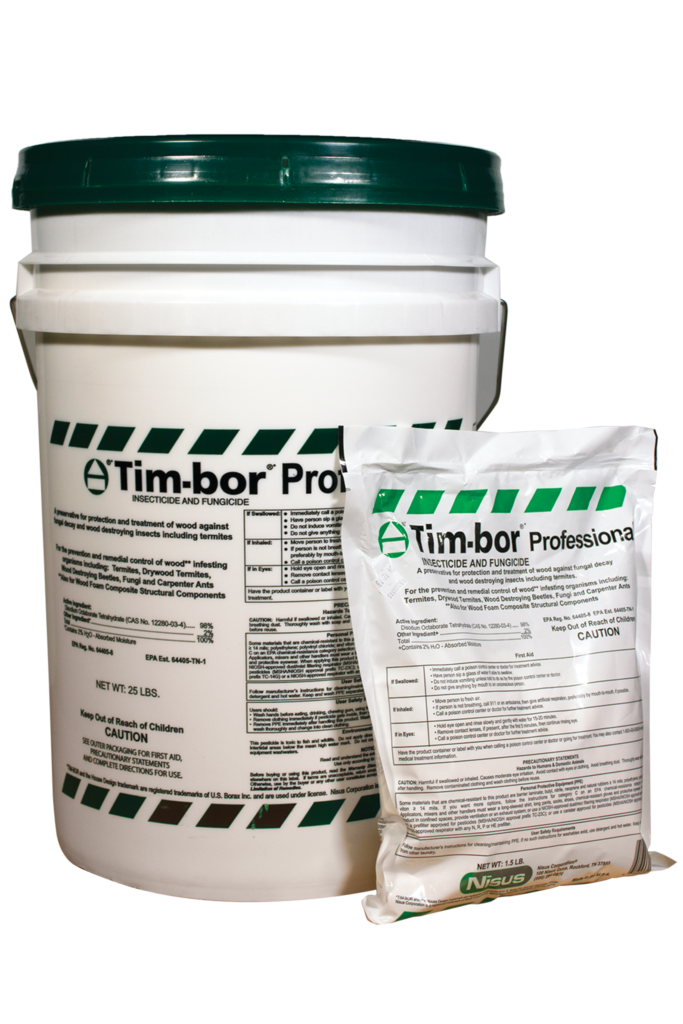
Rot, weather, insects, fungi all pose a serious threat to your logs. Protect your investment—treat your logs first to make them last. Tim-bor® helps protect your home from the costly damage caused by rot and insect infestation.
Bugs don't stand a chance
Easy to mix and apply
Prevents decay fungi
Costs 5 times less than glycol-based borate products
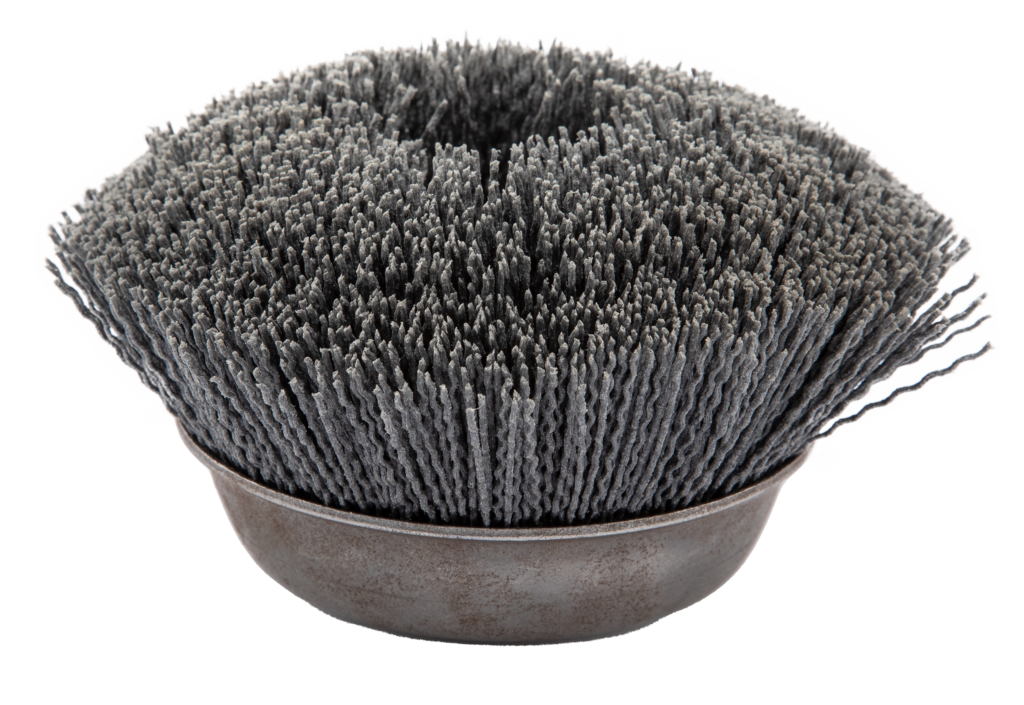
Remove Wood Felting and Raised Grain Remove wood fuzz (called felting) after power washing or media blasting, and knock down excessive raised grain with Sashco's finish sanding tools
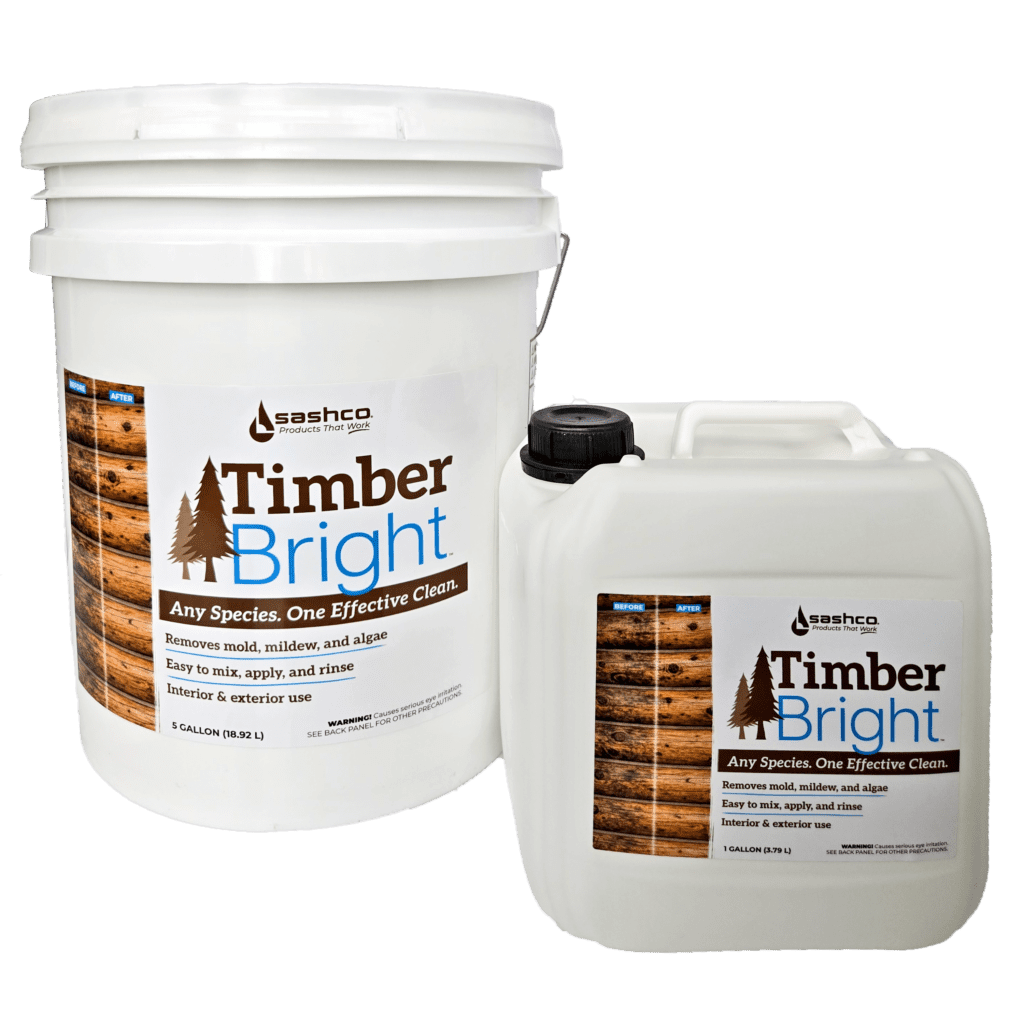
Clean and brighten bare logs and wood, remove surface dirt, pollen, and kill mold for maintenance, and keep your logs looking fresh with CPR Log Cleaner and Brightener