We know renovating a home is a lot of work, especially on a home that was built in the early 1900s! But Michelle Colvin and her husband, Casey Colvin with Heritage Roofing & Contracting, were up for the task.
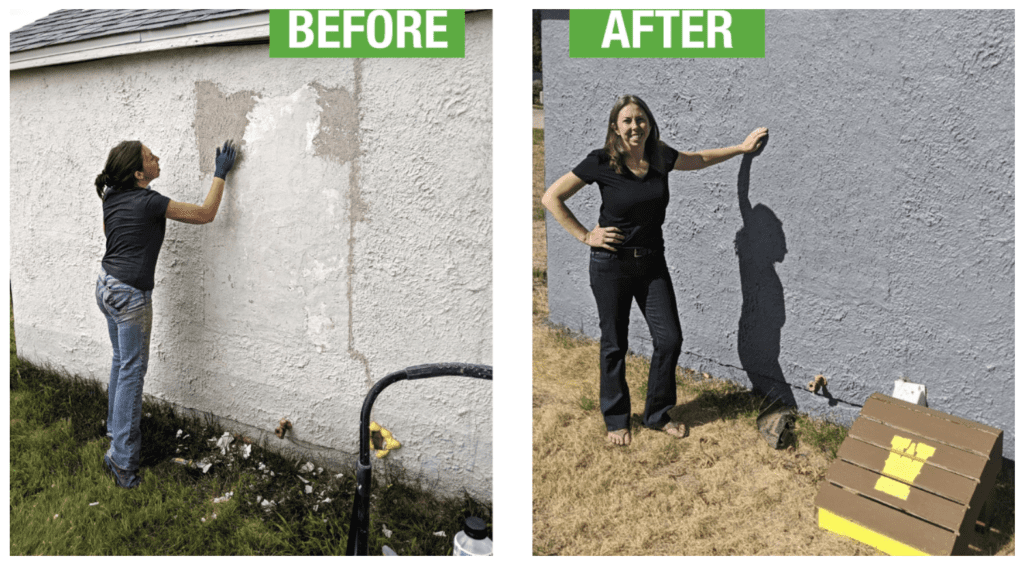
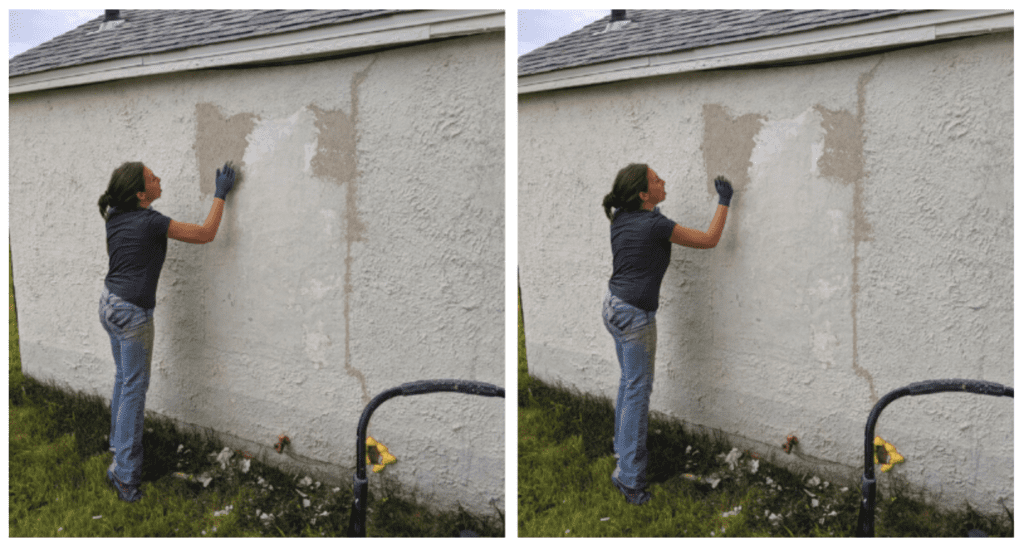
The original property, built in 1920, was built with shiplap board covered with stucco, and clearly, it wasn’t maintained. Fast forward a century, and you know what that means – cracks, and lots of them. It was structurally sound, but visually, it was all broken up.
Because Casey is a roofer and contractor and has used the product on other projects, he immediately turned to: Mor-Flexx, an acrylic based caulk that quickly repairs crumbling mortar or cracked stucco with a lasting, weatherproof seal. And, better yet, it delivers that realistic textured matte finish that can easily be painted, which worked perfectly for this project.
Michelle explained, “(We) wanted to fix up the place, but obviously we didn’t want to do anything with siding. So, we took Mor-Flexx to kind of fill in those cracks and minimize some visual impacts so that when we painted, the texture wouldn’t stand out whereas normal caulking would’ve left lines.”
Then, there was another roadblock – a giant, 2 ft x 4 ft, rectangular flat surface where a window used to be – how the heck are you supposed to blend that in?
Well, the answer is: hard work, quadrants, and a whole lot of Mor-Flexx.
Michelle had the innovative idea to split the area up into four quadrants and add the Mor-Flexx while spreading it with her hands and a trowel. After drying, she’d come back to make more artistic additions to the area and to blend it better.
Michelle recalls, “I didn’t really know what the heck to do with that and so I literally was just applying the Mor-Flexx with the gun and I took my hand and was kind of pushing it in. I mean, it doesn’t look perfect, but relative to the flat, very obvious difference that existed before, it looks much better.”
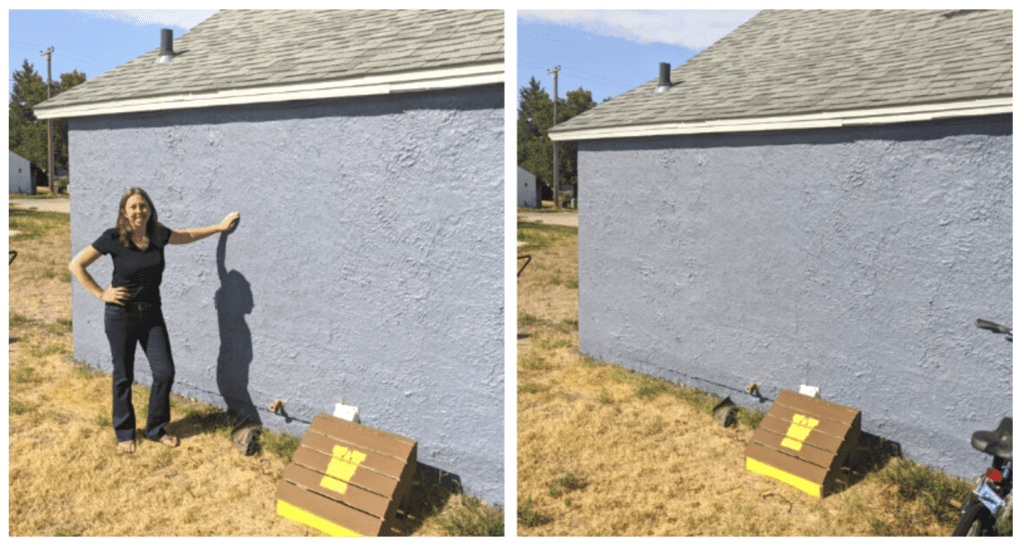
Spreading the caulk was the biggest challenge, but once it was set, painting was a breeze. After painting, the repair was near flawless, and it’s held up since – no cracks, no pulling, no failures – a renovator’s dream!
Using Mor-Flexx, a product that Michelle and Casey have confidence in, made the project a lot easier, and they have confidence it’ll hold up in the long-term. What renovations await you?
Mold is a four-letter word, and it’s a headache!
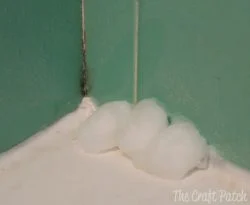
Is that a black spot on top of the caulk? Cant it be scrubbed off?! Upon further inspection, you see the mold is actually growing under the caulk. It never seems to go away. Even if you re-caulk your bathtub or shower, it seems to come back over and over again. Argh! But WHY does it come back over and over again? Answer: Sometimes, the mold and mildew in your bathroom is growing under the caulk.This means new caulk won’t fix it. (Say what?!?!) Yep. Even if you replace the caulk, the mildew is still there, so it just comes back and you end up where you started. How can you determine where the mold or mildew is growing?
Here’s a quick test to perform, along with the DIY tips you need to fix things up for good: apply bleach-soaked cotton balls to the mold. (Photo courtesy of www.thecraftpatchblog.com.)
The bleach test
Take a cotton ball soaked in fresh household chlorine bleach to the mildewed caulk. If the mildew disappears immediately, you’ll know it’s growing on top of the caulk. A good shower cleaning is in order.
If the mildew disappears but takes 45 seconds or longer, it’s likely mildew under the caulk. Fixing that takes more work (and gumption). Here’s how to tackle that project.
Is there mildew visible where you removed the caulk?This happens when rigid caulks lose adhesion or crack. Water gets behind the caulk, which then leads to the mold and mildew growth. Is the mildew not visible?It could be behind the tile and the caulk line is simply the exit area. (Ugh.) Remove a tile – yes, this takes work – and see where the mildew is coming from. Often times, unsealed grout lines are an entry point for moisture. They fester and rot…er…mildew over time and come out through the path of least resistance: around the caulk line.
3. Eliminate the mildew
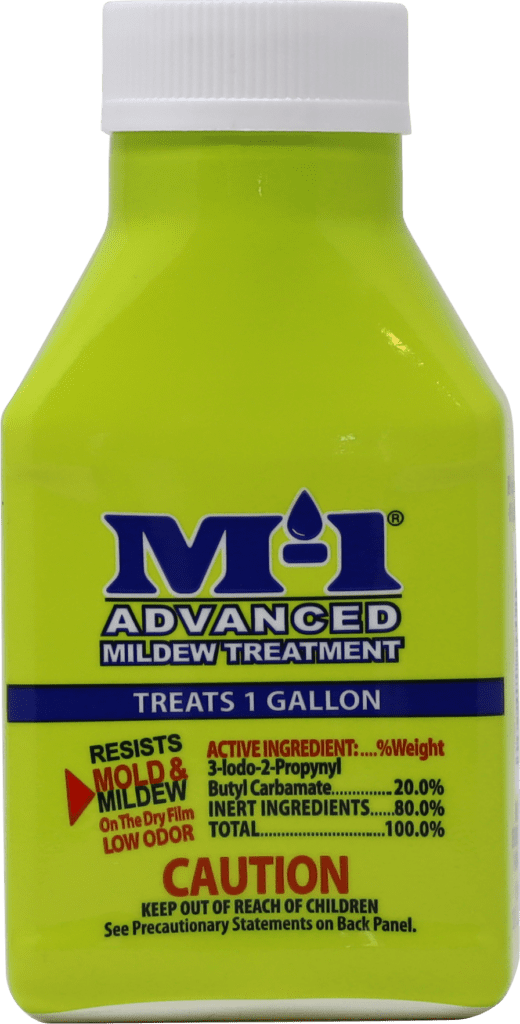
Hopefully, the mildew growth is localized and minor. A mildew remover product or a mild household bleach and water solution – 5 parts water to 1 part bleach – will do the trick. If that removed tile hints at anything more serious (like mildew covering the wall and/or the back of the tile, or visible mildew around surrounding tiles, etc.), time to call in a specialist.
4. Re-set the tile and seal the grout
Prevent any future moisture infiltration through that grout. Seal it up! Your local hardware store will have grout sealer. Re-caulk after all of the mildew is removed and the surface is clean.
And this time, make sure you don’t get mildew on the caulk. Use a product with active enzymes (like Sashco’s Cleanz®) or one that is naturally resistant to mildew growth due to its chemical makeup (like Sashco’s Lexel®).
6. Enjoy your hard work.
Have an iced tea. Or a latte. Or some ice cream. And enjoy having more free time. (Time is the best, really.) Most importantly, enjoy that first mold-free shower. Linger a while longer under the hot water while you stare at the lack of ugly black stuff. Soothing, isn’t it?
What do six months in the field working as a warranty manager teach you? Two things, callbacks are common and costly! That was the eye-opening experience that taught Matt Risinger why high-performance products truly matter. Matt and his team have been building architecturally driven homes that meet the highest standards of craftsmanship, durability, efficiency, and comfort. As host of the “Build Show,” he has become a nationally recognized expert in building science and high-performance construction. Through education and practice, Matt is driven to elevate the standards of the building industry.
Benefit from Matt’s experience with some of his top tips for avoiding the pain of callbacks.
Material selection is VERY important!
It’s one thing to filter callback backs as the warranty manager for a prominent builder. It’s a very different beast when the company is your own. Customers aren’t calling a warranty manager. They’re calling you! After making many costly mistakes, Matt realized that not all products are created equal. Especially when it comes to caulk and sealants, Matt’s top tip is to draw a hard line for durability and reliability. Matt explains that “When it comes to selecting a sealant, I’m always asking myself, ‘Is this going to be better than what I’ve used? And will it be lasting and durable.” You feel a well-built home when you walk in. So does your customer. A high-performance sealant matters big time.
Think long-term.
You know the scenario. You’re standing in the caulking aisle. There are countless choices. Do you choose the tube that runs you a couple of bucks, or do you opt for a high-performance sealant that will last? Even if it means paying two or three times more? According to Matt, a high-performance caulk like Big Stretch pays dividends well worth a few extra dollars. “I started using Big Stretch because it created very few callbacks. I love Big Stretch. It’s a little more than a commodity product that will look great the day you install them. But one month, one year, five years later, it’s going to look very different. A high-performance product has to adhere well, bend, and stay flexible and elastic. Low-cost products may have one quality. Big Stretch is the one that has all three. Easy choice.,” explains Matt.
Coach the customer!
You’re the pro! Your customer depends on you to help educate and guide them. They have input on the budget, yes. But what they want is excellent work. Help your client understand why product selection is essential and how the minimal cost of high-performance products ultimately gives them what they desire most, a well-built house to enjoy for years. Matt encourages you to translate his experience to your customers. He says, “I’ve experienced a lot of failures in my 25 plus years in business. Those mistakes have driven me to want to pick the right sealant for the application. Regardless of cost, because how much does it cost to come back and redo caulk that’s failed? Probably several hundred and a man’s day of work. Not to mention my reputation and the trust of my customers. It’s just not worth it.”
Are you a pro passionate about high-performance? Want more tips about how to sell that passion to your customers? Watch the entire episode of Les’s Corner!
It takes one bathroom remodel to get overwhelmed with the task of finding a product that works. For the veritable army of caulk brands out there, it’s surprisingly hard to find a product that does the job of sealing gaps and joints around the tub and sink to keep out moisture and mold. Sometimes a caulk might look great when applied but cracks or breaks in a matter of months, requiring re-application.
So, before you head out to your supplier yetagain for an upcoming bathroom job, here are a few categories to help you narrow your search to find a type of caulk that actually works.
Contractor Needs
The best caulk for bathroom application needs to meet the demands of your team and the expectations of your customer. Your team will need a caulk that applies well. To get the job done quickly and efficiently, they’ll need product that is manageable to apply and that easily produces an attractive, malleable bead. Prep and clean-up often take just as much (if not more) time than application, and a caulk that doesn’t require extensive surface preparation or a complicated smelly cleaner will go miles in making the overall job easier.
Customer Needs
For your customer, the caulk needs to look good and to age well. They’ll want a caulk that blends into its surroundings and looks neat and professionally applied. They also need a product that does its job to protect bathroom surfaces from moisture and from nasty visitors like mold and mildew, which means that it needs to be able to hold its seal over time and has to be impervious to mold and mildew growth. This not only preserves a homeowner’s bathroom but protects your reputation as a contractor as well.
Caulking failures and prevention
No matter how well it’s applied, inferior caulk can fail in a variety of ways. When on the lookout for a reliable product, it’s important to be aware of how the caulk maintains flexibility, adheres to other surfaces, and responds to bathroom invaders like mold and mildew.
Flexibility & Elasticity
One of the most common failures of bad caulk is that it will harden over time. Bathroom surfaces and fixtures experience constant changes in pressure from weight distribution while using the tub and as the structure of the house shifts and settles over time. If the cured caulk is too inflexible to handle these changes, it will crack, breaking the seal and allowing moisture to accumulate behind the sink and tile into the floor and the walls. It is so important to look for a caulk that goes beyond flexibility and elasticity, these are just the basic needs when it comes to a caulking product.
To see the difference between flexibility and elasticity, look at a piece of paper and a rubber band. Both are flexible, meaning they bend. The rubber band is elastic, meaning it stretches and returns back to it’s original size.
Adhesion
Caulk needs to be engineered to adhere to materials most often used in bathroom construction. If the caulk can’t form an incredibly strong, sticky bond with both sides of a gap or joint, the shift in pressure that causes breakage can also pull the caulk away from a surface, breaking the seal.
Mold & Mildew Prevention
The final most common problem in the bathroom is the growth of mold or mildew. When residues from body products accumulate on bathroom surfaces, mold and mildew thrive and become threatening to homeowners’ health and to the bathroom itself. We’ve heard horror stories of mold growing behind caulk or even inside it, and the frustration that customers experience when they have to clean it off again–and then again. If left untreated, this mold can spread behind the shower and tile into the wall, leading to much more serious problems that can go undetected for years.
Acrylic-latex vs. silicone caulk
When it comes to choosing caulk, you’ll often decide between using silicone and acrylic-latex products. Silicone caulk is well-known for its strength and elasticity, but it can be treacherous to apply. It’s notoriously bad at sticking to itself, which means that if your customer needs a repair, your team will have to remove the old product with a chemical solvent and wait for the area to dry before re-sealing.
Acrylic-latex caulk adheres excellently to itself and to both porous and non-porous materials. It’s also less viscous, which is a fancy way of saying that it’s easier to gun out; it’s more manageable to control and to produce an attractive bead. Because acrylic-latex caulk is water-based, all it needs for clean-up is warm water and a rag, which saves you from using smelly, high-VOC chemicals in your client’s home.
Finding a quality acrylic-latex caulk
Acrylic-latex caulks include plasticizers, chemical agents that improve flexibility in the caulk after it cures. In many caulks, these plasticizers leach out over time, and the caulk becomes hardened and resistant to stretch. This will either cause cracking or will break the seal and render the caulk useless.
These sub-quality caulks will require reapplication over the years, costing your customer satisfaction and time. When you can find a high-performance acrylic caulk that maintains long-term elasticity, you’ll have a product that is both durable and easy-to-apply: the best of both worlds.
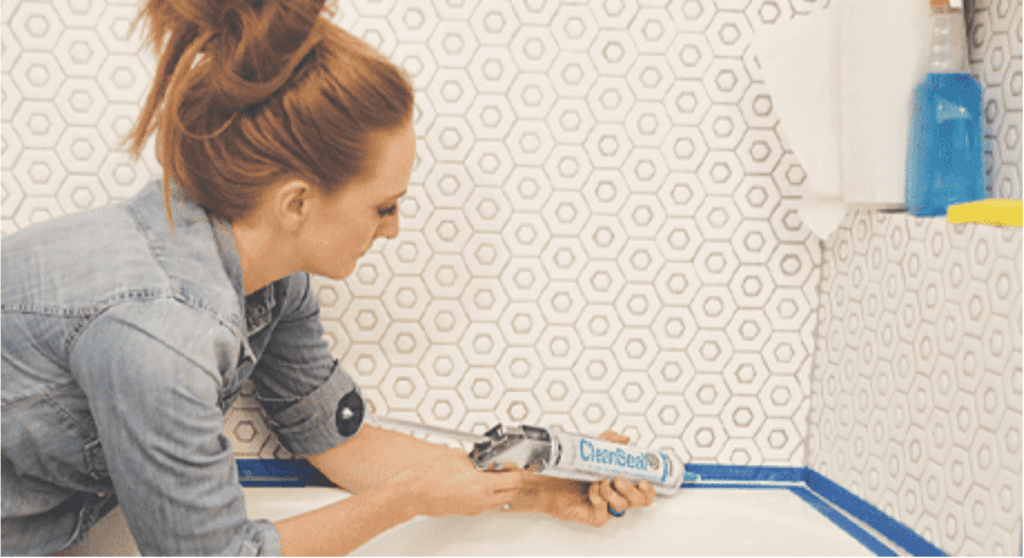
CleanSeal: durability and active enzyme technology
CleanSeal® is our high-performance caulk created to challenge the issues that come with bathroom installation. This caulk combines the excellent adhesion properties of acrylic-latex technologies with long-term elasticity (no short-term plasticizers!), which results in a watertight seal that withstands the natural shrinkage and expansion of gaps and joints throughout the bathroom.
To make CleanSeal even more effective (and cutting edge), we infused it with an active enzyme that actually digests those oils from shower products that mold and mildew love so much. This doesn’t just slow their growth; it prevents it right from the start. This new technology is the first to market in caulking, and unlike mildewcides that leach out over time and wash down the drain, our active enzymes remain permanent in the caulking, keeping the seal mold-free throughout the life of the product.
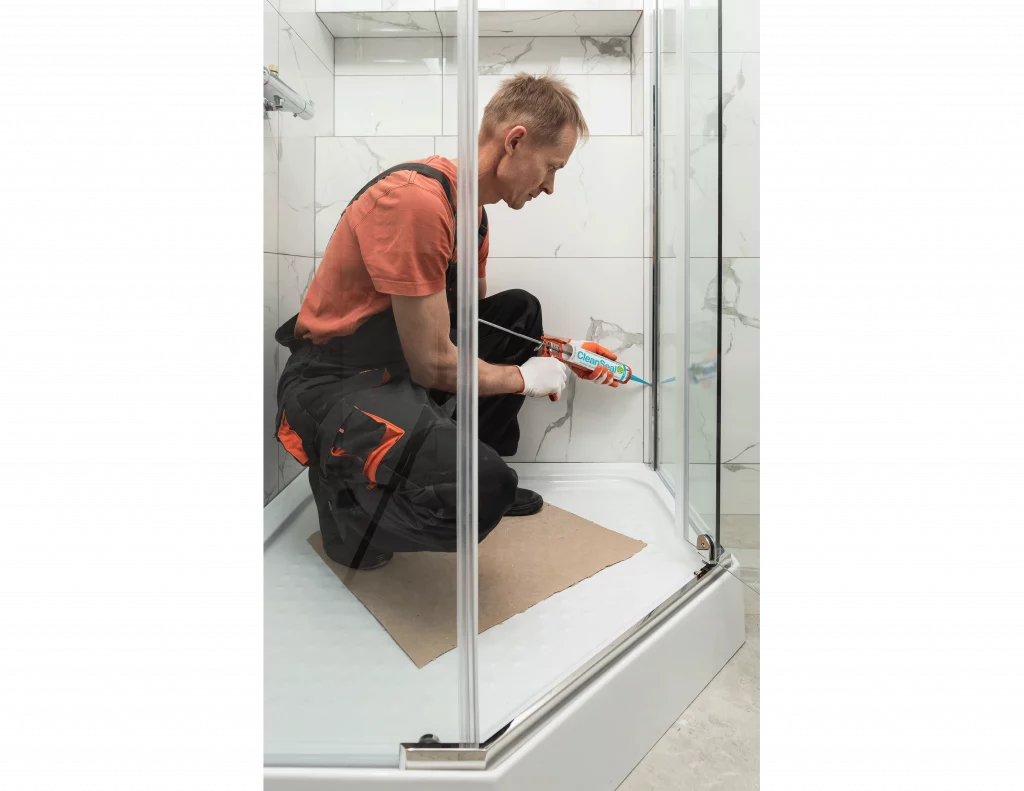
CleanSeal application options
CleanSeal is available both in a cartrdige for traditional application with a caulk gun and in a squeeze tube for tight corners and spaces where precision is important.
This helps avoid additional clean-up and speeds up the process for the team. Plus, the squeeze tubes are easy to keep in your pocket or toolbox. All in all, it’s an effective, easy-to-clean product that does the job that you need it to.
Finding the best caulk for the bathroom
Choosing the right bathroom caulk is an essential aspect of a high-performance caulk job. If you find a reliable brand that meets every need, you’ll be able to reassure your customers that the job was completed professionally and that it will last because you used the best possible product.
Having a high-performance product (we recommend CleanSeal, although we have to admit that we’re a little biased) gives you the confidence to set all fears of ‘caulking failures’ aside with crucial features including active enzyme technology, powerful adhesion, and superior elasticity. Most importantly, that caulk will do the job it was meant to do: ensuring happy customers who can enjoy a well-sealed, mold and mildew-free bathroom for years to come.
Renovating a bathroom comes with plenty of unique challenges. As a contractor, you know how tough it can be to create a water-tight seal that will prevent mold and mildew from growing. You’ll need a tough, long-lasting caulk with water-sealing technology. Your caulking also needs to look great in the bathroom and be easy to use on any project that comes your way.
Read on to learn more about the best shower caulk to prevent mildew – and why not all bathroom caulks are created equal. Different types of caulk each have their own chemical makeups, some of which are more effective at preventing mold and mildew than others.
Why Does Mold And Mildew Grow On Caulk – And Why Should You Care?
The bathroom is the perfect environment for mold and mildew to grow. It’s important to take steps to prevent mold and mildew growth before it starts. Even when your customer cleans their bathroom regularly, these pesky fungi can cause health problems. If your customer struggles with asthma or allergies, mold and mildew can irritate those conditions and make them worse.
Mildew and mold form in warm, humid environments. All the moisture in the bathroom makes the perfect breeding ground for mildew and mold. Between taking showers and washing your hands, the bathroom can become a very humid environment very quickly. Mold and mildew can form from the residue of soap, shampoo, body oil, and other common hygiene products. This causes major problems and is hard to avoid.
If you don’t use a mold-resistant caulk, homeowners will have to clean the bathroom daily to keep it from building up. Not only is this inconvenient, but it also increases their exposure to mold and mildew. This can hurt the air quality in their bathroom and be irritating for those who struggle with respiratory problems.
Mold can also grow underneath the caulk, which means you won’t be able to see it or clean it. When mold and mildew grow underneath your caulking, it can cause long-term damage to the bathroom. However, you can keep your customer safe by upgrading to a high-performance caulk.
The Evolution of Caulking Technology
Luckily, caulking technology has evolved to prevent mildew and mold growth. In the past, contractors have expected caulk to fail and to need to be replaced eventually. This no longer has to be the case – modern bathroom caulks are designed specifically with longevity in mind.
The most effective bathroom caulks are moisture resistant. Mold and mildew require moisture in order to grow. Moisture resistant caulks prevent mold and mildew from growing inside, but they also prevent water from making its way in from the outside. Silicone formulas are designed to be waterproof, and they also have the durability to prevent water from getting inside. This is because they are very flexible and move with the house over time without cracking. Brittle caulk formulas can crack as temperatures switch from hot to cold, leaving the bathroom more susceptible to water damage.
Additionally, there are many caulks that are infused with mildewcide or biocide to prevent mold growth. These are chemicals that are designed to kill mold for an extended period of time. If they are infused, then why is there still a mold problem around tubs and showers? Mildewcides are well-known to leach out over time and in some caulks quite rapidly.
A more advanced alternative to mildewcide is active enzyme bio-technology. CleanSeal is the only caulk with this new technology that contains active enzymes, making the caulk truly mold resistant. The active enzymes prevent natural oils from building up by eating the oils that feed the mold growth. This makes it very difficult for mold to grow. When combined with a flexible, water-resistant caulk formula, these enzymes are very effective at preventing mold growth on an ongoing basis.
CleanSeal Caulk Prevents Mildew and Mold
CleanSeal is an innovative caulk formula from Sashco designed specifically for kitchen and bath. When you use this sealant for your bathroom renovations, you can feel confident knowing that you are giving your clients superior durability and performance. CleanSeal prevents mold from growing for years to come, keeping bathrooms clean and healthy with very little maintenance required.
What makes CleanSeal so unique is the product’s active enzyme bio-technology. By preventing oils from building up on the caulk, it stops mold and mildew from growing. Unlike traditional mildewcide, this caulk uses environmentally friendly enzymes. It also prevents mold from growing instead of killing mold that already exists. The formula becomes water-resistant very quickly after applying. This water resistance makes it even more difficult for mold to grow on top of or underneath the caulk.
In addition to fighting off mold, CleanSeal has a durable yet elastic formula that’s designed to last through years of wear and tear. Homes will naturally move over time, especially when joints move because of the house shifting and settling, or when weight changes. If your caulk isn’t elastic, it could end up cracking – especially in newly renovated spaces like the bathroom, where your customer is stepping in and out of the bathtub or shower, causing some weight shifts.
CleanSeal is also extremely adhesive, another feature that is key for the bathroom. Many homeowners clean their bathrooms frequently and need a caulk that isn’t going to peel off when it gets wet or soapy. On top of that, CleanSeal is also very easy to apply – a must for any contractor looking to get their project finished efficiently.
Final Thoughts
As a contractor, you need high quality products to support the high quality of your work. Your reputation hinges on a finished product that will last for years to come, so you’ll need a caulk that can resist mold and mildew growth. Sascho’s CleanSeal uses innovative new technology to prevent mold from growing and keep water out. This high-performance caulk will give your clients peace of mind, knowing that they’re protected against mold, mildew, and water damage in the long term.
Roof leaks? No thanks. This month, we have a fun story courtesy of one of our resident paid geeks (aka Senior Chemist) Jim Barnes about an unconventional roof leak fix, along with a shameless plug for our Through the Roof! roof and gutter sealant, just in time for fall and winter storms to hit.
“Way back, we had a retailer tell us that he was in a pinch,” Jim told us. “Out of desperation, he did a lousy repair using Through the Roof! and a piece of yellow legal pad paper. He patched a literal hole in his store roof during a rainstorm. Of course, he figured he’d have to redo it properly when the weather cleared. He forgot all about it, then ten years later, he’s up on the roof and sees the spot. It was still holding strong. Because we like to geek out at Sashco, I had some fun making a display in the lab that commemorates this story. It has held water continuously for about 8 years now.”
While we don’t recommend repairing your leaks with notebook paper, we do know you can depend on Through the Roof! to stop leaks in their tracks. It sticks to wet surfaces and holds strong until you can get to that real repair (even if you forget about it for a few years). Learn more about Through the Roof! today.
No.
No, your new caulk won’t stick to silicone caulk. Sorry to be so abrupt, but it’s the truth. You can stop reading now if you don’t want all of the details and the whys. Here at Sashco, we love the “whys,” so we’re trudging ahead.Nothing sticks to silicone – not paint, not new caulking products. Not even silicone will stick to itself.
Fact is: nothing will stick to silicone – not even silicone. For the average person who needs to re-caulk their windows, bathtub, or anything else around the house, failed silicone means starting over from the very beginning.
Why won’t your new caulk stick to silicone?
You see, silicone has oils in it. These oils are introverts. They don’t like crowds. When silicone is first applied, these oils are all together in one happy bead of caulk. It’s quite the crowd! Over time, their introverted nature kicks in and they have to exit the crowd. Those oils migrate out of the original silicone bead to find some open space. They might migrate into whatever porous surface is nearby, or they’ll just hang out in their own happy little space on the surface of the original bead. (Perhaps there’s a happy little tree there, too.)
In the meantime, nothing else is allowed into their space. They’re quite stubborn about it. Their space is for them only, so no new sealants – no matter the kind! – will stick.
What can you do if you need to re-caulk and silicone is present?
You have two options:
Use a silicone caulk remover to remove all silicone before applying new caulk. Completely remove the silicone.
Apply the new caulk over top, making sure the new caulk bead is wider and outside of the silicone caulk, sticking to a clean, silicone-free surface.
Use a silicone remover, readily available at hardware stores, to get rid of all traces of silicone.
Thoroughly clean the surface with rubbing alcohol to make sure there is no silicone residue left.
Once any silicone is removed, you can apply new caulk. Reapply caulk. (Psst…Sashco’s products would be great for your re-caulking project!)
Option 2: Apply a wider bead of caulk
Clean the surface of the silicone bead, as well as surrounding areas, with rubbing alcohol to remove as much oil as possible.
Test a small area with the wider bead of caulk. Make sure no silicone oil molecules are still residing where the new bead needs to stick.
If the test turns out OK, apply the new caulk, making sure it’s sticking to clean surfaces on either side of the silicone.
Cross your fingers and hope that the oils don’t decide to become a menace and hurt the new sealant adhesion in the future. If that doesn’t work, revert to Option 1.
For future consideration
Silicone has its place in the world. It’s great for applications where there are extreme temperatures. (They love it in Antarctica!) But for most areas around the home, it’s not ideal. Instead, choose a high-performance sealant (like Sashco’s) with excellent elasticity and adhesion to a variety of surfaces. Then, make sure that product will stick to itself, in case you have to do repairs down the road. All of Sashco’s sealants will stick to themselves, making any (unlikely) future repairs or retrofits much easier.
Need some more info? Here are some other resources:
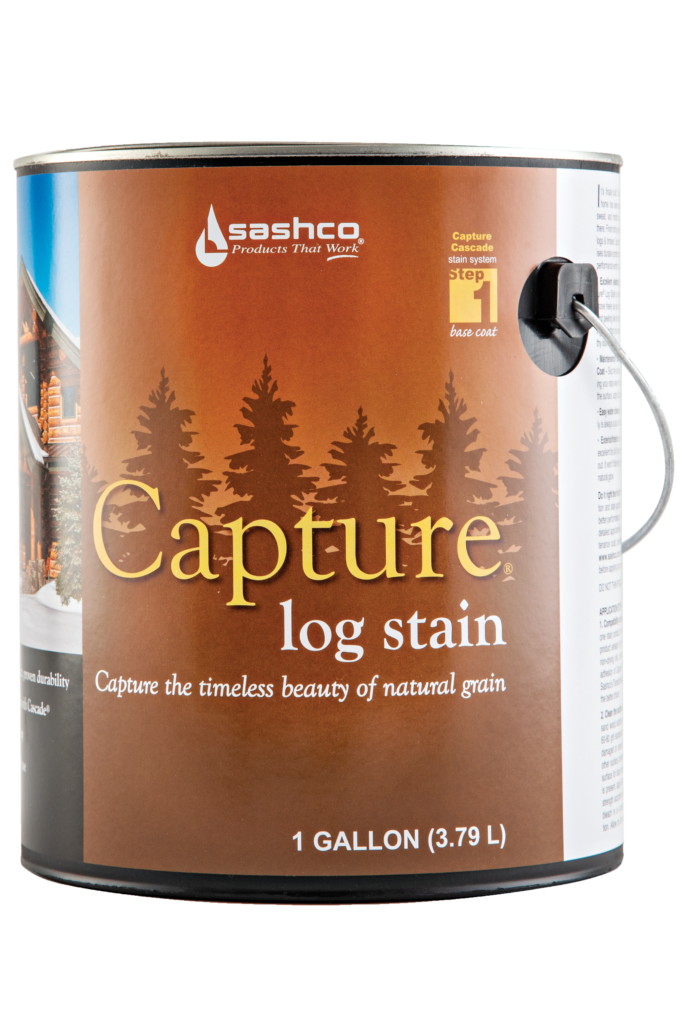
Don’t compromise at the end of a long and arduous journey by using an inferior stain not designed for logs. Capture and Cascade deliver performance worthy of the journey that got you here.
Moves with your logs and timbers
Won't hide the wood grain
Easy clear coat maintenance with Cascade(R) exterior clear coat
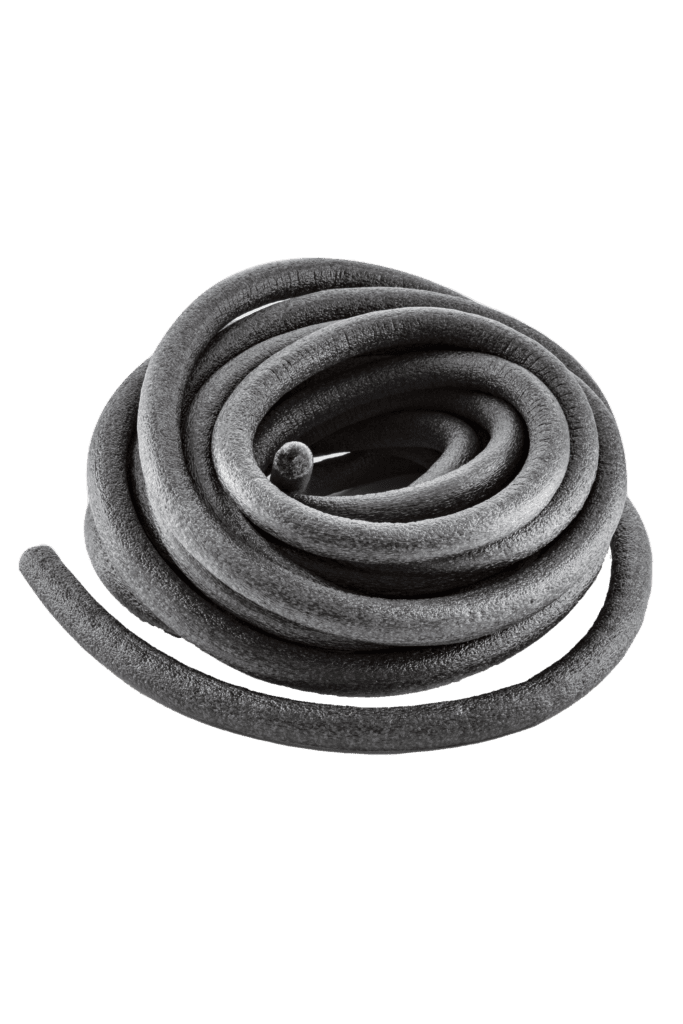
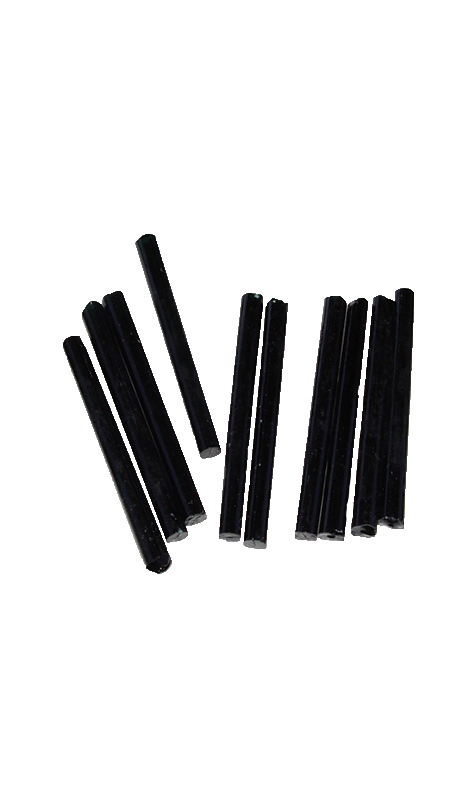
Backer Materials that Seal Things Right the First Time Backer Rod, Grip Strip, and Log Gap Cap all help you create the ideal joint desing for a long-lasting, durable seal
Logs are in constant dynamic motion. That's why there's Log Builder®, the sealant made for log structures. Stretches up to 500% of original size, while still maintaining tenacious adhesion to the wood.
When other chinking pulls away, Log Jam holds its seal With Log Jam chinking, you can keep the cozy feel and rustic look of a log home without compromising comfort and performance.
Easy to Use - Hard to See Keep out weather, bugs, and moisture without seeing it. Conceal disappears into the woodwork so you don't know the wood starts and the caulk begins.
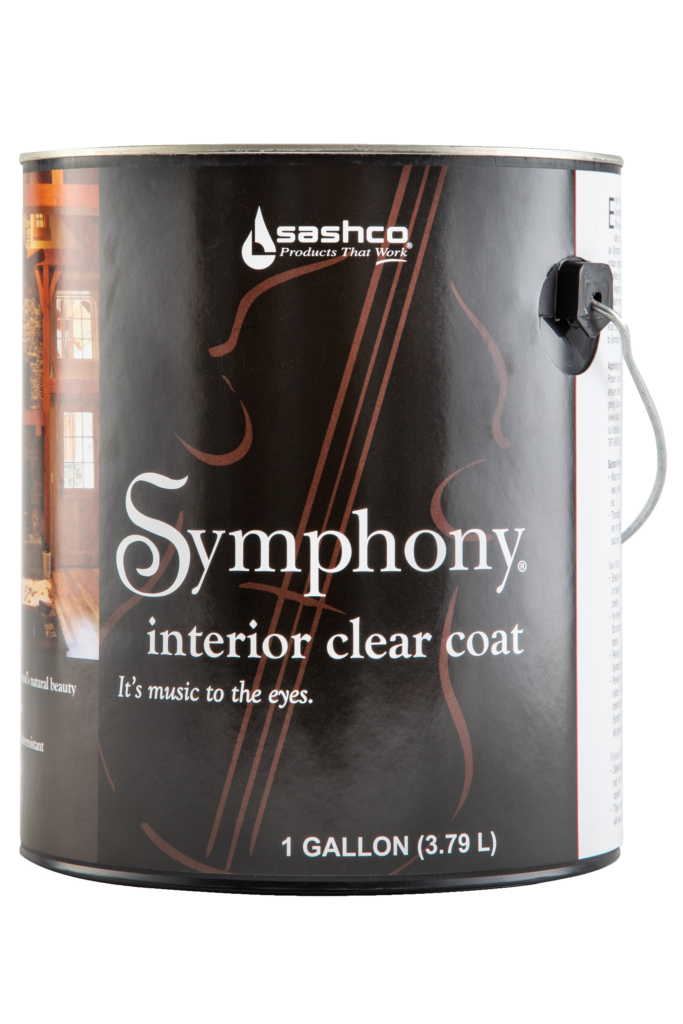
It's Music to the Eyes Symphony works in harmony with the unique character of your logs and wood to reflect an atmosphere or cozy warmth and elegance while creating and scuff-resistant and durable surface that's easy to dust.
Right Color. Right Quantity. Right Now. Never run out of stain at the jobsite again. Stock exactly what you need in your truck or trailer at the jobsite.
Easy to mix
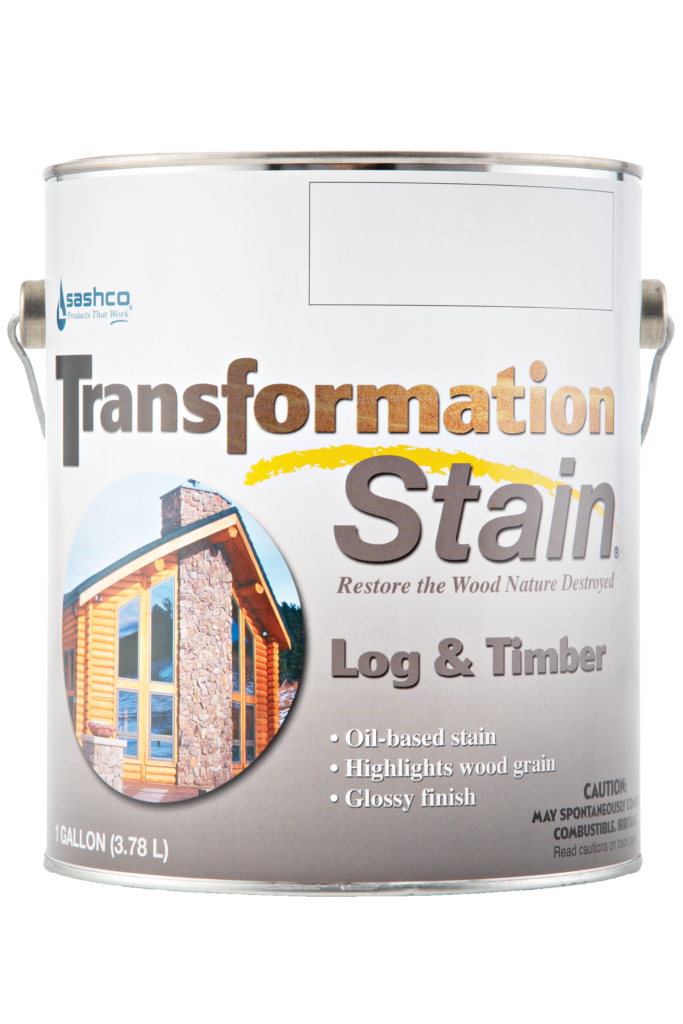
The same color, durability, and application you've come to expect from Capture Log Stain and Transformation Log & Timber
Maintenance Made Easy Now that Capture® Log Stain is applied, it’s time for Cascade® Clear Topcoat to bring out the depth and character of your unique woodgrain while protecting it against moisture, mildew, and algae. Predictable and affordable routine maintenance with Cascade throughout the years means your home stays protected and beautiful. Easy!
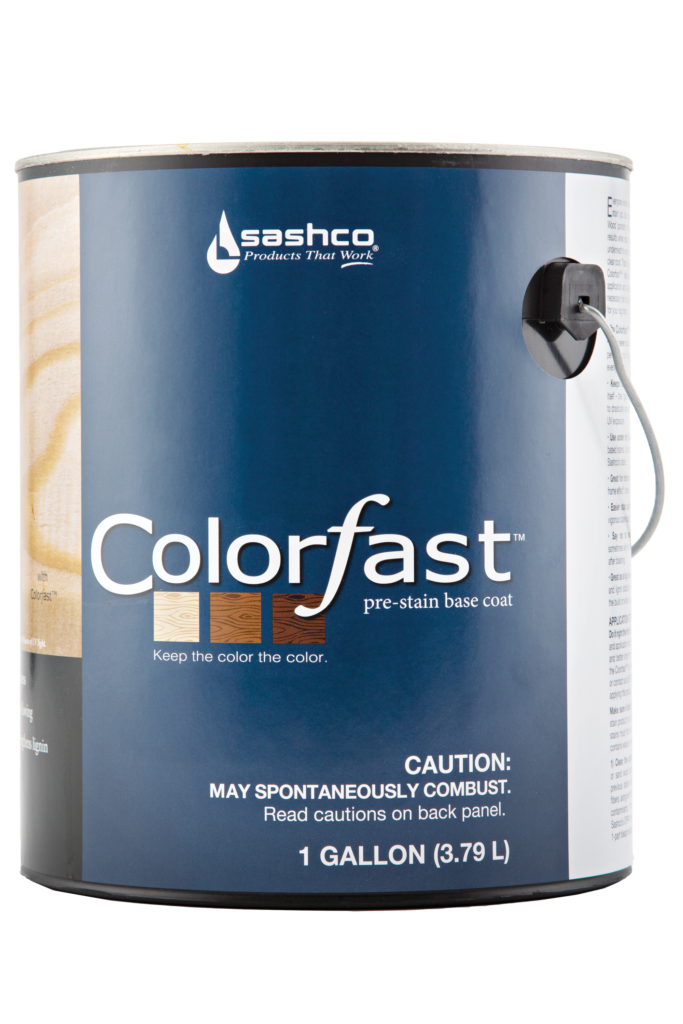
Keep the Color the Color Colorfast delivers the ideal canvas for stain application and leaves behind the strong foundation necessary for long-lasting color. It’s color confidence for your log home.
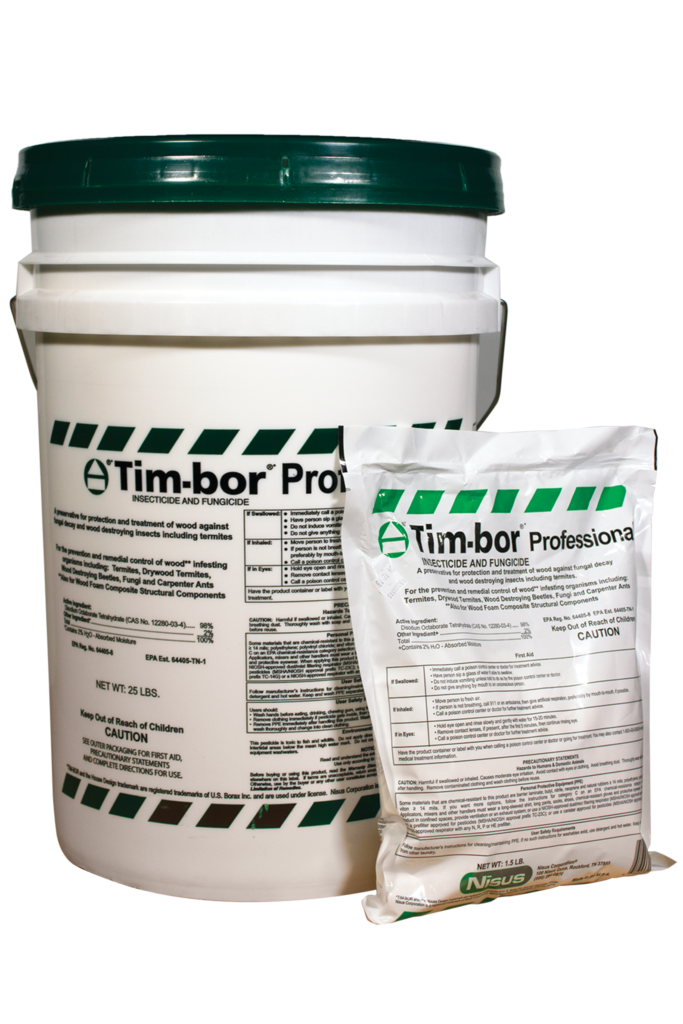
Rot, weather, insects, fungi all pose a serious threat to your logs. Protect your investment—treat your logs first to make them last. Tim-bor® helps protect your home from the costly damage caused by rot and insect infestation.
Bugs don't stand a chance
Easy to mix and apply
Prevents decay fungi
Costs 5 times less than glycol-based borate products
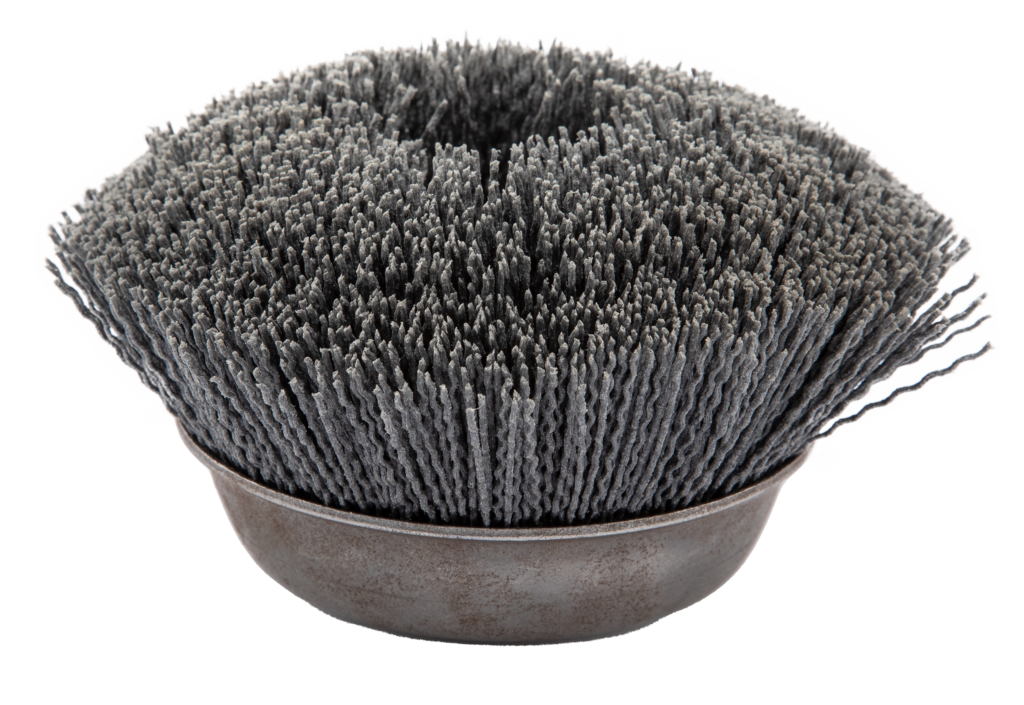
Remove Wood Felting and Raised Grain Remove wood fuzz (called felting) after power washing or media blasting, and knock down excessive raised grain with Sashco's finish sanding tools
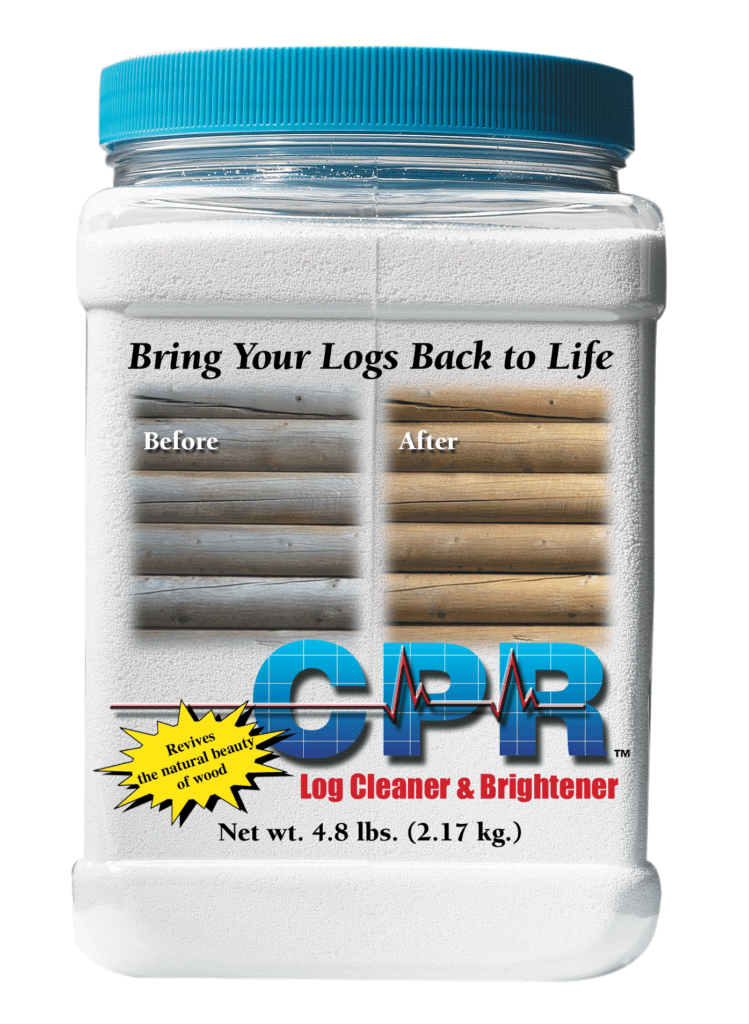
Clean and brighten bare logs and wood, remove surface dirt, pollen, and kill mold for maintenance, and keep your logs looking fresh with CPR Log Cleaner and Brightener