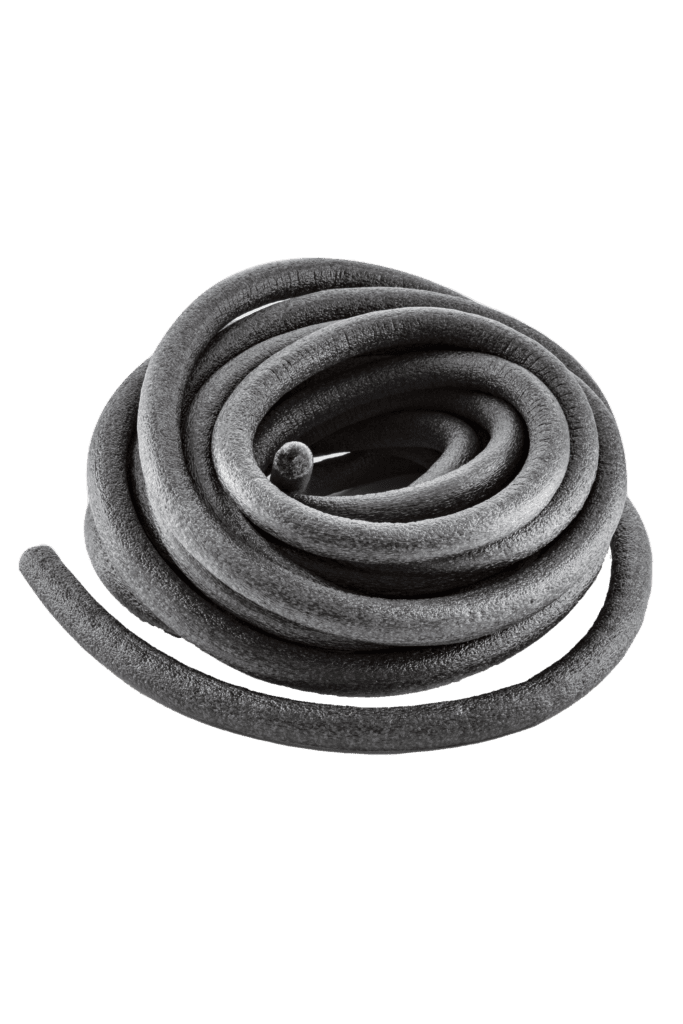
Spec-Ready Sealants; What Builders Need to Know
If you’re a home builder, you already know that the smallest details often make the biggest difference. Sealants are a perfect example. They don’t always get the spotlight, but they are critical to durability, energy efficiency, and long-term performance. In my experience, when it comes to product selection, builders fall into one of three categories.
1. Folks who tend to buy based on their own history of what has worked well in the past
2. Folks who tend to buy based on what’s new/generating buzz
3. Folks who tend to buy based on specifications
Today, let’s focus on those in camp #3. Let’s break down what the main classifications of sealant specifications are, how they can help you find a product, and what you really need to know.
Understanding Test Standards
There have been many standard test methods throughout the ages. Most of them are not frequently referenced…specifications like Federal TT-S-00230…though some manufacturers still bear the names of such test methods on their products. Today, “ASTM standards” seem to be the standard tests that manufacturers cite for sealants. But what are they? “ASTM” stands for “American Society for Testing and Materials.” If I could sum up the goal of the ASTM, it would be “to ensure that labs across the country test materials in a similar manner so that we can have some consistency from test to test.” That’s a solid goal. It’s useful to lump products into categories that are similar, and it’s a fantastic goal to have specific tests that research labs can use to assess the performance of their products. Within the sealant category, here are some of the more frequently seen methods every builder should be familiar with:
ASTM C719 – Adhesion and Cohesion Under Cyclic Movement
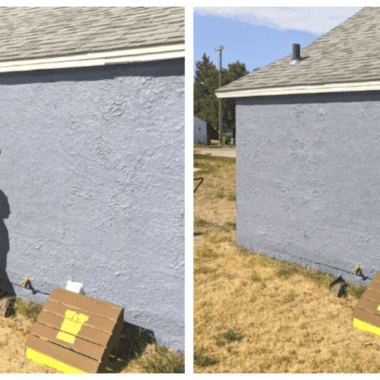
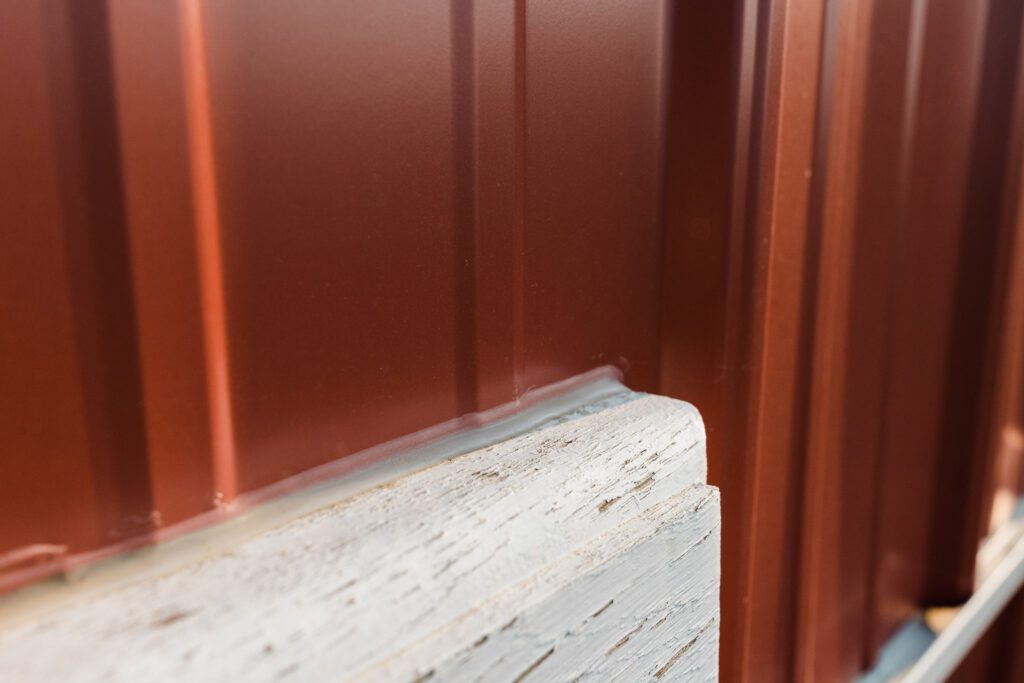
This test evaluates how well a sealant performs under repeated expansion and contraction. Test joints are placed in torture-chamber like device that stretches and compresses them a certain percentage of their original size. The temperature is fluctuated from -15 degrees F up to over 150 degrees F. That’s after the sealants are forced to cure in an oven…and then soaked underwater for a week. That testing procedure may seem a bit on the extreme side. Not many houses are under water for a week, but the test is trying to push the sealants to their limit…and being underwater for a week can certainly do that.
Why it matters:
Buildings move. Temperature swings, settling, and moisture all cause joints to expand and contract. A sealant that passes C719 theoretically won’t crack or lose adhesion under stress.
ASTM C510– Staining of Porous Substrates
This measures whether a sealant will stain materials like concrete, stone, or wood.
Why it matters:
No one wants discoloration bleeding into a finished surface.
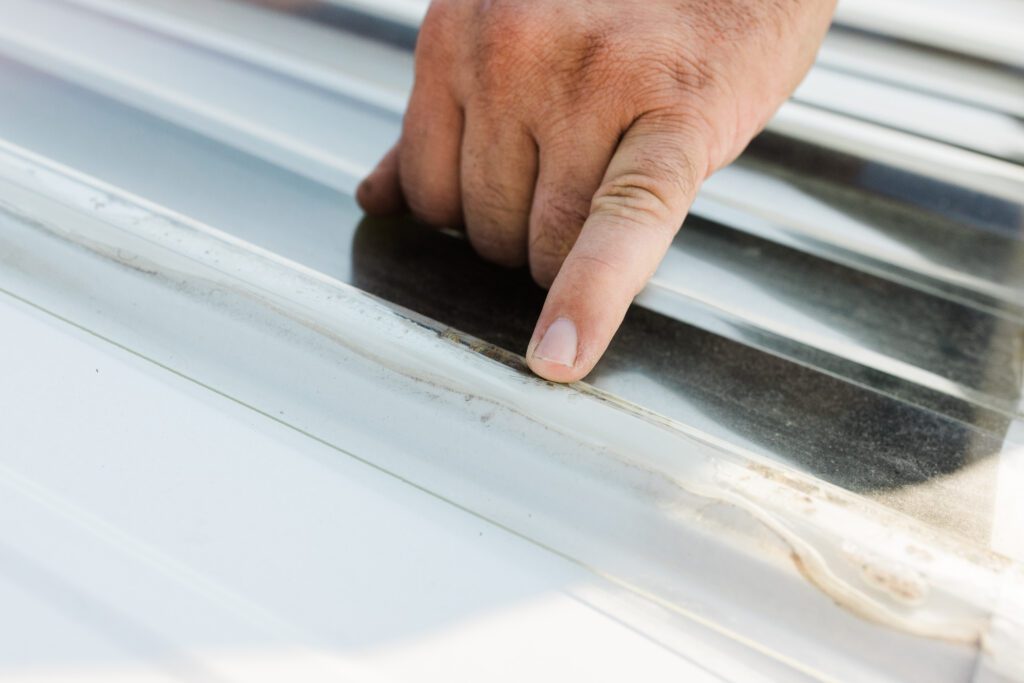
ASTM C794 – Adhesion-in-Peel
This method gives you a procedure to test how strongly a sealant adheres to different substrates such as pine, PVC, glass, mortar, galvanized steel, and aluminum.
Why it matters:
Strong adhesion = long-term performance. Weak adhesion = early failure.
Note that from my perspective, this is only about 1/3 of the story. You need to evaluate how adhesion, elasticity and relaxation work together to truly understand if a sealant will be durable. (More on that elsewhere).
ASTM C834 – Latex Sealants
Both C834 and C920 (the next one on the list) are specifications that encompass a few of the methods described above (in addition to others). This spec only applies to water-based (latex) sealants.
A sealant that meets ASTM C834 is classified by:
- Type (opaque or clear)
- Grade (how flexible it is at low temperatures)
The specification also tests things like extrudability, volume shrinkage, color change, slump control, and adhesion loss.
Why it matters:
Virtually every water-based sealant out there passes this spec. The test is basically telling you that you can clean the product up with soap and water, but isn’t telling you much about the performance of the sealant. (Other than maybe the fact that you shouldn’t use these products below freezing). There are lots of winners and losers that are compliant with this specification. And there are just as many winners and losers that are not compliant with this spec.
ASTM C920 – Standard Specification for Elastomeric Joint Sealants, aka “The Gold Standard”
This is the most important specification for elastomeric joint sealants.
A sealant that meets ASTM C920 is classified by:
- Type (single-component or multi-component)
- Grade (self-leveling or non-sag)
- Class (movement capability, typically ±25% or ±50%)
- Use (application suitability like traffic or immersion as well as specific materials; glass = G, mortar = M)
What to look for:
Like C834, C920 requires a sealant to pass a battery of tests including things like heat aging, not staining surfaces, accelerated weathering, and dry time. But the big one that most people are looking for as it relates to this test method is joint movement. That’s the C719 that we talked about earlier. The Class is almost always reported. For example, you may run across a sealant that is “ASTM C920 Class 25.” That means it passed C719 for +/- 25 joint movement in addition at least 4 of the other tests in C920.
But do they matter?
Now that we understand what some of the sealant test methods are, we come to a critical question. Are they important? Should builders base product-selection on performance in these test methods? Allow me to provide two answers.
1. Meeting these specifications is important in order to comply with some manufacturers’ instructions. In general, it’s always a good idea to follow the instructions of the manufacturer of your building materials. Let’s look at siding, for example. Most siding manufacturers reference ASTM C920. Some of them require a sealant that meets Class 25, while others recommend using a Class 25 sealant “for best results.” Builders may void the warranty if they use a sealant that doesn’t meet those criteria…so it’s worth complying.
2. Most of the time, I wouldn’t recommend letting “premium test-taking ability” define product selection. Ok. Now we’re getting to some good stuff. Remember in school that some kids were great test-takers, and some weren’t? Some kids studied their butts off and worked really hard on homework…and then just melted when the tests were handed out. Other kids didn’t study at all, put in no effort, and then somehow managed to BS their way through tests. Well, that’s an analogy that holds pretty well for sealants. It’s very possible to build a sealant that is a rock star at passing these tests…and completely fails in the real-world. Let me give you two examples.
Two times the test didn’t work
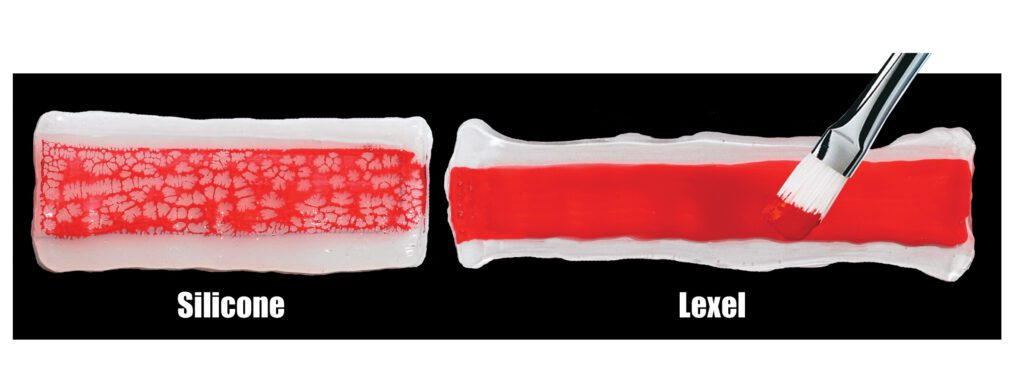
1. Though ASTM strives for repeatability, the agreement between labs on these specs has been difficult to achieve. A while back, I bought a sealant that had pretty impressive certifications (like ASTM C920 Class 100/50) to do some Nate-style tests…and I was pretty disappointed off the bat. When I gunned out this “clear” sealant…it was green! Not slightly tinted green. I’m talking disco-lime green. Completely unacceptable in a sealant. I asked the lab to test this enigma of a sealant, and they came back to me with sad news. We couldn’t get it to pass Class 100/50. Since then, the manufacturer has apparently discontinued the product. If the sealant had any merit, it’d still be on the market. So that’s one reason to prioritize history over certifications. Even though the goal of the methods is to make things consistent from lab to lab, it’s a reality that different laboratories do not always get the same results when testing similar products.
2. Allow me to go back in time a decade or so. At the time, I worked for a company that made coatings. In the coatings world, there’s a test of durability that involves running an abrasive wheel against a coating to simulate wear-and-tear. (The wheels are almost like sand paper). The more cycles a coating can resist these abrasive wheels, the more durable the coating should be. Makes a lot of sense. Unless you come across a chemist who figures out how to “break” the test. (One like yours-truly). At the time, I formulated a coating that had a rubber-like function to it. Well, when the abrasive wheels spun against the surface, they would initially tear into the film, breaking down some of the rubber coating. Then, they would gum up with rubber. Once they had gummed up, they would spin and spin and spin…doing basically nothing to the coating. The wheels really weren’t abrasive anymore. They were basically smooth now because I had filled the nooks and crannies of the sandpaper with rubber. So you could run the test for days and days, and the coating wouldn’t lose any more integrity. That was “gaming” the test. I hadn’t formulated a super-durable coating. I’d just formulated one that broke the test.
A Real-World Perspective
I think it’s a good thing to have a healthy skepticism of test methods. What really matters to most folks is “is this sealant going to last in the real world?” You know what often answers that question? Personal history with a product. Especially since that history is geared toward the climate you live in and the building details you prefer. So for me, real-world experience trumps ASTM methods. At Sashco, we do our best to get our sealants into as many real-world scenarios as possible while testing to the standard tests that everyone else is using. We don’t want specifications to be a hindrance, so we do formulate our sealants to meet the tests…just not to ONLY meet the test standards.
Final Thoughts
Some manufacturers use ASTM standards because it’s a convenient way to guarantee some minimum level of performance. For your convenience, I’ve compiled the Sashco sealants that meet ASTM C920 and C834 below that won’t void warranties. In our view, it’s your experience using sealants that is the most important factor in determining what to use.
| Brand | ASTMC920 compliant? | ASTM C834 compliant? |
| Lexel | Yes – class 50 | Not applicable |
| Through The Roof | Yes – class 25 | Not applicable |
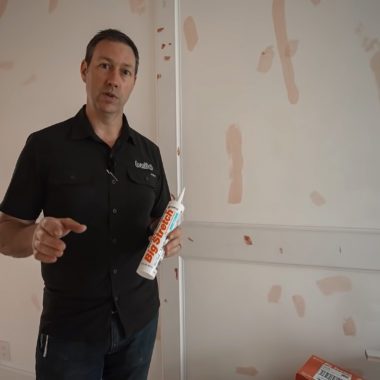
| Big Stretch | Yes – class 25 | Yes |
| eXact Color | Yes – class 25 | Yes |
| Slab | Yes – class 12.5 | Yes |
| Mor-Flexx | Yes – class 12.5 | Yes |