Here We Go…
Every fall and again in early spring, the phone starts ringing.
Homeowners and contractors alike are racing the calendar. Some are trying to wrap things up before winter really settles in. Others are itching to get started because the sun is finally shining again. And almost every conversation begins with the same question, “How cold is too cold to chink or stain my log home?”
The honest answer is this: it’s not just about the air temperature. It’s about the surface temperature of the logs, the product’s temperature, and how well the work is protected during curing. Ignore any one of those, and you’re not just cutting corners. You’re taking a real risk on a costly redo.
The Biggest Danger Is the Wash-Out
When it comes to chinking and sealants, the greatest cold-weather threat is wash-out.
In normal temperatures, chinking skins over fast enough to withstand a light rainstorm. But cold weather dramatically slows the curing process. If rain hits before the material has had time to firm up, it can literally wash a beautiful joint right down the wall.
That’s not just frustrating. We’re talking days of lost labor, wasted material, and a mess that’s nigh on impossible to just clean up. Cold temperatures won’t always “ruin” the product itself (although that’s also a risk!), but they delay when it becomes weather-resistant, and that delay is where the danger lives.
Wash-out doesn’t just mean reapplying. It often means cleaning residue off logs, re-prepping joints, and explaining unexpected delays to the homeowner. In cold weather, one storm can undo several days of work.
Surface Temperature Matters Just As Much As Air Temperature
One of the most misunderstood aspects of cold-weather application is that the log’s surface temperature matters just as much as the air temperature.
On a 40°F day, sun exposure can push log surface temperatures well over 100°F. On the other hand, a cloudy 45°F day after freezing weather can leave logs far too cold for proper adhesion. A good, simple rule of thumb is that you want a surface temperature of at least 40°F (and rising) and no more than 90°F (and falling) before you even think about applying chinking or stain. Use an infrared thermometer and check it often. Guessing isn’t good enough when the stakes are this high.
Air temps matter, too. Even if your logs are warm during a 45°F day, they’ll drop pretty dramatically at the end of the day and overnight. So, overnight air temps need to be 40°F or better for a minimum of 2 days after products have been applied.
Keep the Product Warm, Not Just the Logs
Cold chinking is thick, sluggish, and difficult too. Worse yet, when it’s too cold, it can struggle to adhere properly to the surface.
A trick many experienced pros rely on is storing their materials in a small room or closet inside the structure, sometimes with a small space heater. You don’t need a sauna; just enough warmth to bring the material itself up to 80–85°F.
One tricky thing to remember, though, is that bringing a five-gallon pail from 35°F up to working temperature can take several days, not a couple of hours. Planning ahead here makes all the difference. Forcing cold material to work faster often leads to uneven joints, poor tooling, and inconsistent appearance. Even if it sticks initially, long-term flexibility and performance can be compromised. It’s just not worth it.
Tenting and Heating Are Often the Real Secret to Success
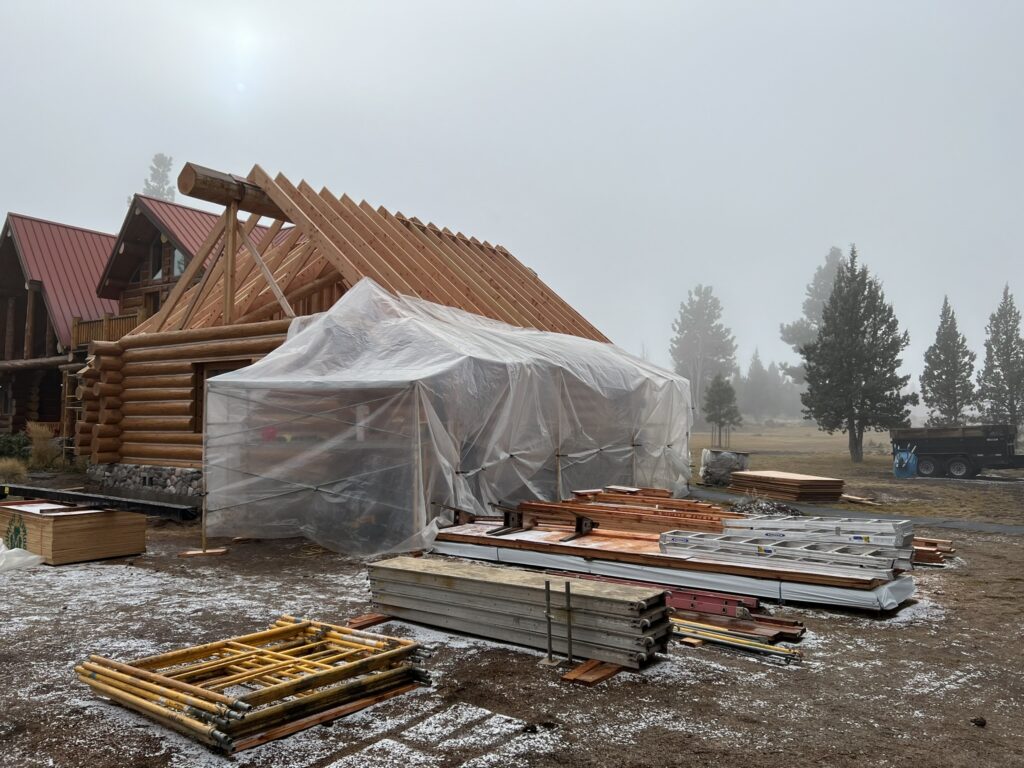
In cold weather, tenting isn’t optional. It’s what makes proper application possible.
Clear plastic sheeting works exceptionally well because it traps solar heat, lets in natural light, and creates a controlled environment around the work area. But tenting alone isn’t enough.
You also need air circulation. Without venting, moisture can build up on the logs and cause condensation, which can lead directly to the same wash-out you’re trying to prevent. This is important because tenting isn’t just about temperature, it’s about stability. Consistent conditions allow products to cure as designed, reducing callbacks, repairs, and long-term failures that are often blamed on the product instead of the environment.
Done correctly, tenting and heating protect both the material and the craftsmanship behind it.
Official Cold-Weather Guidelines for Log Jam
We like to have fun around here, but when it comes to pushing cold-weather work, that’s when we get serious. The instructions for Log Jam are clear for a reason.
To safely apply Log Jam in cold weather:
- Log surfaces must be above 40°F (4°C). Always confirm with a surface thermometer.
- Air temperatures must be above 40°F, as well
- Keep chinking warm until it’s ready to use
- Logs must be completely free of frost (frost prevents adhesion)
- Tent the area with clear plastic and heat it before and during application
- Provide air circulation to prevent condensation
- Leave the tent and heat in place for 2–4 days after chinking (use the full 4 days for wider joints)
- Then remove the tenting to allow normal curing
Here’s the reality check. In cold weather, Log Jam will take much longer than usual to fully cure. Don’t go out there and test the limits. Removing protection too early is one of the most common cold-weather mistakes. Even if the surface feels firm, the material underneath may still be vulnerable to damage from cold, moisture, or movement. Trust us on this one!
What About Staining?
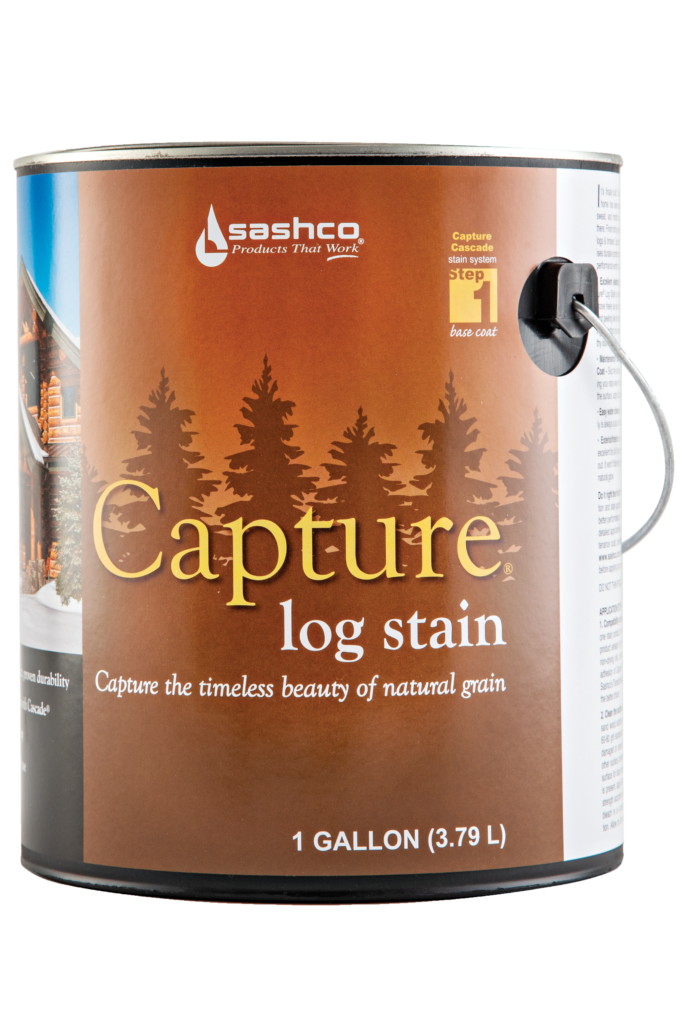
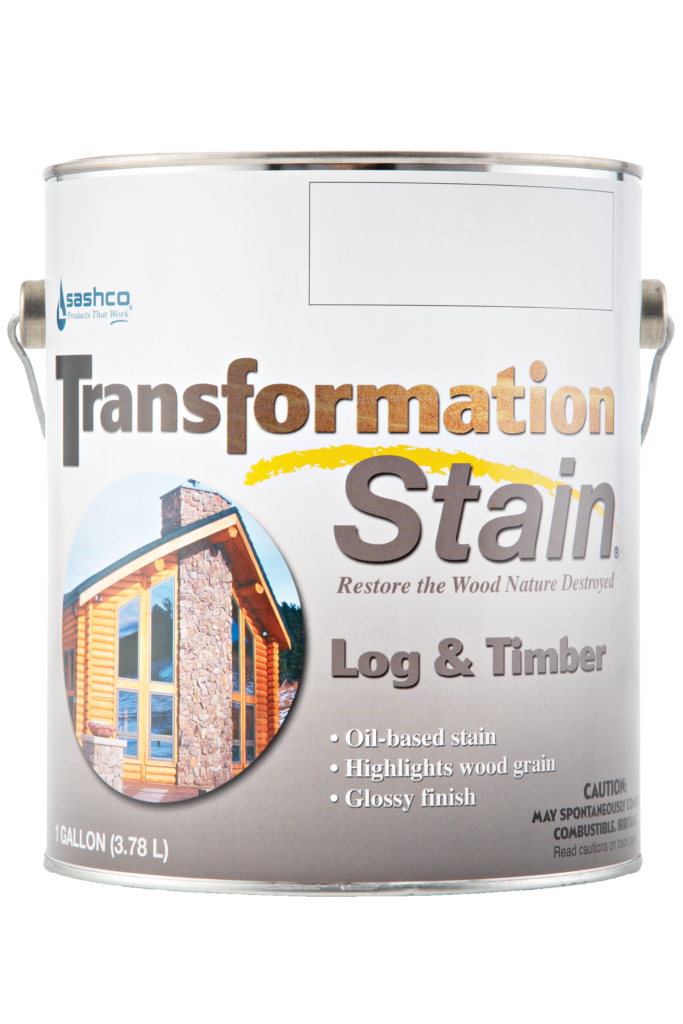
Many of the same principles apply to stains like Capture Log Stain and Transformation Stain.
Cold temperatures slow everything down:
- Cold wood slows (and can even prevent) penetration and adhesion
- Cold stain doesn’t flow or level as well
- Curing takes much longer
- Uncured stain can remain tacky
Keeping the stain warm, monitoring surface and air temperatures, and using tenting and heat, when necessary, can make cold-weather staining successful, especially with water-based products.
Don’t Be Fooled by “Freeze-Thaw Stable”
You’ll see FREEZE-THAW STABLE printed on many pails, including most of ours. That does not mean the product can sit outside all winter. Most materials are rated for around 5 freeze-thaw cycles. In one winter, it’s easy to hit fifteen or twenty cycles without realizing it.
Always store products where they won’t repeatedly drop below 32°F. Replacing damaged material is expensive and completely avoidable.
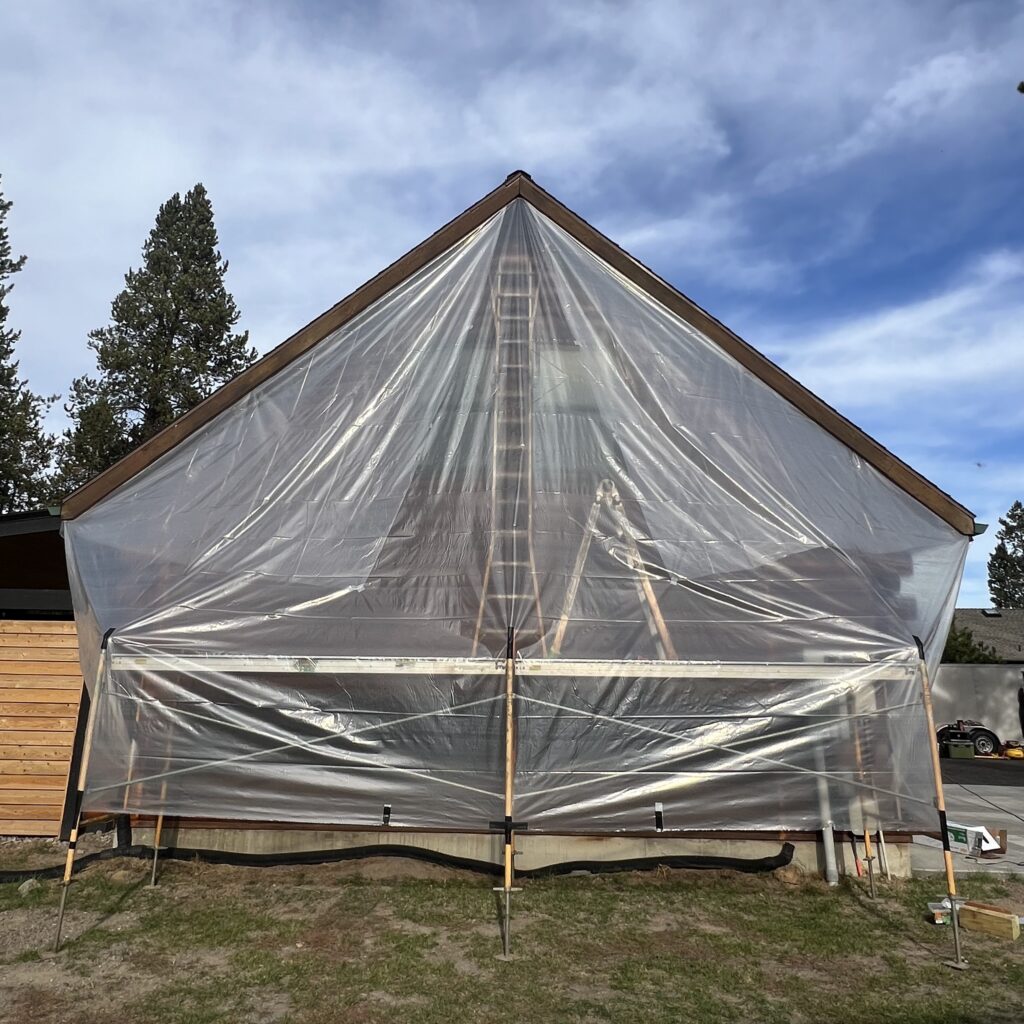
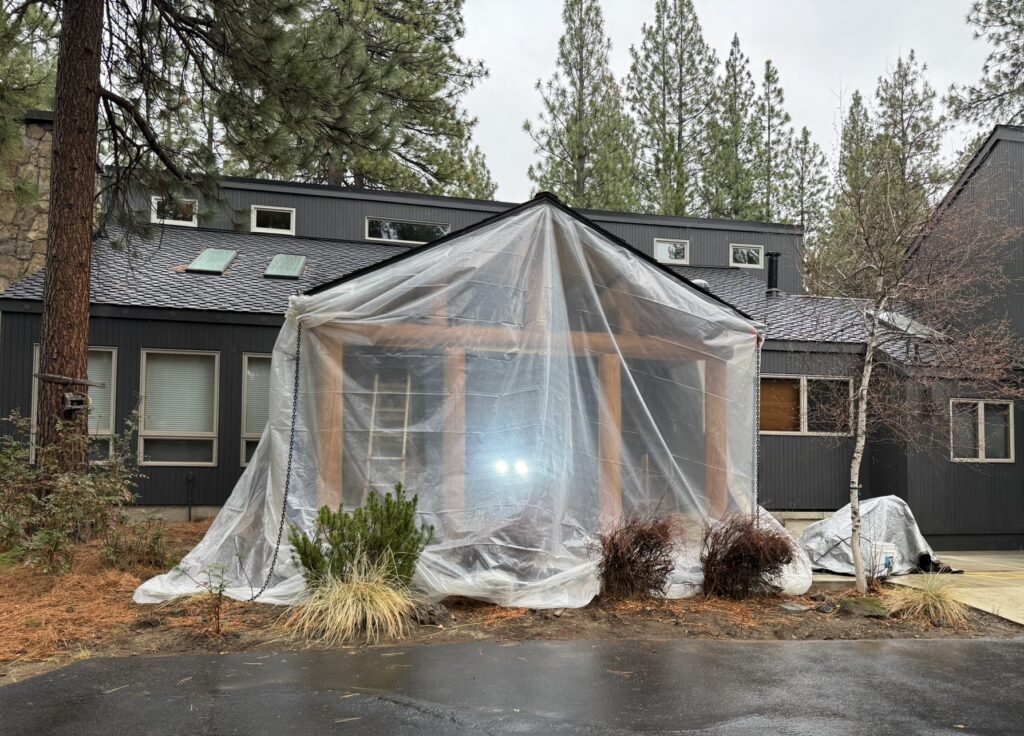
– More legendary ‘Bio-Domes’ by Knaughty Log –
The Bottom Line
Yes, you can chink and stain in cold weather. But success depends on respecting the process:
- Surface and air temperatures above 40°F both during application and for 2-4 days afterwards
- Warm product
- Proper tenting and heat
- Protection from rain and snow
- And patience with slower cure times
If you can’t provide those conditions, the smartest move isn’t to push harder. Work smarter, not harder, just wait for warmer conditions! At the end of the day, no deadline, no schedule, and no “almost done” feeling is worth watching your work slide down the wall after the first cold rain.
So, the question isn’t whether chinking or staining can be done in cold weather. It’s whether it can be done correctly. If you can’t meet the temperature and protection requirements, waiting isn’t a setback; it’s the most cost-effective decision you can make. Take a deep breath and get something hot to drink instead. You’ll be glad you did.
Share this:

Ready to stain? Don’t guess! Sample. Testing stain colors on your actual logs before committing ensures that you get the exact look you want and helps prevent “oops” moments later. Snag your free samples here.
About Sashco Log Home Products
When it comes to protecting and beautifying your log home, Sashco isn’t just another stain on the market — it’s the high-performance choice for serious log lovers. With industry-leading products like Capture, Cascade, and Transformation, Sashco combines cutting-edge technology and rugged durability to keep your logs looking stunning and standing strong year after year. Whether you’re chasing that perfect finish or just want to avoid the heartbreak of costly repairs, Sashco’s got your back. Because your log home deserves more than “good enough,” it deserves Sashco. Made for logs. Made to last. Made to make your neighbors jealous.