Caulk Problems-How To Tell If You Have A Mold Problem.
Mold is a four-letter word, and it’s a headache!

Is that a black spot on top of the caulk? Cant it be scrubbed off?! Upon further inspection, you see the mold is actually growing under the caulk. It never seems to go away. Even if you re-caulk your bathtub or shower, it seems to come back over and over again. Argh! But WHY does it come back over and over again? Answer: Sometimes, the mold and mildew in your bathroom is growing under the caulk.This means new caulk won’t fix it. (Say what?!?!) Yep. Even if you replace the caulk, the mildew is still there, so it just comes back and you end up where you started. How can you determine where the mold or mildew is growing?

Here’s a quick test to perform, along with the DIY tips you need to fix things up for good: apply bleach-soaked cotton balls to the mold. (Photo courtesy of www.thecraftpatchblog.com.)
The bleach test
Take a cotton ball soaked in fresh household chlorine bleach to the mildewed caulk. If the mildew disappears immediately, you’ll know it’s growing on top of the caulk. A good shower cleaning is in order.
If the mildew disappears but takes 45 seconds or longer, it’s likely mildew under the caulk. Fixing that takes more work (and gumption). Here’s how to tackle that project.
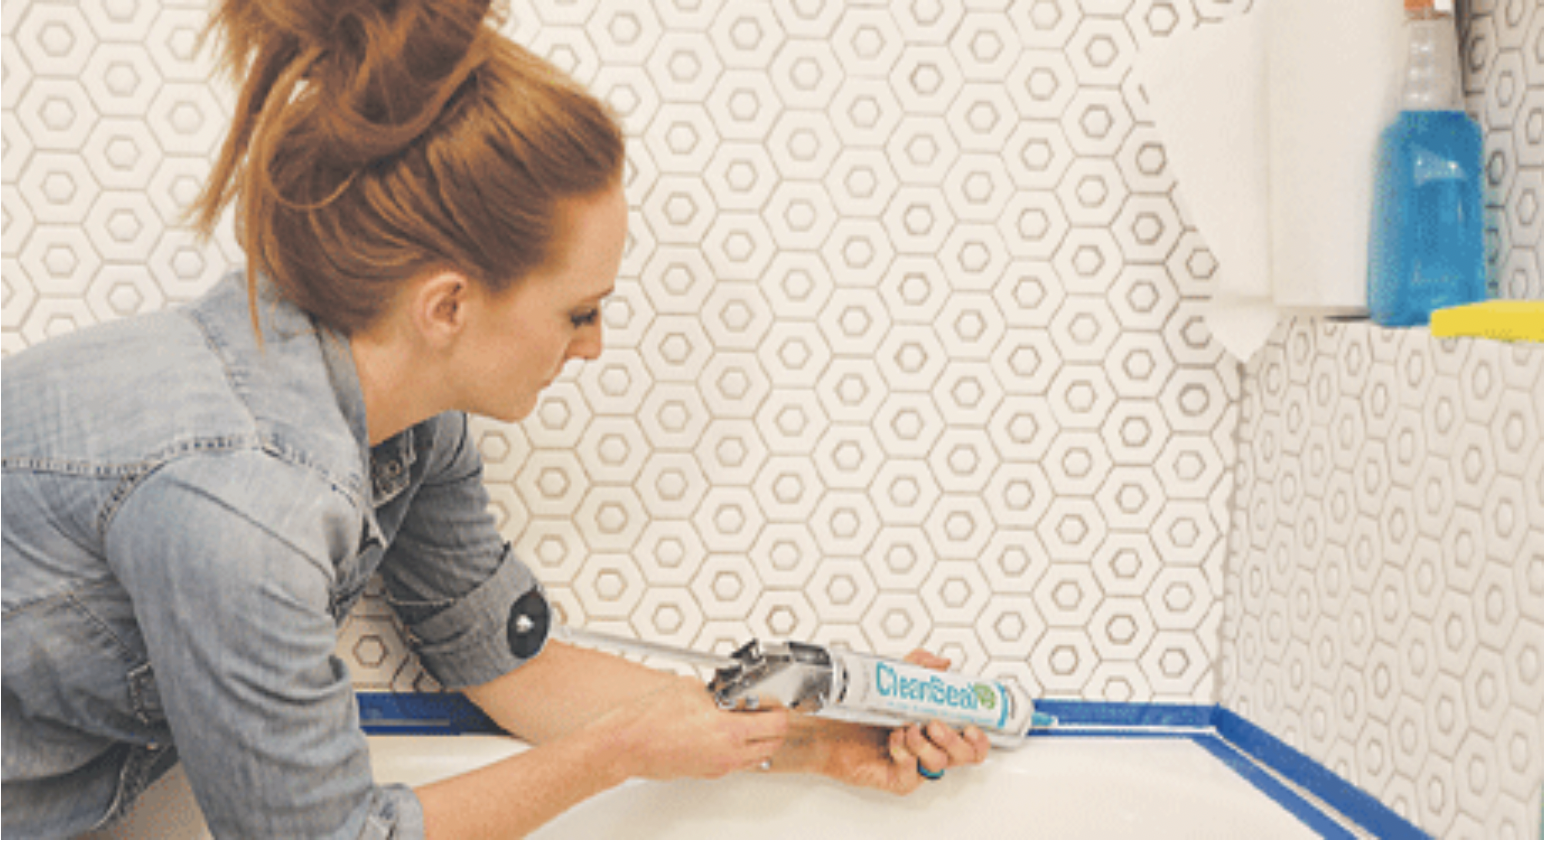
1. Remove the caulk
2. Assess the situation
Is there mildew visible where you removed the caulk?This happens when rigid caulks lose adhesion or crack. Water gets behind the caulk, which then leads to the mold and mildew growth. Is the mildew not visible?It could be behind the tile and the caulk line is simply the exit area. (Ugh.) Remove a tile – yes, this takes work – and see where the mildew is coming from. Often times, unsealed grout lines are an entry point for moisture. They fester and rot…er…mildew over time and come out through the path of least resistance: around the caulk line.
3. Eliminate the mildew
Hopefully, the mildew growth is localized and minor. A mildew remover product or a mild household bleach and water solution – 5 parts water to 1 part bleach – will do the trick. If that removed tile hints at anything more serious (like mildew covering the wall and/or the back of the tile, or visible mildew around surrounding tiles, etc.), time to call in a specialist.
4. Re-set the tile and seal the grout
Prevent any future moisture infiltration through that grout. Seal it up! Your local hardware store will have grout sealer. Re-caulk after all of the mildew is removed and the surface is clean.
5. Re-caulk
And this time, make sure you don’t get mildew on the caulk. Use a product with active enzymes (like Sashco’s Cleanz®) or one that is naturally resistant to mildew growth due to its chemical makeup (like Sashco’s Lexel®).
6. Enjoy your hard work.
Have an iced tea. Or a latte. Or some ice cream. And enjoy having more free time. (Time is the best, really.) Most importantly, enjoy that first mold-free shower. Linger a while longer under the hot water while you stare at the lack of ugly black stuff. Soothing, isn’t it?
Need some more info? Check out these resources:


 | Sashco")


 | Sashco")

