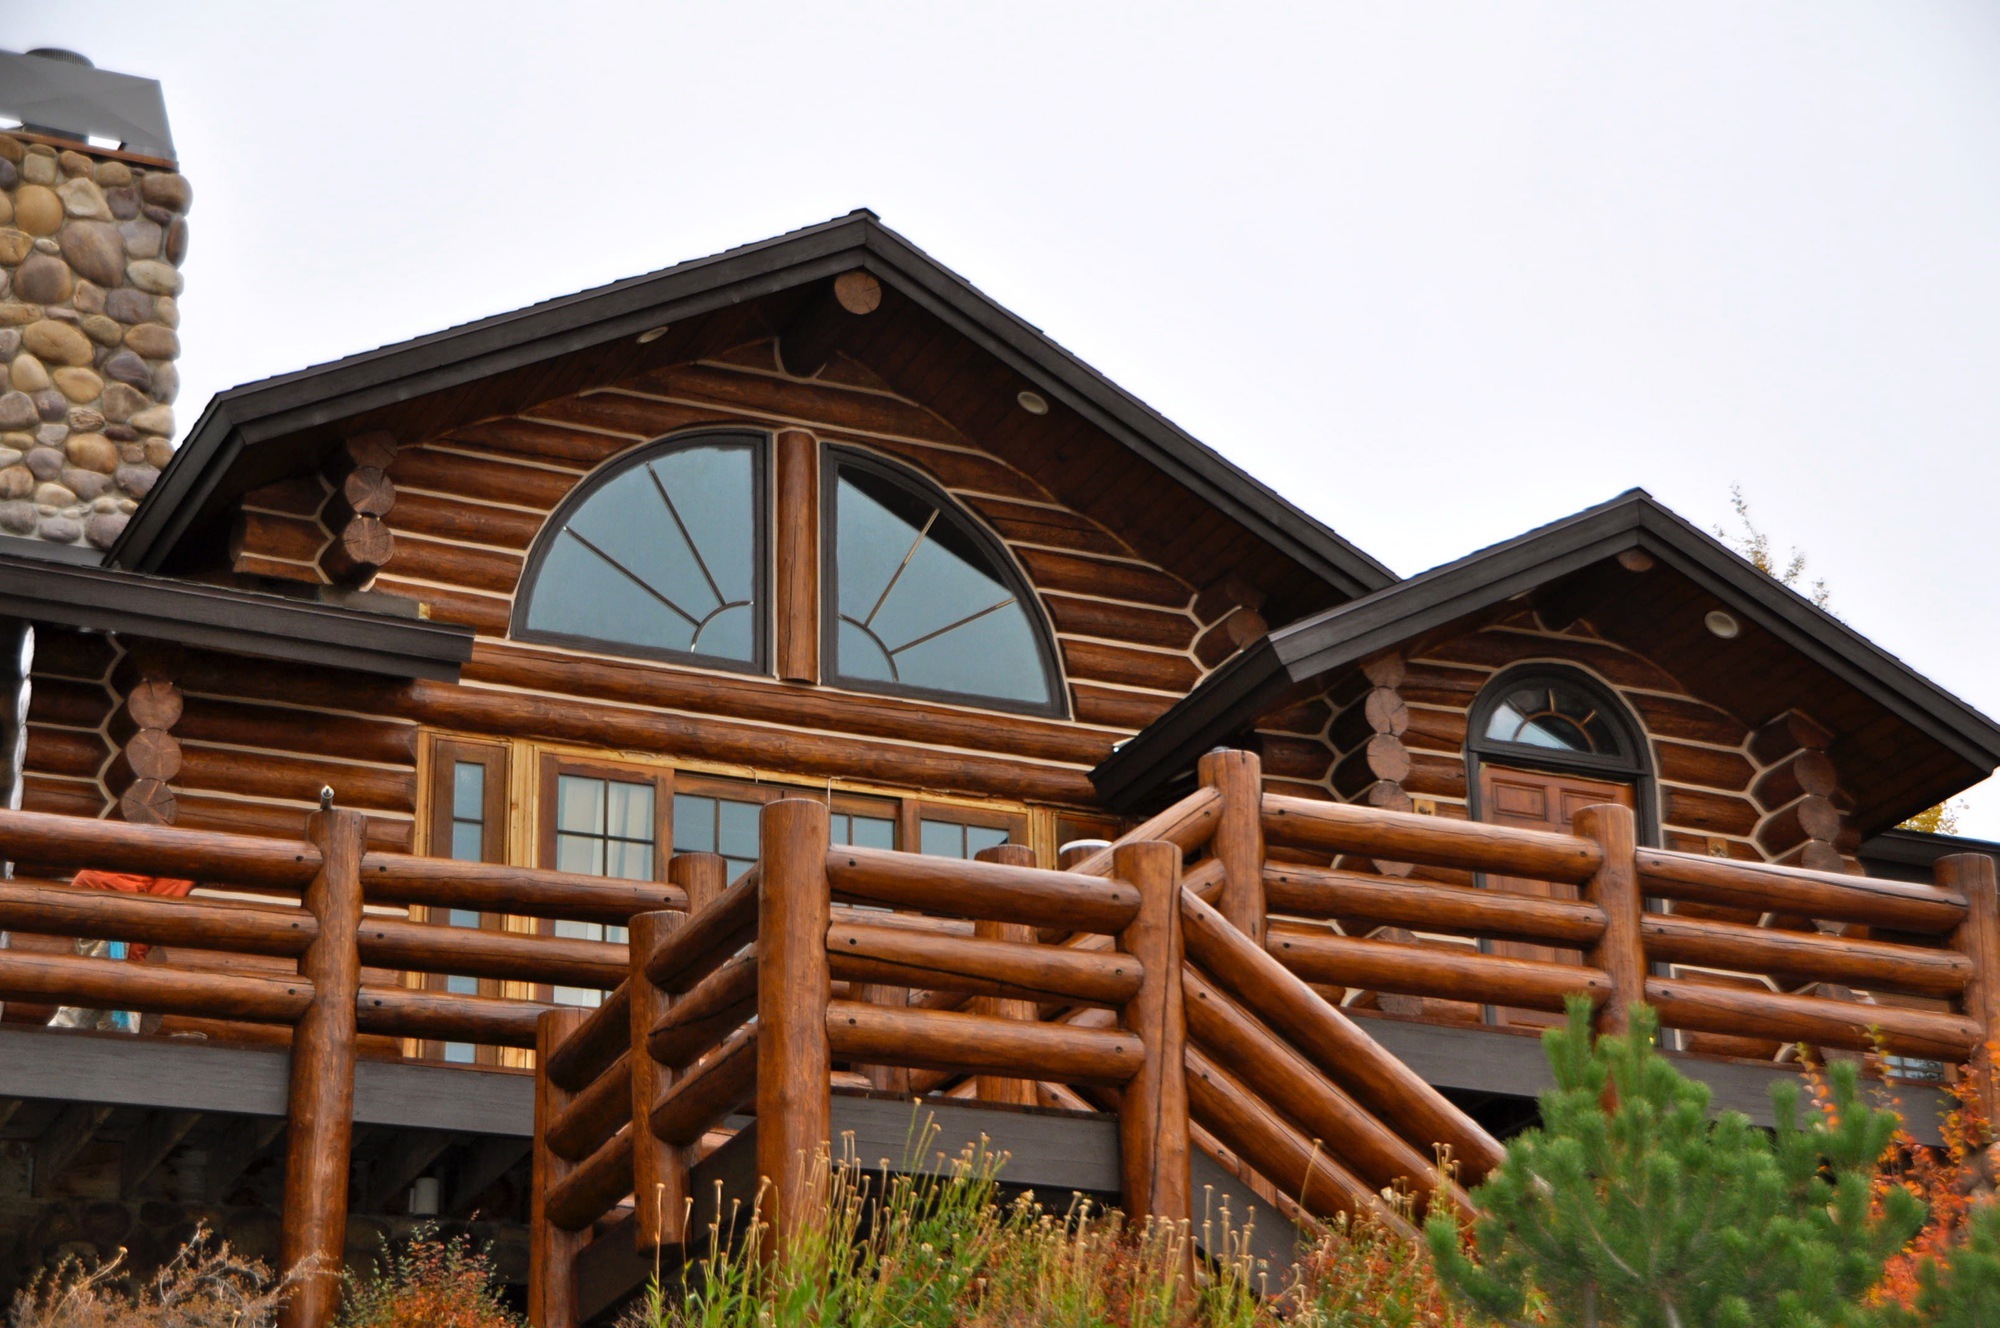
Log Home Chinking and Caulking Repair Made Easy
Even the most well-built and finished log homes require a little TLC from time to time.
You may have spotted a crack along the caulk line or noticed some chinking starting to pull away. Leave the paper bag for lunch. There’s no need to panic, log home chinking and caulking repairs are completely normal.
Logs shift and settle with the seasons, which means your sealants go through a lot. Imagine constant exposure to sun, wind, rain, and even a curious bird or two. With all that pressure, a few tears may be expected. The good news? With the right info and a little elbow grease, most of these issues are easy DIY fixes. Let’s walk through what to look for, how to repair it, and how to keep your log home sealed up tight for the long haul.
Is It Time for a Touch-Up? Here’s What to Look For.
Start with a simple walk-around inspection (bonus points if you have coffee in hand). Especially after a rough winter or a prolonged period of heat, inspect those sun-exposed and moisture-prone areas. Keep an eye out for:
- Sealant pulling away from the logs
- Gaps between logs or around windows and doors
- Cracks or tears in the chinking or caulk
- Discoloration, soft spots, or water stains on the surface of the wood (signs that some sealant needs to be applied somewhere nearby)
- Drafts or evidence of bugs slipping through
Tiny issues can turn into big problems fast, so catch ’em early and save yourself the headache later (use this handy checklist to help guide you).
Adhesive vs. Cohesive Tears: What’s the Difference?
Not all sealant issues are created equal. Knowing the difference between adhesive and cohesive tears helps you fix it the right way.


- Adhesive tears: Adhesive tears occur when the sealant pulls away from the wood. You’ll see gaps or places where it’s just not sticking anymore. Usually caused by poor prep, wetter wood drying out and causing excessive movement, joints that may be too narrow for the log diameter, incompatibility with the stain used, or good ol’ aging.
- Cohesive tears: Cohesive tears happens when the sealant tears in the middle, like a caramel pulled past its limit. Either your logs did a little extra shifting, or the movement was beyond the elasticity of the product used, or once again — good ol’ aging.
Either way, don’t stress. Both are fixable with the same basic repair approach.
Why Does This Even Happen?
Log homes are a different animal compared to standard stick-frame homes. The logs breathe, move, swell, and shrink with the weather. That natural movement puts stress on joints and sealants over time. Think of it like trying to stretch a rubber band around a growing tree. Without the right support and flexibility, something’s gonna give.
How to Fix Sealant Tears Like a Boss
Now that you understand the whys of sealant tears, let’s get to the nitty-gritty. How do you fix it? Whether you’re dealing with adhesive tears (pulling away) or cohesive tearing, the repair process is almost the same. Here’s how to do it the right way:
1. Remove the damaged sealant (adhesive tears) or relieve the pressure of the tear (cohesive tears).
For adhesive tears: Use a utility knife, scraper, or oscillating tool to remove the bad stuff cleanly. Make sure to scrape off any leftover gunk so the new sealant has a clean surface to stick to.
For cohesive tears: As long as you’ve used either a Sashco product or another compatible sealant that will stick to itself, simply use a utility knife to relieve the pressure. No need to cut everything out. You just want that tear to not be stretched to the limit anymore. (Check with us about compatibility to be sure before you go this route.)
2. Clean the surface.
Use a log-home-safe cleaner like CPR Log Cleaner or old-reliable itself, soapy water. Rinse thoroughly and let it dry completely. This step is not optional—trust us.
3. Check the gap.
If it’s deeper than ¼” and no backer rod is already in there, time to insert a backer rod. It keeps the sealant from bonding to the bottom of the joint (which you don’t want) and lets it move more easily with the logs.

4. Apply the right sealant.
Use something made for log homes. Sashco’s Conceal and Log Builder are solid picks and will stick to themselves, if that’s what you’re repairing. (Log Jam, too!) All of these products are flexible and built to move with your home. Load up your caulk gun and run a smooth bead along the joint. On cohesive repairs, go right over top of the tear, making sure to extend the new bead past the torn area to cover it completely.
5. Tool the bead.
Use a spatula, trowel, spoon, or damp foam brush to smooth it out and press it into place. Don’t skip it! This step ensures solid contact between the sealant and the logs.
6. Let it cure.
Avoid water, rain, or freezing temps for the first few days after application. No pressure washing just yet!
What Not to Do (Seriously, Don’t)
We get it. It’s tempting to slap some fresh caulk over old sealant and call it good. But resist the urge. A few things to avoid:
- Don’t apply new sealant over dirty material
- Don’t grab just any tube of caulk from the garage – make sure what you’re using is fresh AND compatible with what’s already on there
- Don’t skip the backer rod if the gap calls for it
- Don’t forget to tool your bead (it’s not just for looks, we promise)
Shortcuts here can lead to more expensive repairs later. Take the extra 15 minutes, it’s worth it.
When to Call in a Pro
Most minor issues? Totally DIY. But if you see signs of rot, water damage, mold, or large-scale sealant failure, it’s time to call in backup. Use Sashco’s contractor locator to find a trusted pro near you.
Owning a log home is kind of like being in a relationship. Sure, it takes attention, care, the occasional check-in, and knowing when to smooth things over (couldn’t resist a cheesy tooling pun now could we?) But when problems pop up, you don’t have to panic or break the bank. With a free weekend and the right products, you can tackle small sealant repairs like a pro and feel confident in the upkeep of your beautiful home.
Need help picking the right product? We’re always here to help you. No pressure, just friendly guidance. Reach out to our team or check out our How-To & Product Guide to get started.
Share this:
About Sashco Log Home Products
When it comes to protecting and beautifying your log home, Sashco isn’t just another stain on the market — it’s the high-performance choice for serious log lovers. With industry-leading products like Capture, Cascade, and Transformation, Sashco combines cutting-edge technology and rugged durability to keep your logs looking stunning and standing strong year after year. Whether you’re chasing that perfect finish or just want to avoid the heartbreak of costly repairs, Sashco’s got your back. Because your log home deserves more than “good enough,” it deserves Sashco. Made for logs. Made to last. Made to make your neighbors jealous.


 | Sashco")


 | Sashco")

