The Ultimate Guide to Loving Your Wood Stain Color.
When it comes to choosing wood stain color for decks, logs or wood sided homes, the “what ifs” worry us. What if my wood turn gray and rot? What if termites start eating my cedar siding? What if I pick the wrong stain color and end up with an orange house? And the list goes on. Over the next few blog posts, we’ll give you some staining tips that will be covered through these step-by-step instructions that will make staining and maintaining your wood structure less worrisome and easier to enjoy:
#1 Sampling: To get the look you want, sample the stain on your wood.
#2 Prep: Proper prep starts you down the right path.
#3 Application: Proper application of a quality stain ensures long-term performance.
#4 Routine Maintenance: Reduce long-term costs, time and effort
First up: Sampling.
Samples are critical because the same stain can look very different on different types of wood. The prep and application methods will also affect the final result. Therefore, the only way to get the color you want the first time is to apply sample stain to your wood. You can do it on any wood, whether it is siding, decking, a chair, wood trim, or a log home, as long as it is a small, inconspicuous test area.
Next, prep the wood.
Will you be media blasting your home’s exterior, power washing it, sanding it, or using chemical strippers? You should sample on wood that is prepped in the same way you will on the entire structure to determine how your stain will look at the end. Also, do it on the structure itself, in an inconspicuous spot. Don’t just use scrap wood in the garage.
Apply the stain.

Will you be spraying or brushing on the stain? How many coats? Use the same method on your sample. Two coats of stain sprayed on will be much darker than two coats brushed on. Be sure you use the same method so you get proper results.
- Let the stain dry (both between coats and after all coats are applied). Unless the manufacturer recommends wet-on-wet coats, allow each coat of stain to fully dry before applying the next or examining the color. Stains will look much different once dry and will affect your decision.
- If working with a contractor, don’t allow the contractor to stain until you have thoroughly discussed and demonstrated the look you want. Show him/her the sample. If you did the sampling yourself, be sure you’ve documented what you’ve done so the contractor can easily replicate it.
- Don’t stain all of the structure before you verify that you’re achieving the look you want. It is best if you can be on-site when staining starts. Yep — while that trip to Barbados might be enticing right about now, it’s always best to be on-site when your contractor is first staining. That way, if something is off, you can stop the work and deal with the issue before the whole home is stained.
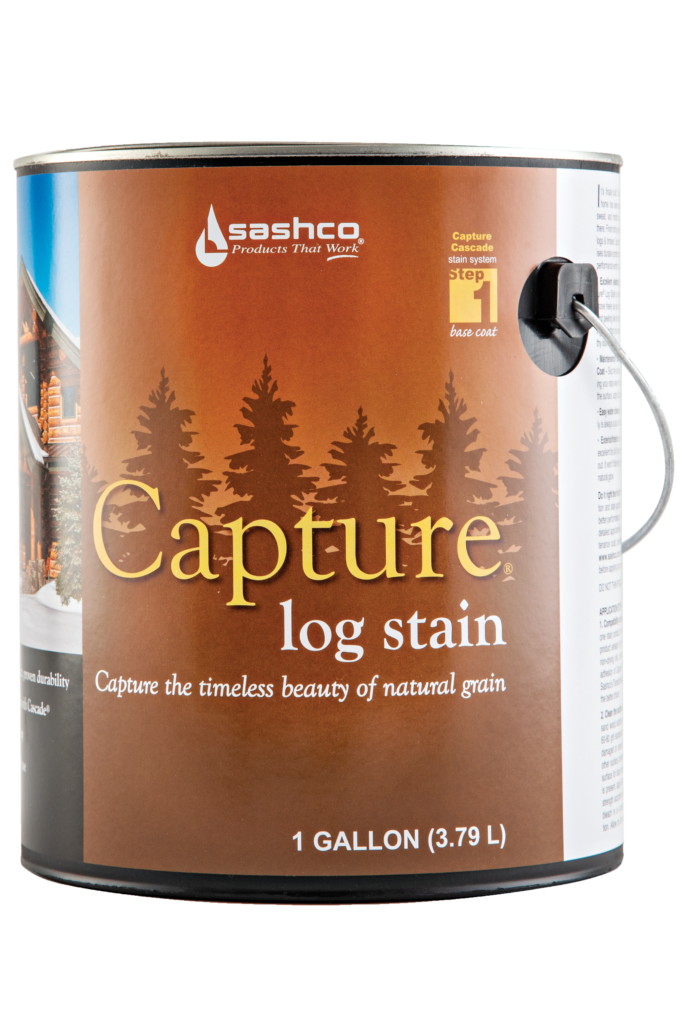
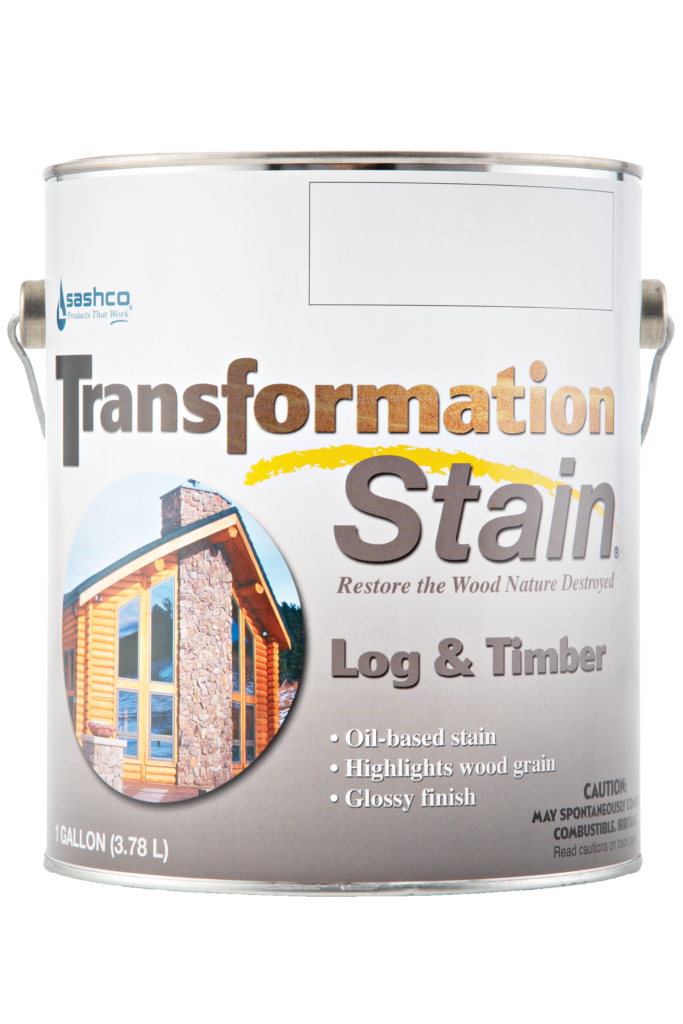
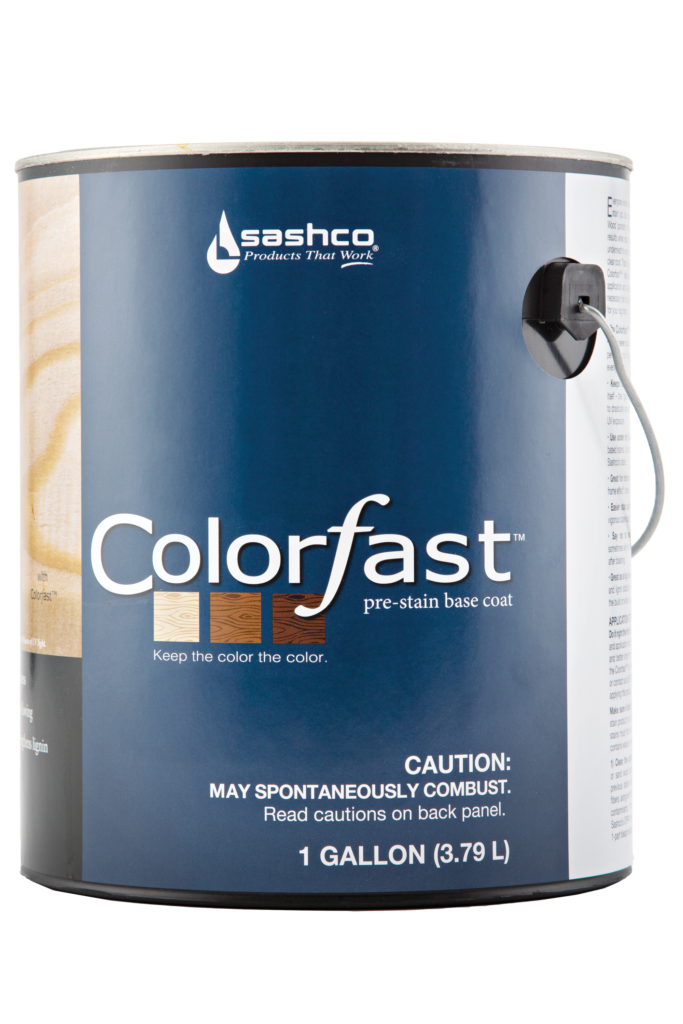
Sashco manufactures a line of premium stains for log homes, decks and wood siding. And all of our products come standard with Sashco’s expert education that help you get the job done right the first time.
Routine Mainteance.
Everyone knows that a $30 oil change twice a year beats a $2,000 mechanic’s bill. Routine maintenance on your logs, timbers or wood could be the difference between $2,000 every 3-5 years or $20,000 to completely redo the job. It’s truly the key to “a better way to stain.”
Ready to take the next step?
Dive deeper into proper prep for log home staining here.
