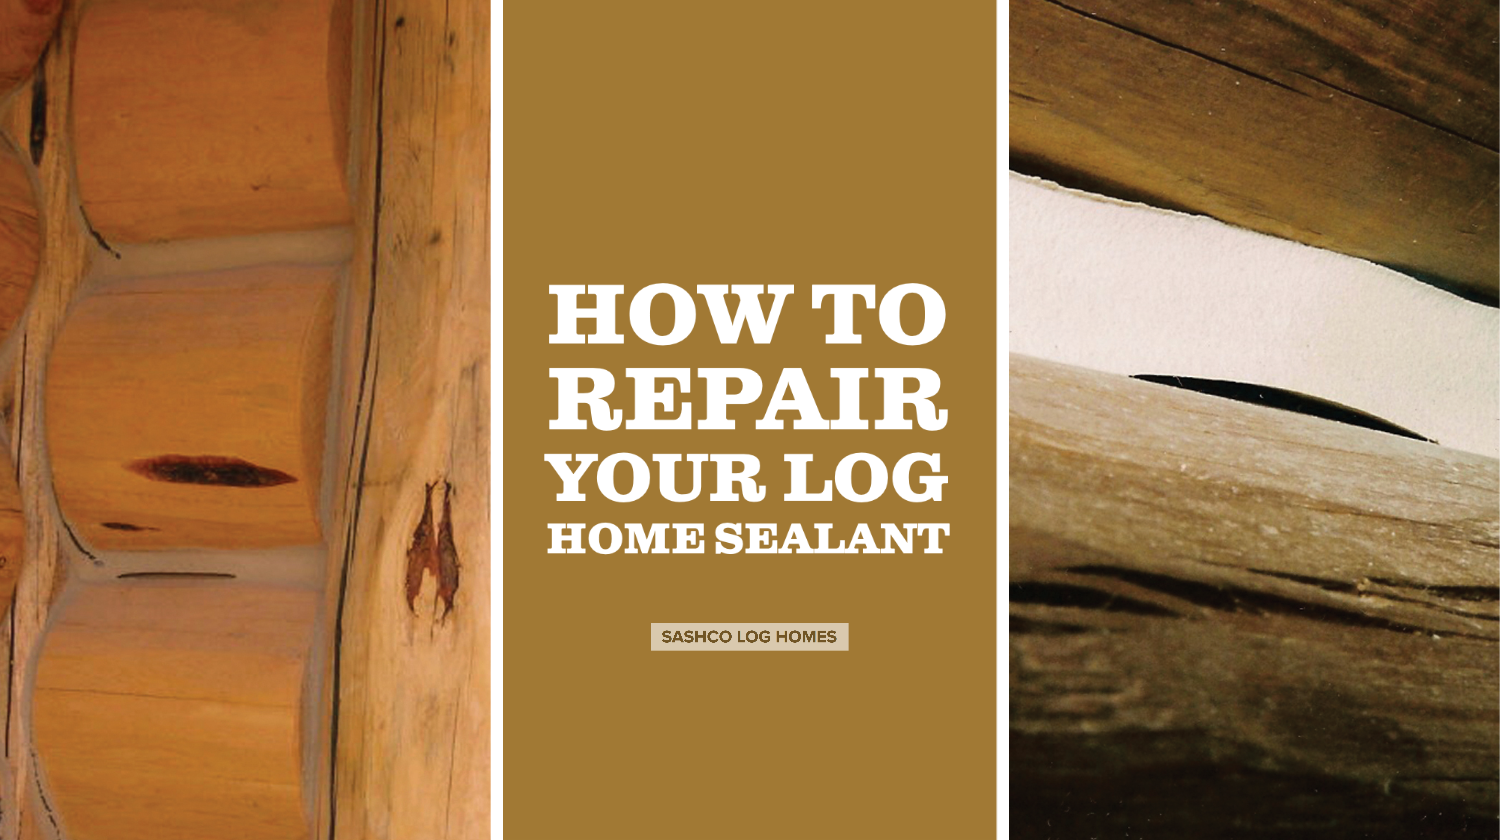
How To Repair Sealants on Your Log Home.
So, you did a stellar job of sealing cracks and checks in your log home. Hooray! Now, a couple of years later, you’re noticing that some of the caulk has cracked. After all that hard work? Ugh. So, what do you need to do to fix cracked caulk? Keep reading for all the details.
Why does caulk crack anyhow?
On most log homes, a handful of those logs will undergo extreme movement. This movement is a part of what makes a log a log. Moderate movement is normal, but the occasional maverick log can randomly and unpredictably twist, shrink or warp in response to moisture changes (like the first time the heat is turned on that winter), moving more than any sealant can possibly handle. When this extreme movement occurs, it will cause the sealant to fail either cohesively or adhesively. Here’s how to do repairs.
Cohesive failure

This is where the sealant splits apart down the middle of the joint. There’s still caulk sticking to the sides of the joint. Repairing cohesive failure is pretty simple:
- Relieve the pressure by taking a razor blade to finish the job. (Sounds silly, but this is necessary for the repair to work properly.)
- Insert backer rd behind the caulk, if there isn’t some there already.
- Clean the surfaces to remove dust and other surface contaminants.
- Apply more sealant right over top. You can only do this if the product you’re using is compatible with whatever’s already in there. With Sashco’s products, this is no problem. If you used silicone, you’ll have to remove it all. Boo.(Moral of the story: don’t use silicone on log homes.
Adhesive failure

This is when the sealant pulls away from the edge of the logs. In this case, a bit more investigation is necessary. Adhesive failure can be either due to movement or because of an incompatibility between the stain or clear coat used on the logs and the caulking. If it’s only due to movement, here’s the fix:
- Remove the sealant completely. You’ll have to cut it out entirely.
- Insert backer rod or another bond breaker behind the caulk or chinking, if one is not already there.
- Clean the joint, especially at the edges where the new product will be sticking. Make sure there are no loose wood fibers or peeling stains or paints. It may mean you need to break out the sand paper or Dremel® tool. (Power tools. Argh.)
- Apply more caulking or chinking over top. Smooth it out, just like before.
If the failure is due to an incompatibility between the stain/clear coat on the wood, you’ll have to do some more extensive work to get the new caulking or chinking to stick:
- Remove what’s in there now.
- Sand down the edges of the joints to remove the stain/clear coat.
- Clean with a degreaser of some kind (Formula 409® and the like do a good job).
- OPTIONAL (and best): Stain just those areas with a compatible product.
- Insert backer rod or a bond breaker, if one isn’t already there.
- Apply more caulking and chinking, smoothing as before.
Looking for tips on log home care and maintenance? Check out our blog for more tips and information that will help you preserve your dream log home.


 | Sashco")


 | Sashco")

