A Simple Way to Prevent the «Picture Frame» Effect.
Have you ever tried to run a cloth or duster over wood with no clear coat on it? It’s horrible! It catches on the wood, doesn’t remove the dust, and ultimately makes a bigger mess. Even worse is trying to clean wood that is permanently yellow from UV exposure and oxidization. Follow these 3 steps to create an easy-to-clean, won’t-get-discolored constant warm glow in your log or wood home. BONUS: Interior finishing needs to be done only once. Routine cleaning — wiping down cobwebs, dust that settles, fingerprints, etc. — is all that’s needed to maintain the finish and keep the wood looking like new.
Follow these simple steps to prep and finish your interior wood and keep it in tip-top shape throughout the years.
1. Prep the Wood
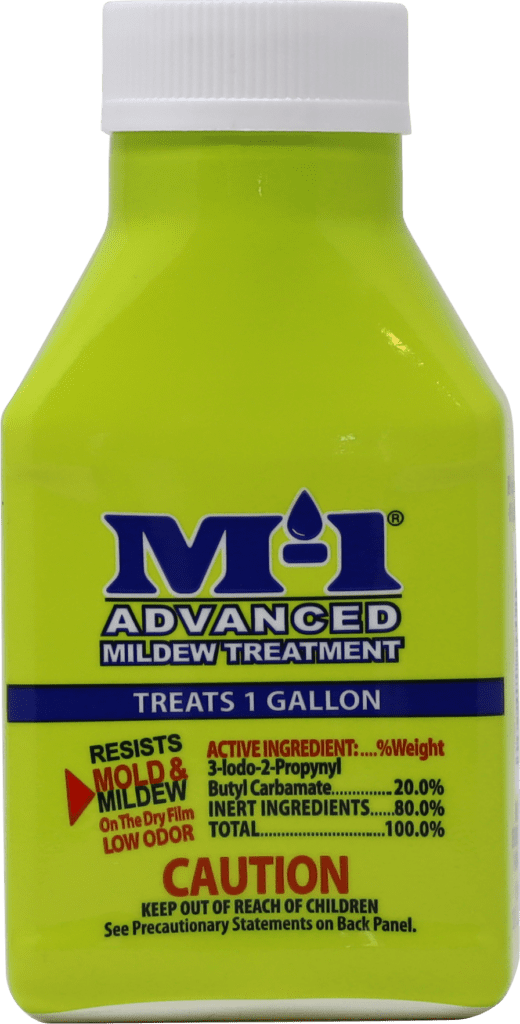
Clean any mold or mildew.
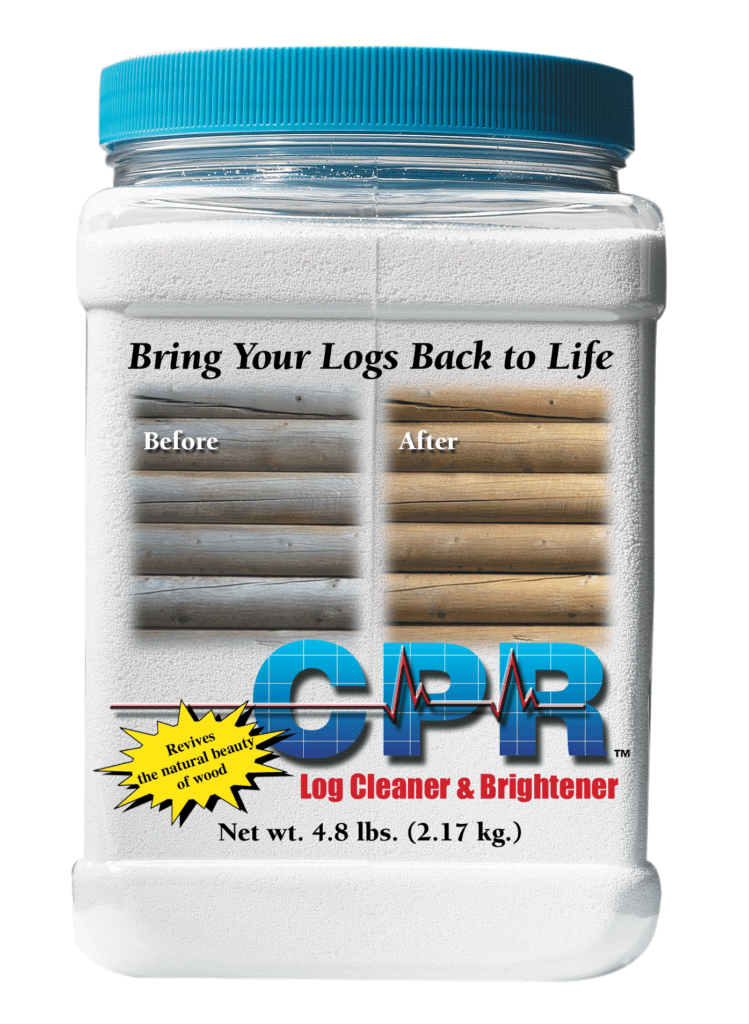
If the wood has any mold or mildew growing on it, use a mild cleaner (such as Sashco’s CPR®) in its mildest solution to clean the wood. Thoroughly rinse to neutralize the cleaner and allow the wood to dry. Be sure to protect any flooring or other fixtures from runoff.
Remove any yellowed or gray wood.
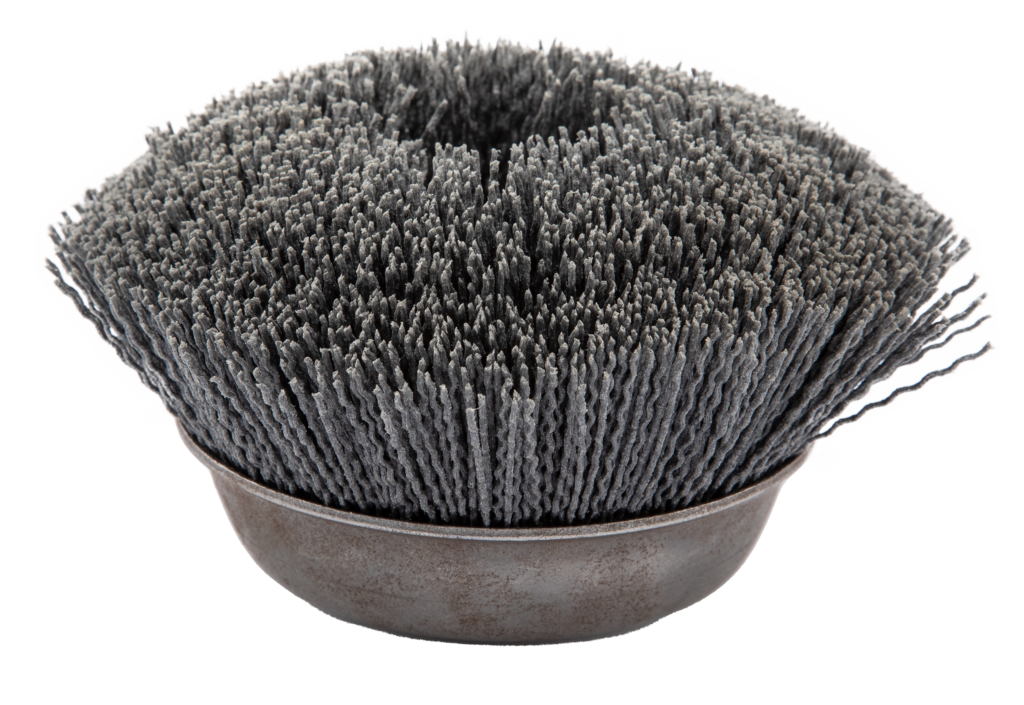
The easiest and safest way to prep interior wood is to sand or buff it down. As with exterior finishing, it is necessary to remove yellowed and/or gray wood. An Osborn® Brush, Sashco’s Buffy Pad system, or 60- to 80-grit sandpaper are the best tools for this kind of work. Use a sander or grinder that has a vacuum attachment to help prevent excess dust in the air. Some will still happen, so protect furniture or other fixtues with drop cloths, if necessary.
It’s best to avoid “spot prep.” Sanding one area and not another will result in a blotchy look once a clear coat is applied. It is important to do an entire area to get an even appearance.
2. Apply Colorfast (and stain, if desired)
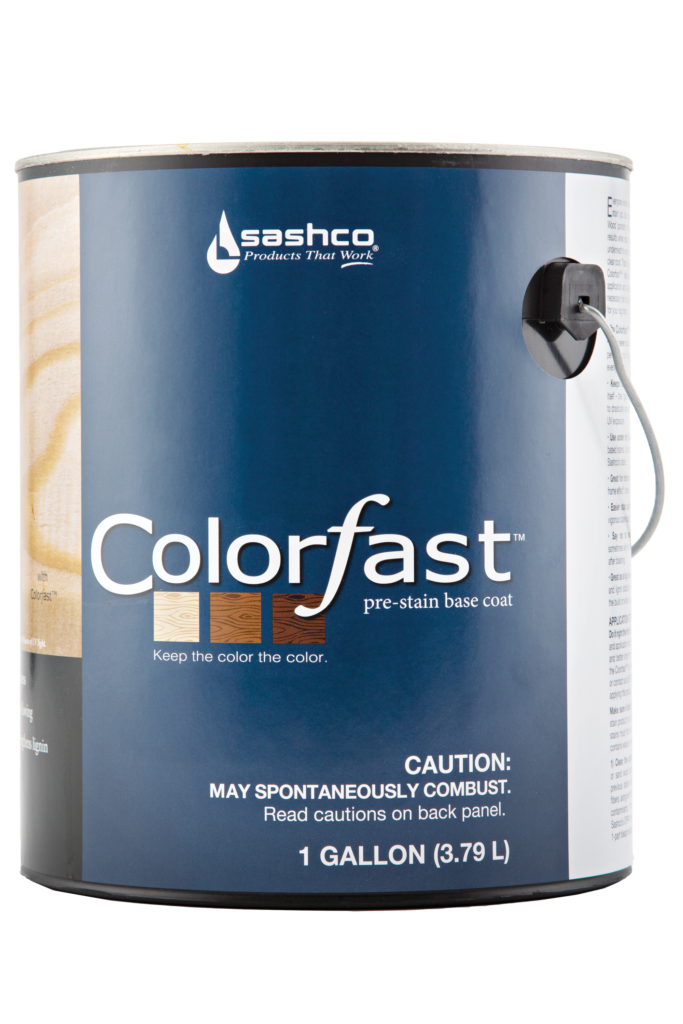
If the photo above looks familiar (or you don’t want to become familiar with it), apply one coat of Colorfast. Colorfast strengthens the glue that binds the wood cells together, called lignin, preventing yellowing of the underlying wood cells, leaving the wood and clear coat applied on top looking the same year after year.
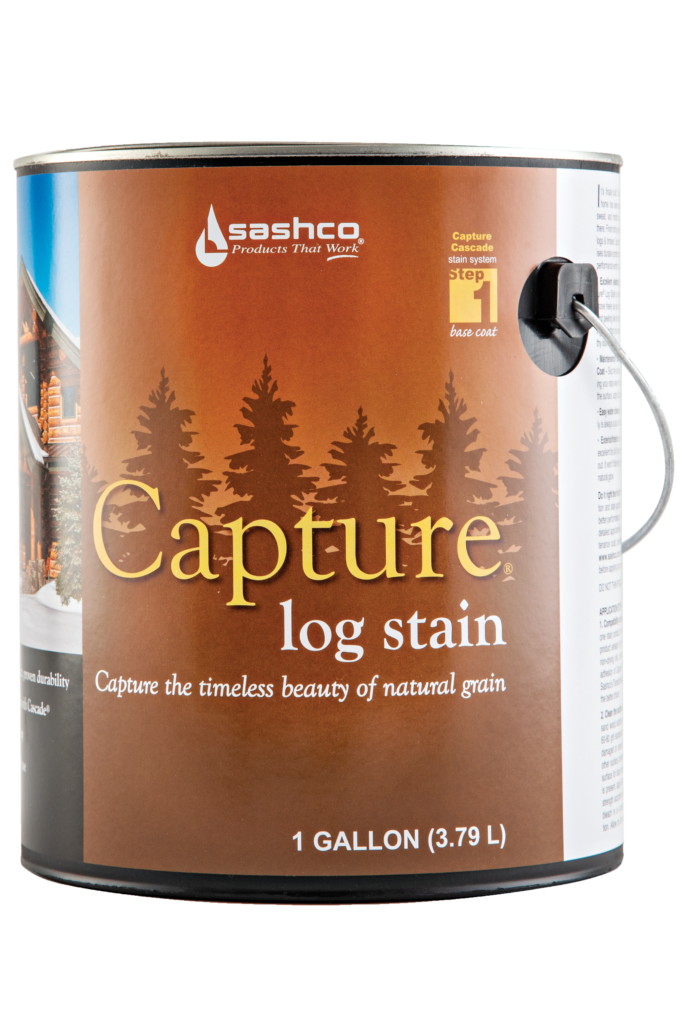
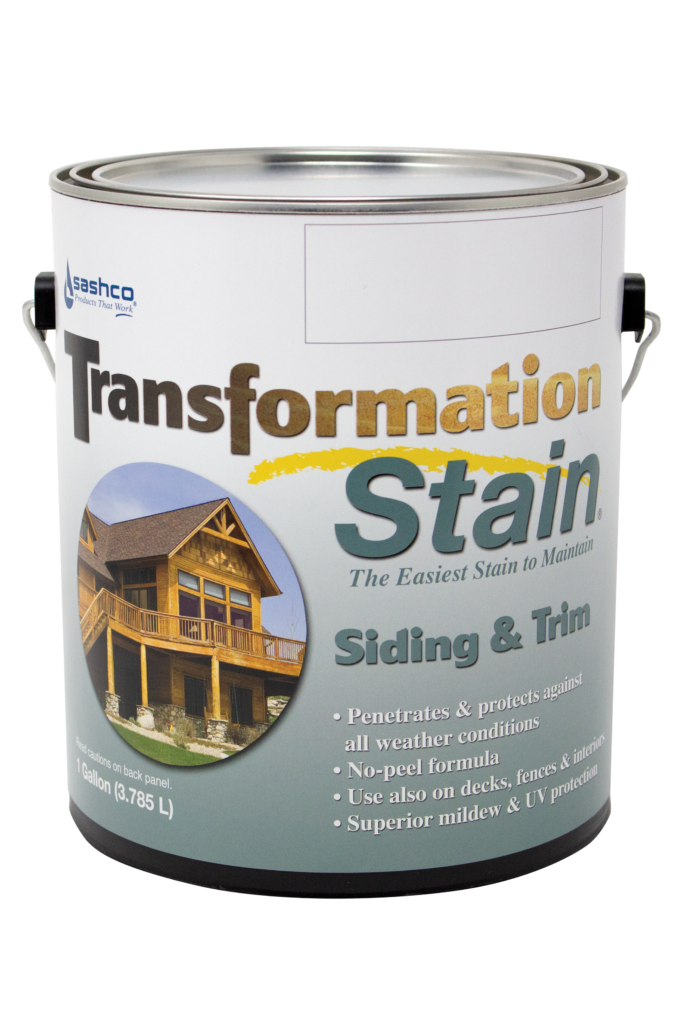
Optional: for different colors (like dark brown, Mahogany, or Redwood accents), apply one coat of Sashco’s Capture Stain or Transformation Siding & Trim stain.
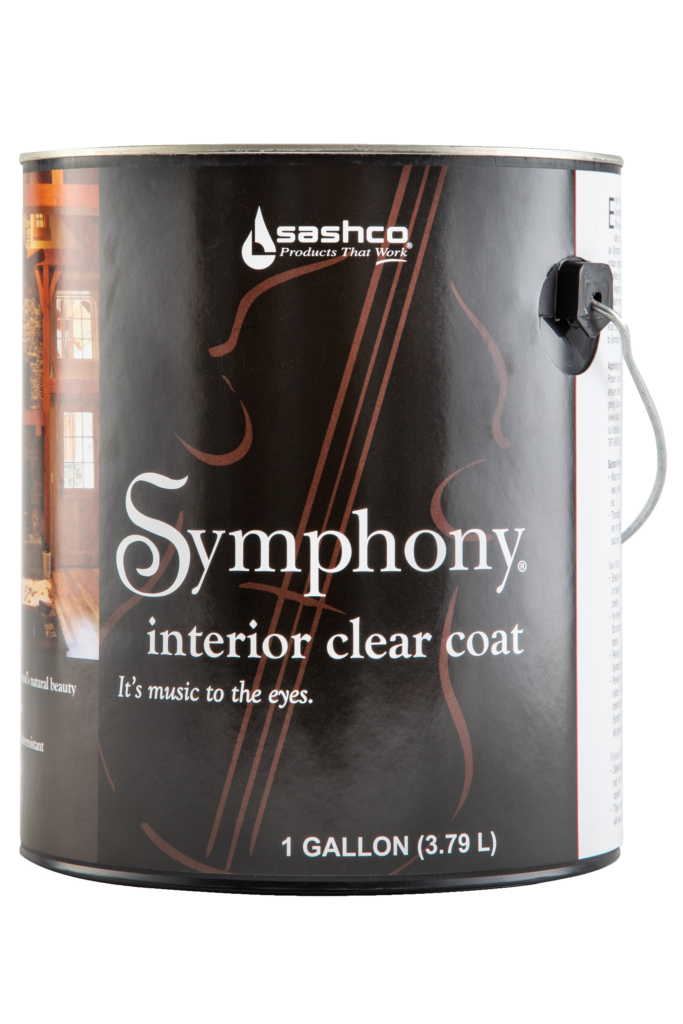
3. Apply Symphony® Interior Clear Coat
The clear coat is the lynchpin in all of this. It’s the key to achieving that smooth, easy-to-clean surface. It also brings out the grain of the wood to help give it that warm glow. Two coats are best.
Try it before you buy it
Get samples of both Colorfast and Symphony for free! Test to make sure you get the look you want.
