Caulking Tips & Tricks: How to Caulk Like A Pro.
Why use caulk? What is its purpose? We’ve got some caulking tips for you!
Caulk is made to seal out water, air, dust, pollution, insects and noise. Caulk can also simply dress up or give a finished look an otherwise rough-appearing joint. Most normal latex caulks will crack and fail over time. They are unable to hold their seal. Higher quality products, referred to as sealants, will hold their seal over many years. They are able to withstand the normal movement that occurs with weather changes, soil shifting, wind, etc.
The following tips will give you the how to caulk basics to get the most value out of the product, as well as your time and effort.
By following the guidelines below, you will reduce the risk of failure and increase the chances of achieving a sound, durable and attractive seal for many years to come.
Caulking Keys To Success
1. Watch the Weather
Weather Affects Performance
Pay attention to the weather, as it can affect:
- the size of the joint at the time of caulking (cold weather cause the joint to expand, while warm weather cause the joint to shrink)
- the contaminants on the surfaces of the joint (like dust, pollen, old caulk, etc.)
- the ability of the caulk to «wet» the surfaces of the joint for good adhesion
- the ability of the caulk to properly cure and develop its ideal physical properties
Ideal Weather Conditions
Plan to caulk in ideal temperatures whenever possible. What is ideal? 40°F and rising and 90°F and falling. Be sure to pay attention to the surface temperature where you’ll be applying the caulk. It should also fall within that idea temperature range. Some caulks, Like Sashco’s Lexel and Through the ROOF!, can handle more extreme temperatures during application (0°F to 120°F) and will still perform.
Wet/Snowy Conditions
When using water-based caulks, allow the surfaces to completely dry before caulking. Wet surfaces will make proper adhesion difficult and may inhibit proper curing of the caulk. In the same way, avoid applying water-based caulks – even in ideal weather – if rain or snow is expected within 24 hours. If you need to get the caulking done, go ahead and do it. Just make sure to cover your work with a plastic tarp to prevent moisture from getting onto the caulk and causing it to wash out.
Sashco’s Lexel and Through the ROOF! can be applied to actively wet surfaces. If you need a product in the middle of a rain storm, these are what you need. If the surface is frosty, remove the frost first by wiping it down with denatured alcohol.
Weather Extremes
It is never good practice to apply caulk in extreme temperatures. Whether hot or cold, the joint will not be at its ideal size, the caulk will not cure correctly (which causes performance problems), or the caulk may develop blisters. Any weather-related problems with the caulk can be fixed fairly easily, but are also avoided altogether through simple weather watching.
2. Prepare Surfaces & Joint for Sealing
Good surface and joint preparation is the #1 requirement for a professional and long-lasting caulking job, whether you’re replacing old caulk or sealing a new joint for the first time. Here’s how to go about cleaning:
- Use a putty knife, painter’s 5-in-1 tool or other similar tool to remove all of the old caulk in the joint. A heat gun can be used to soften old caulk and loose paint to make removal easier, or caulk remover can also help remove all types of old caulk.
- Make sure the surface is completely free from old caulk, peeling paint, weathered wood fibers, grease, oil, wax, pollen, dirt, rust, mold, mildew, soap scum, etc. A wire brush works well to remove contaminants, and a drill-mounted wire wheel is often the best answer for cleaning dirty, unsound concrete. To clean off oil or grease, use a grease-cutting cleaner and thoroughly rinse. Remember, the best caulk in the world won’t work if it is applied to a dirty or unsound surface.
- Finally, ensure the surface is rinsed clean if you used a chemical remover. Chemicals can also interfere with proper adhesion.
Use Pre-Caulking Filler Rope
If the joint or crack will be 1/4″ wide or more and 1/2″ deep or deeper, it is best to install Filler RopeTM or a similar foam backer rod in the joint before applying the caulk. Why use Filler Rope?
- It saves money. Filler Rope and other backer rods are much cheaper that filling the joint with caulk.
- It helps provide the ideal joint design (two points of adhesion with less product applied in the middle of the joint), which provides for best elasticity and easy fixes when there is extreme movement and the joint widens more than the caulk can handle. For more info on proper joint design, see Sashco product brochures.
- Tooling is improved. More pressure can be applied to the caulk when Filler Rope is behind it. This added pressure forces the caulk into intimate contact with the sides of the joint for better adhesion
How to Install Filler Rope
Simply press the material into the joint using your hands or an appropriately sized blunt tool. It should be shoved deeply enough to allow the caulk to be 1/4″ – 1/2″ deep when applied over. If you are using closed-cell backer rod, avoid putting holes or nicks in it because the damage can lead to «out-gassing» from the backer rod and may cause blisters in the caulk. Then, masking tape or painters tape can be applied to both sides of the joint before caulking to prevent smearing and to create a clean caulk line.
Applying Primers
If the joint or crack will be subjected to regular difficult stress, such as continual water submersion at the bottom of a swimming pool or a home in extreme wind, it is important to use a primer before caulking. For a home, normal paint primer will do the trick. In swimming pool or other unique situation, contact us for recommendations. The caulk will adhere better to primer, giving it better long-term performance and will require less maintenance over time.
3. Use the «Best» Caulk for the Job
A water-based acrylic latex like Big Stretch may be perfect for one area, where in another you’ll need a co-polymer rubber like Lexel. Check out the usage information for Sashco products to help determine which product will be best for your job.
3. Apply the Sealant Properly
Cutting The Nozzle
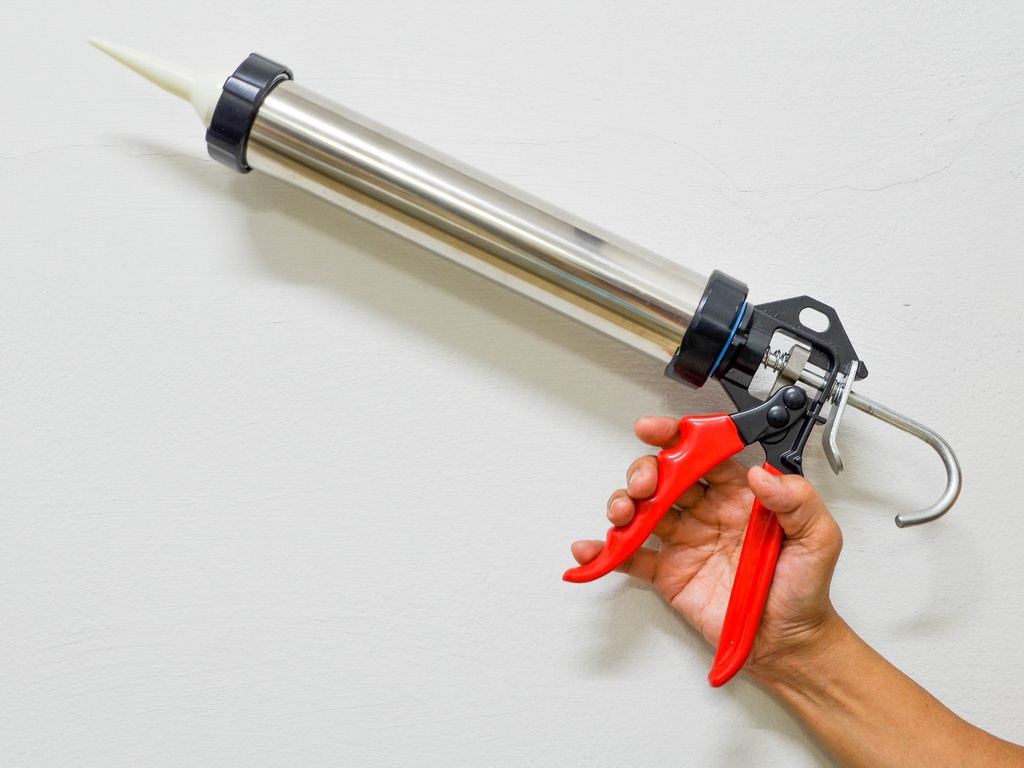
Embossed markings are included on each cartridge nozzle and correspond to different bead sizes. Cut the nozzle at the mark for the bead size you’ll need for your job. It’s easy! Simply cut the nozzle at a 45° angle, puncture the inner seal (if there is one), place it in a caulking gun, and you’re ready to begin. (Obviously, no caulking gun is required with a squeeze tube.)
Getting Started
Before you actually start to caulk, do some practice caulking on a piece of cardboard or newspaper to get a better idea for how the product feels. Practice pulling it in a consistent manner to avoid getting weird breaks when you have to pull the trigger again. It is best to pull the nozzle along the joint, rather than pushing it. Pulling it allows the nozzle to smoothly slide over any bumps on the surface; pushing usually leads to more hang-ups and sudden stops.
Applying A Bead of Caulk
The Art of Tooling
«Tooling» is the process of gliding over the bead of caulk in order to smooth it, making it neater and further establishing good adhesion. Is tooling necessary? Absolutely! Caulk is made to not flow, so tooling is critical for proper adhesion and sealing. Tooling can be done with a finger (covered with a latex glove, wetted with some water or solvent, or just bare – depending on the caulk used), or with various tools, like the back of a spoon, a trowel, a beading tool or foam paint brushes. Try not to scrape off too much of the caulk during tooling. This may starve the joint of caulk, as well as waste a lot of it. Keep rags handy to clean up any mishaps, and clean up any problem areas right away. Dried caulk is hard to remove! If masking tape or painter’s tape is used along the sides of the joint, make sure the tape is removed immediately after tooling is complete (before the caulk skins over) so that it will pull away cleanly and leave a smooth, even line.


 | Sashco")


 | Sashco")

